Setup DOX on BTP Trial
Create Universal ID
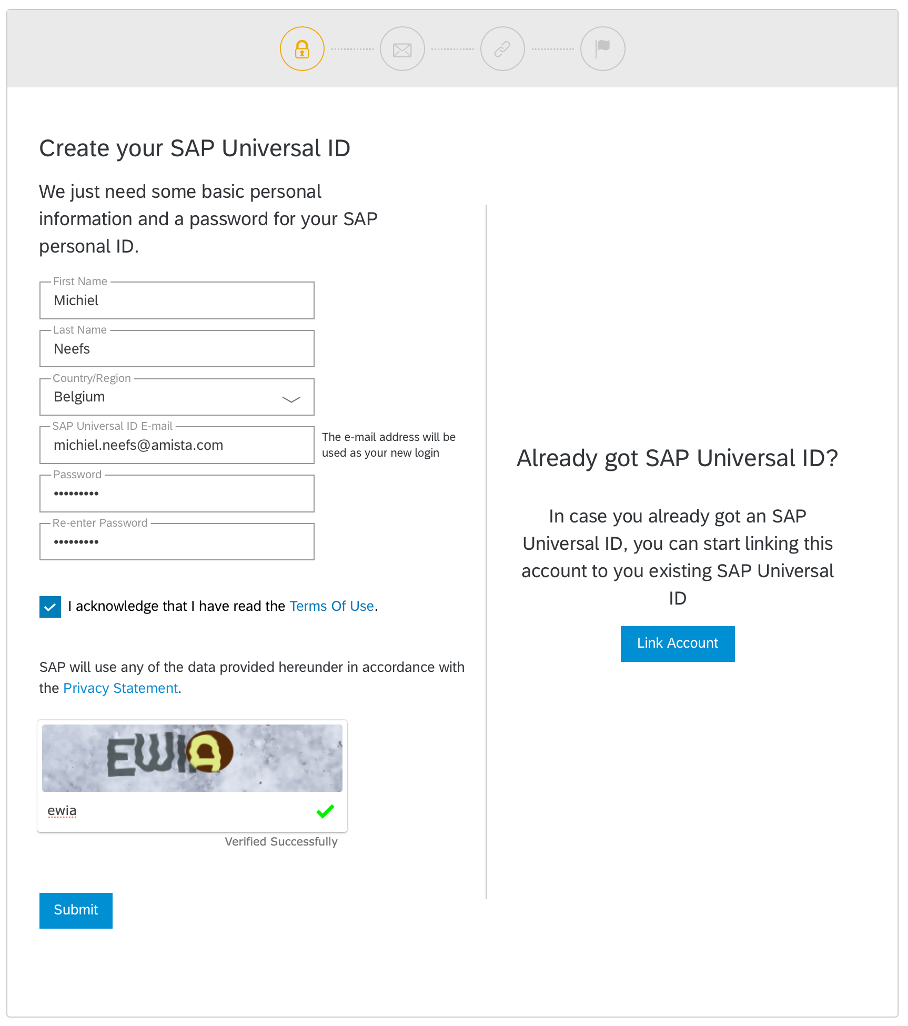
Fill in your personal data and click on Submit.
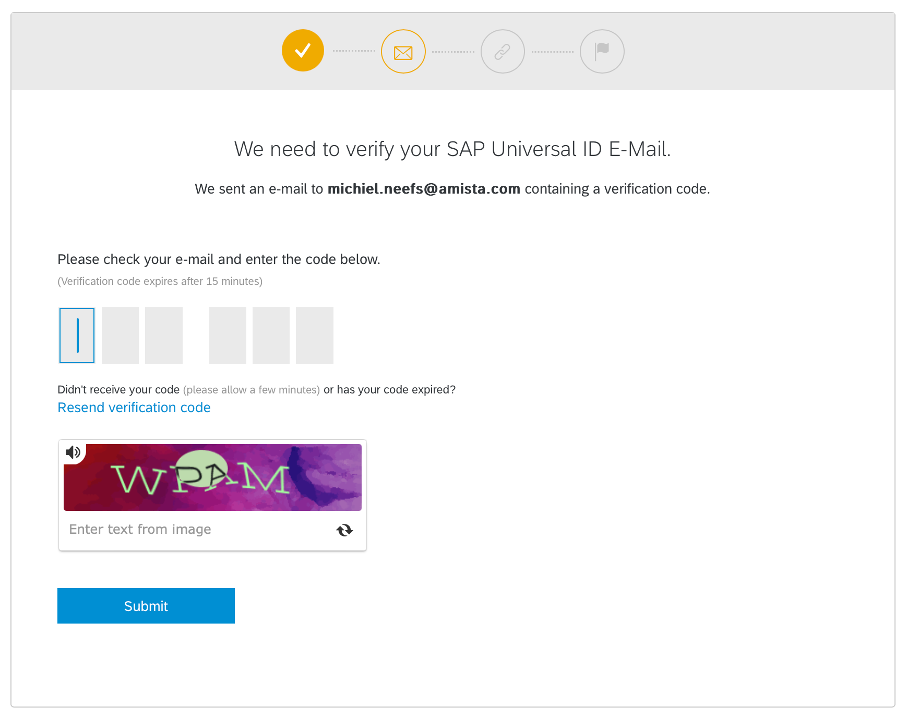
Confirm your e-mail by entering the code that is sent by SAP to your email address and click on Submit.
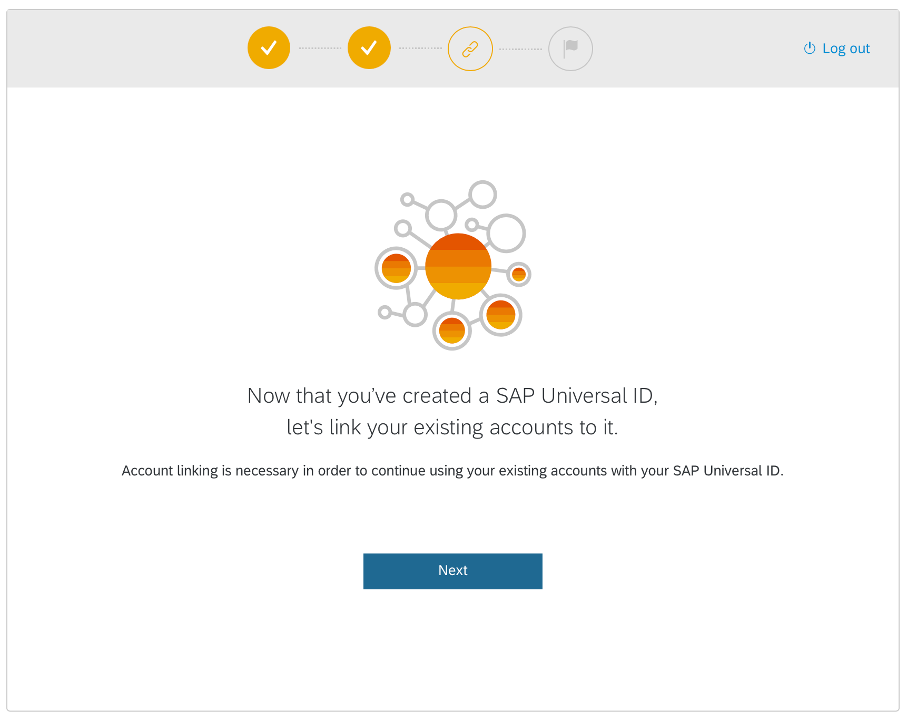
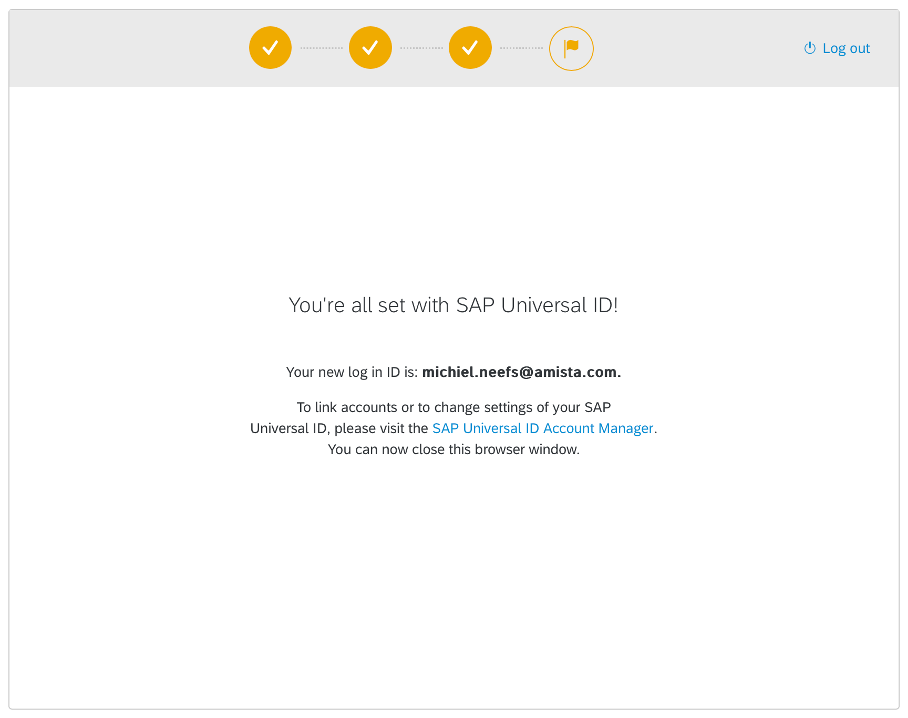
Click on Next.
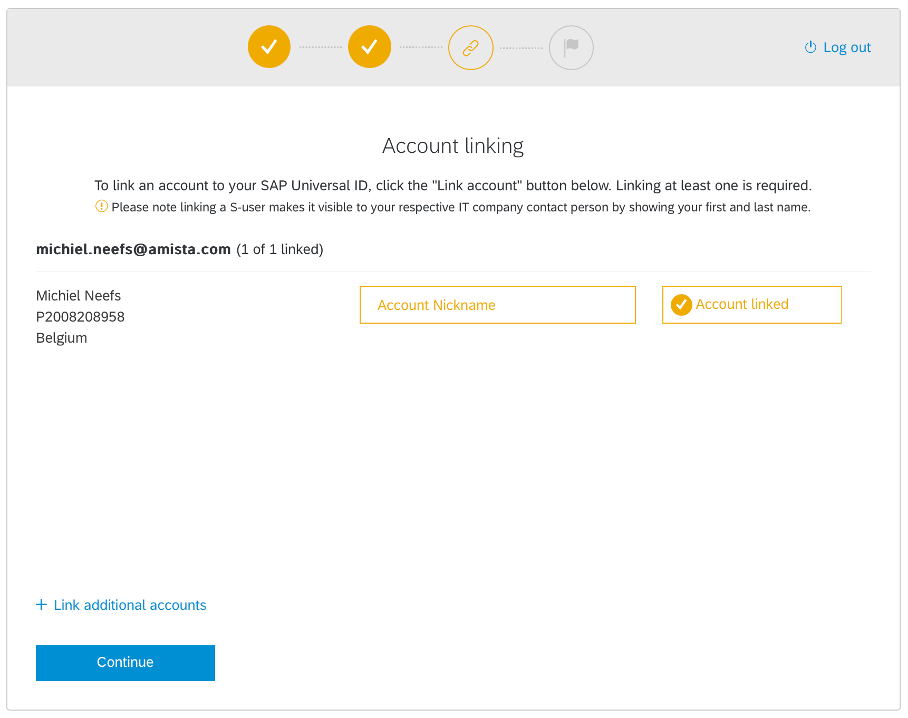
Click on Continue.
Create your BTP Trial Account
Go to https://account.hanatrial.ondemand.com/ and login with your newly created SAP Universal ID.
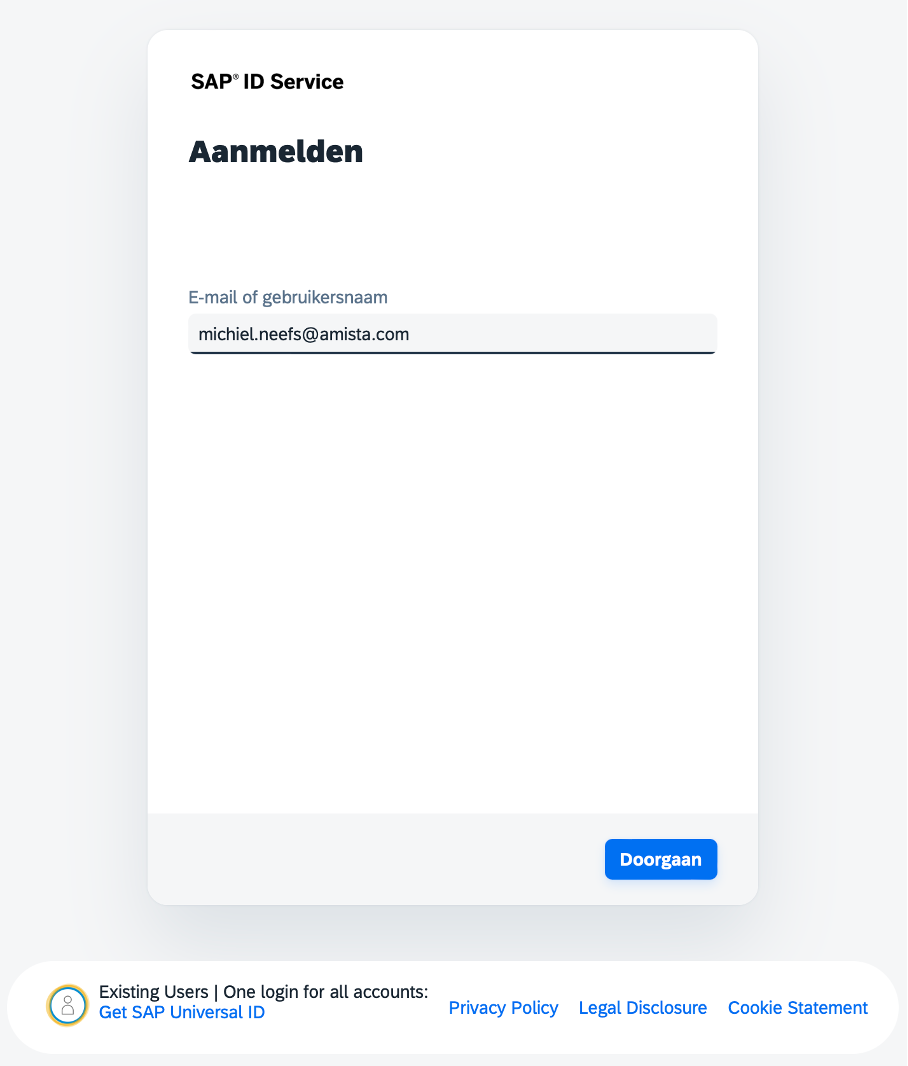
Enter your email address and click on Continue.
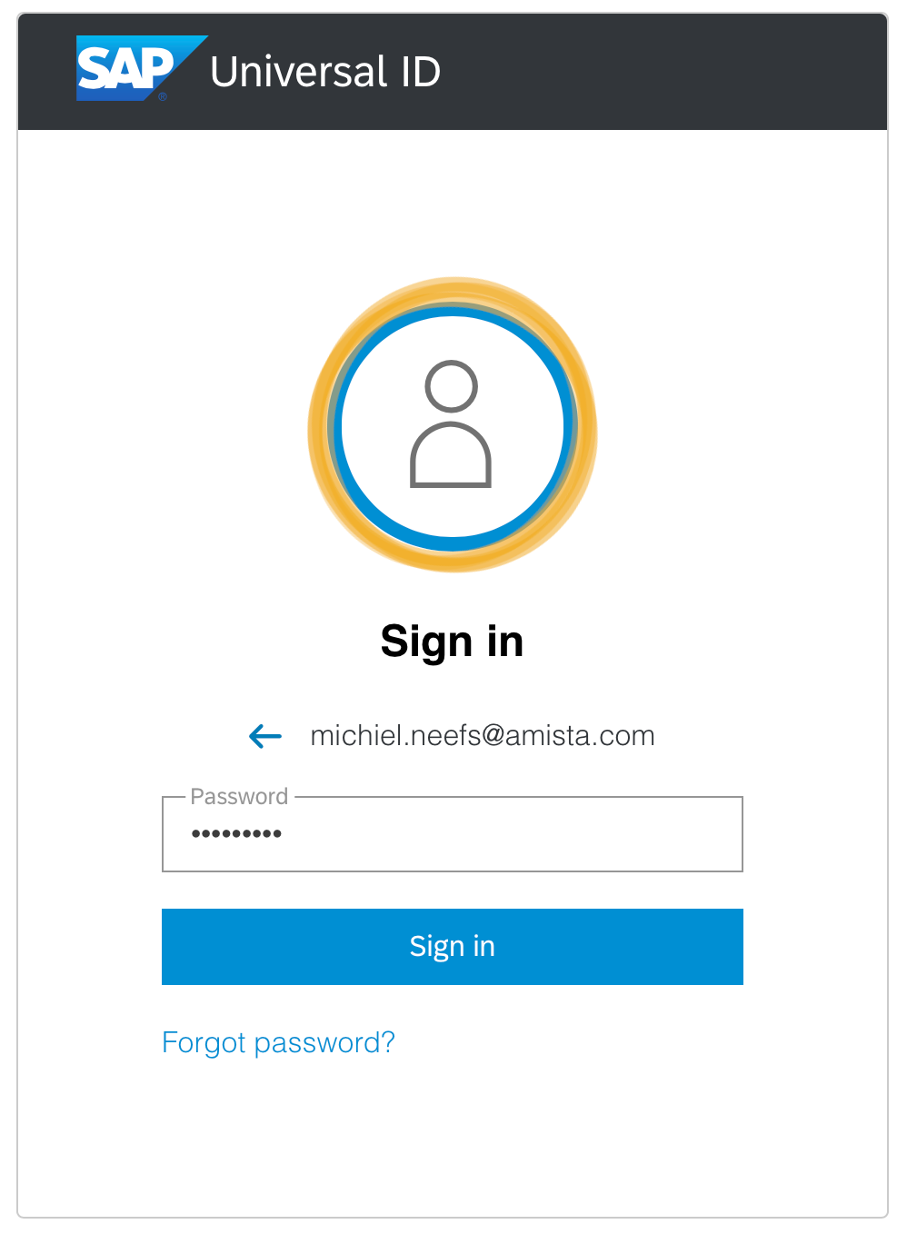
Enter your password and click on Sign in.
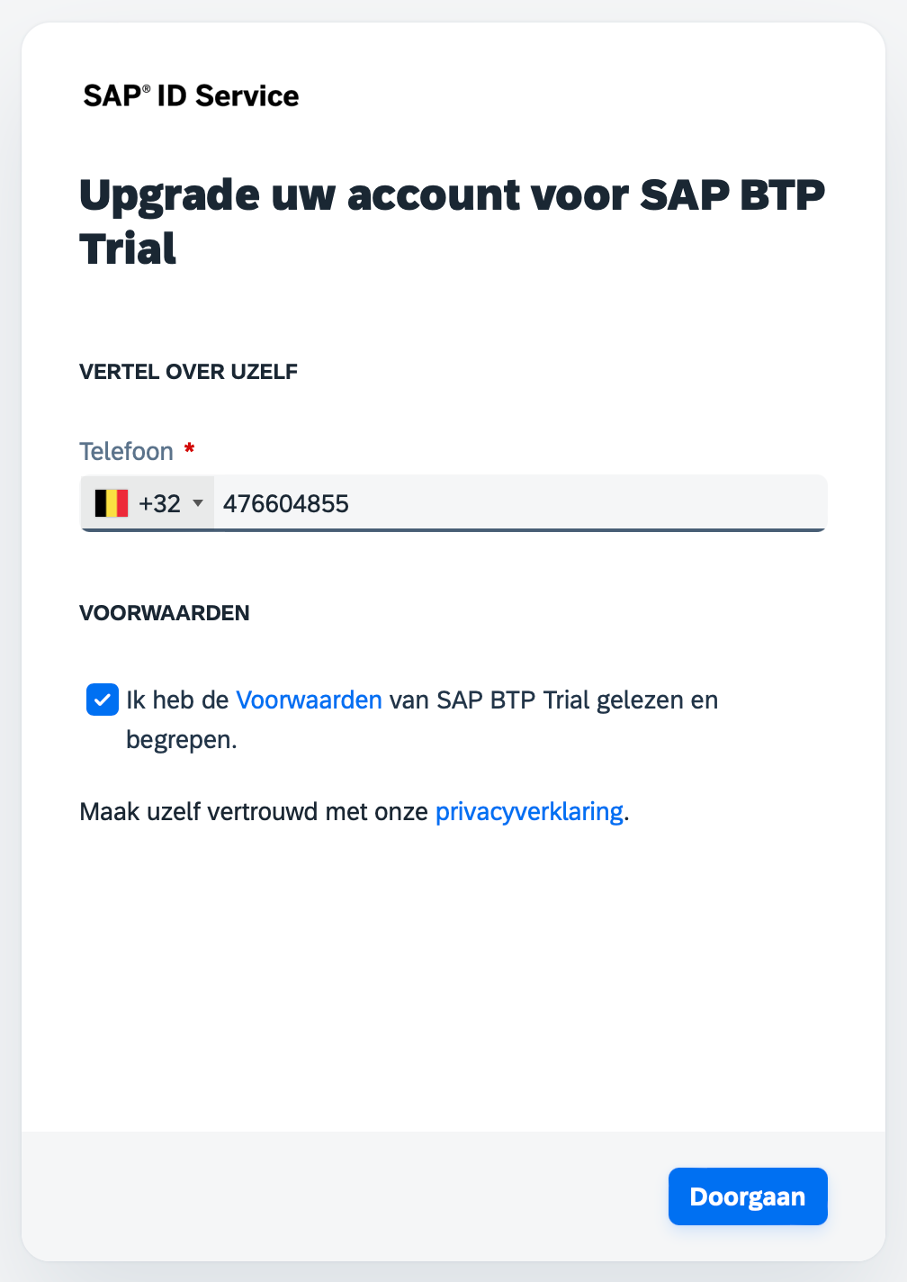
When asked, enter your phone number, and agree with the terms and conditions. Click on Continue.

Verify your phone number by entering the verification code that is sent to the phone number you have provided. Click on Continue.
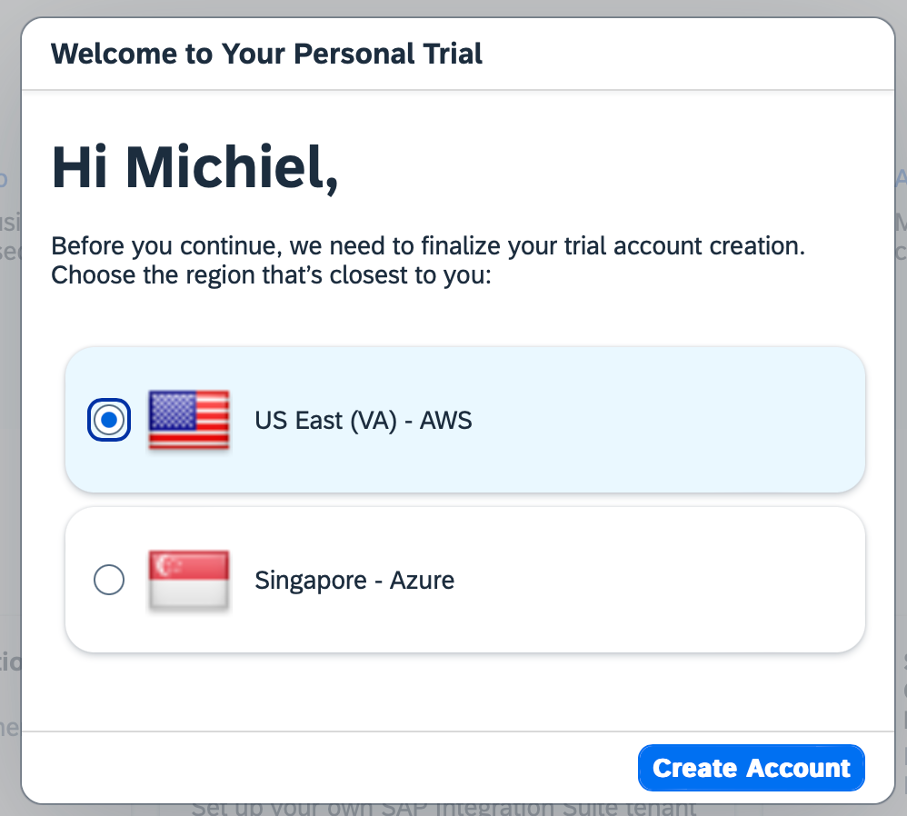
Select US East (VA) – AWS as region and click on Create Account. This process can take a couple of minutes.
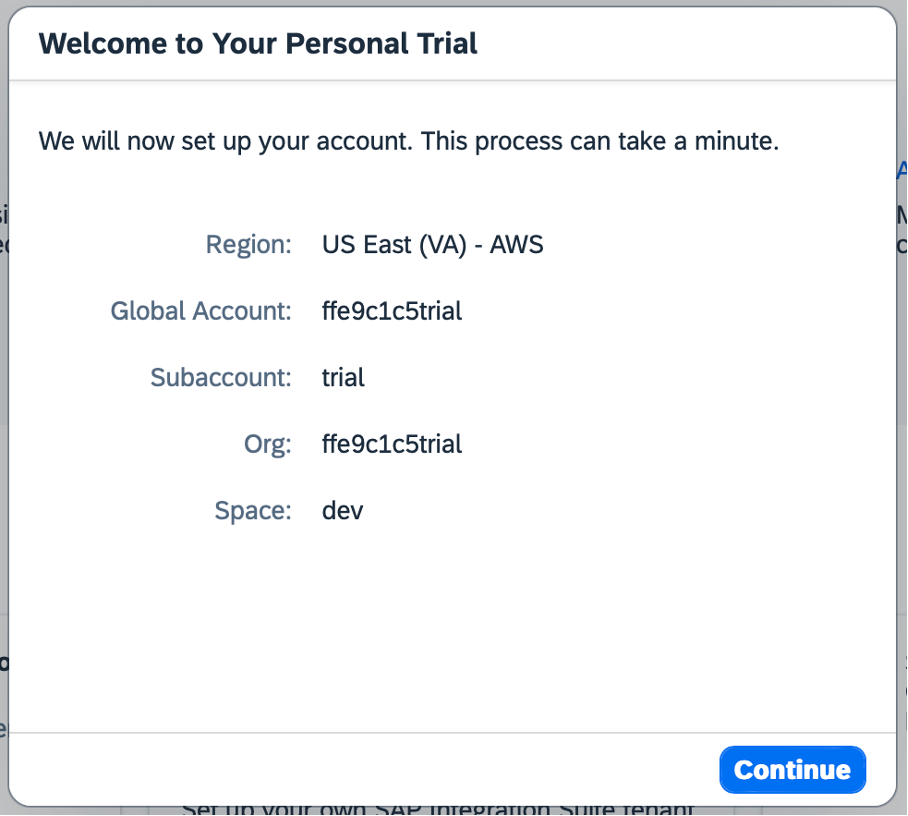
When the creation of your BTP Trial account has finished, click on Continue.
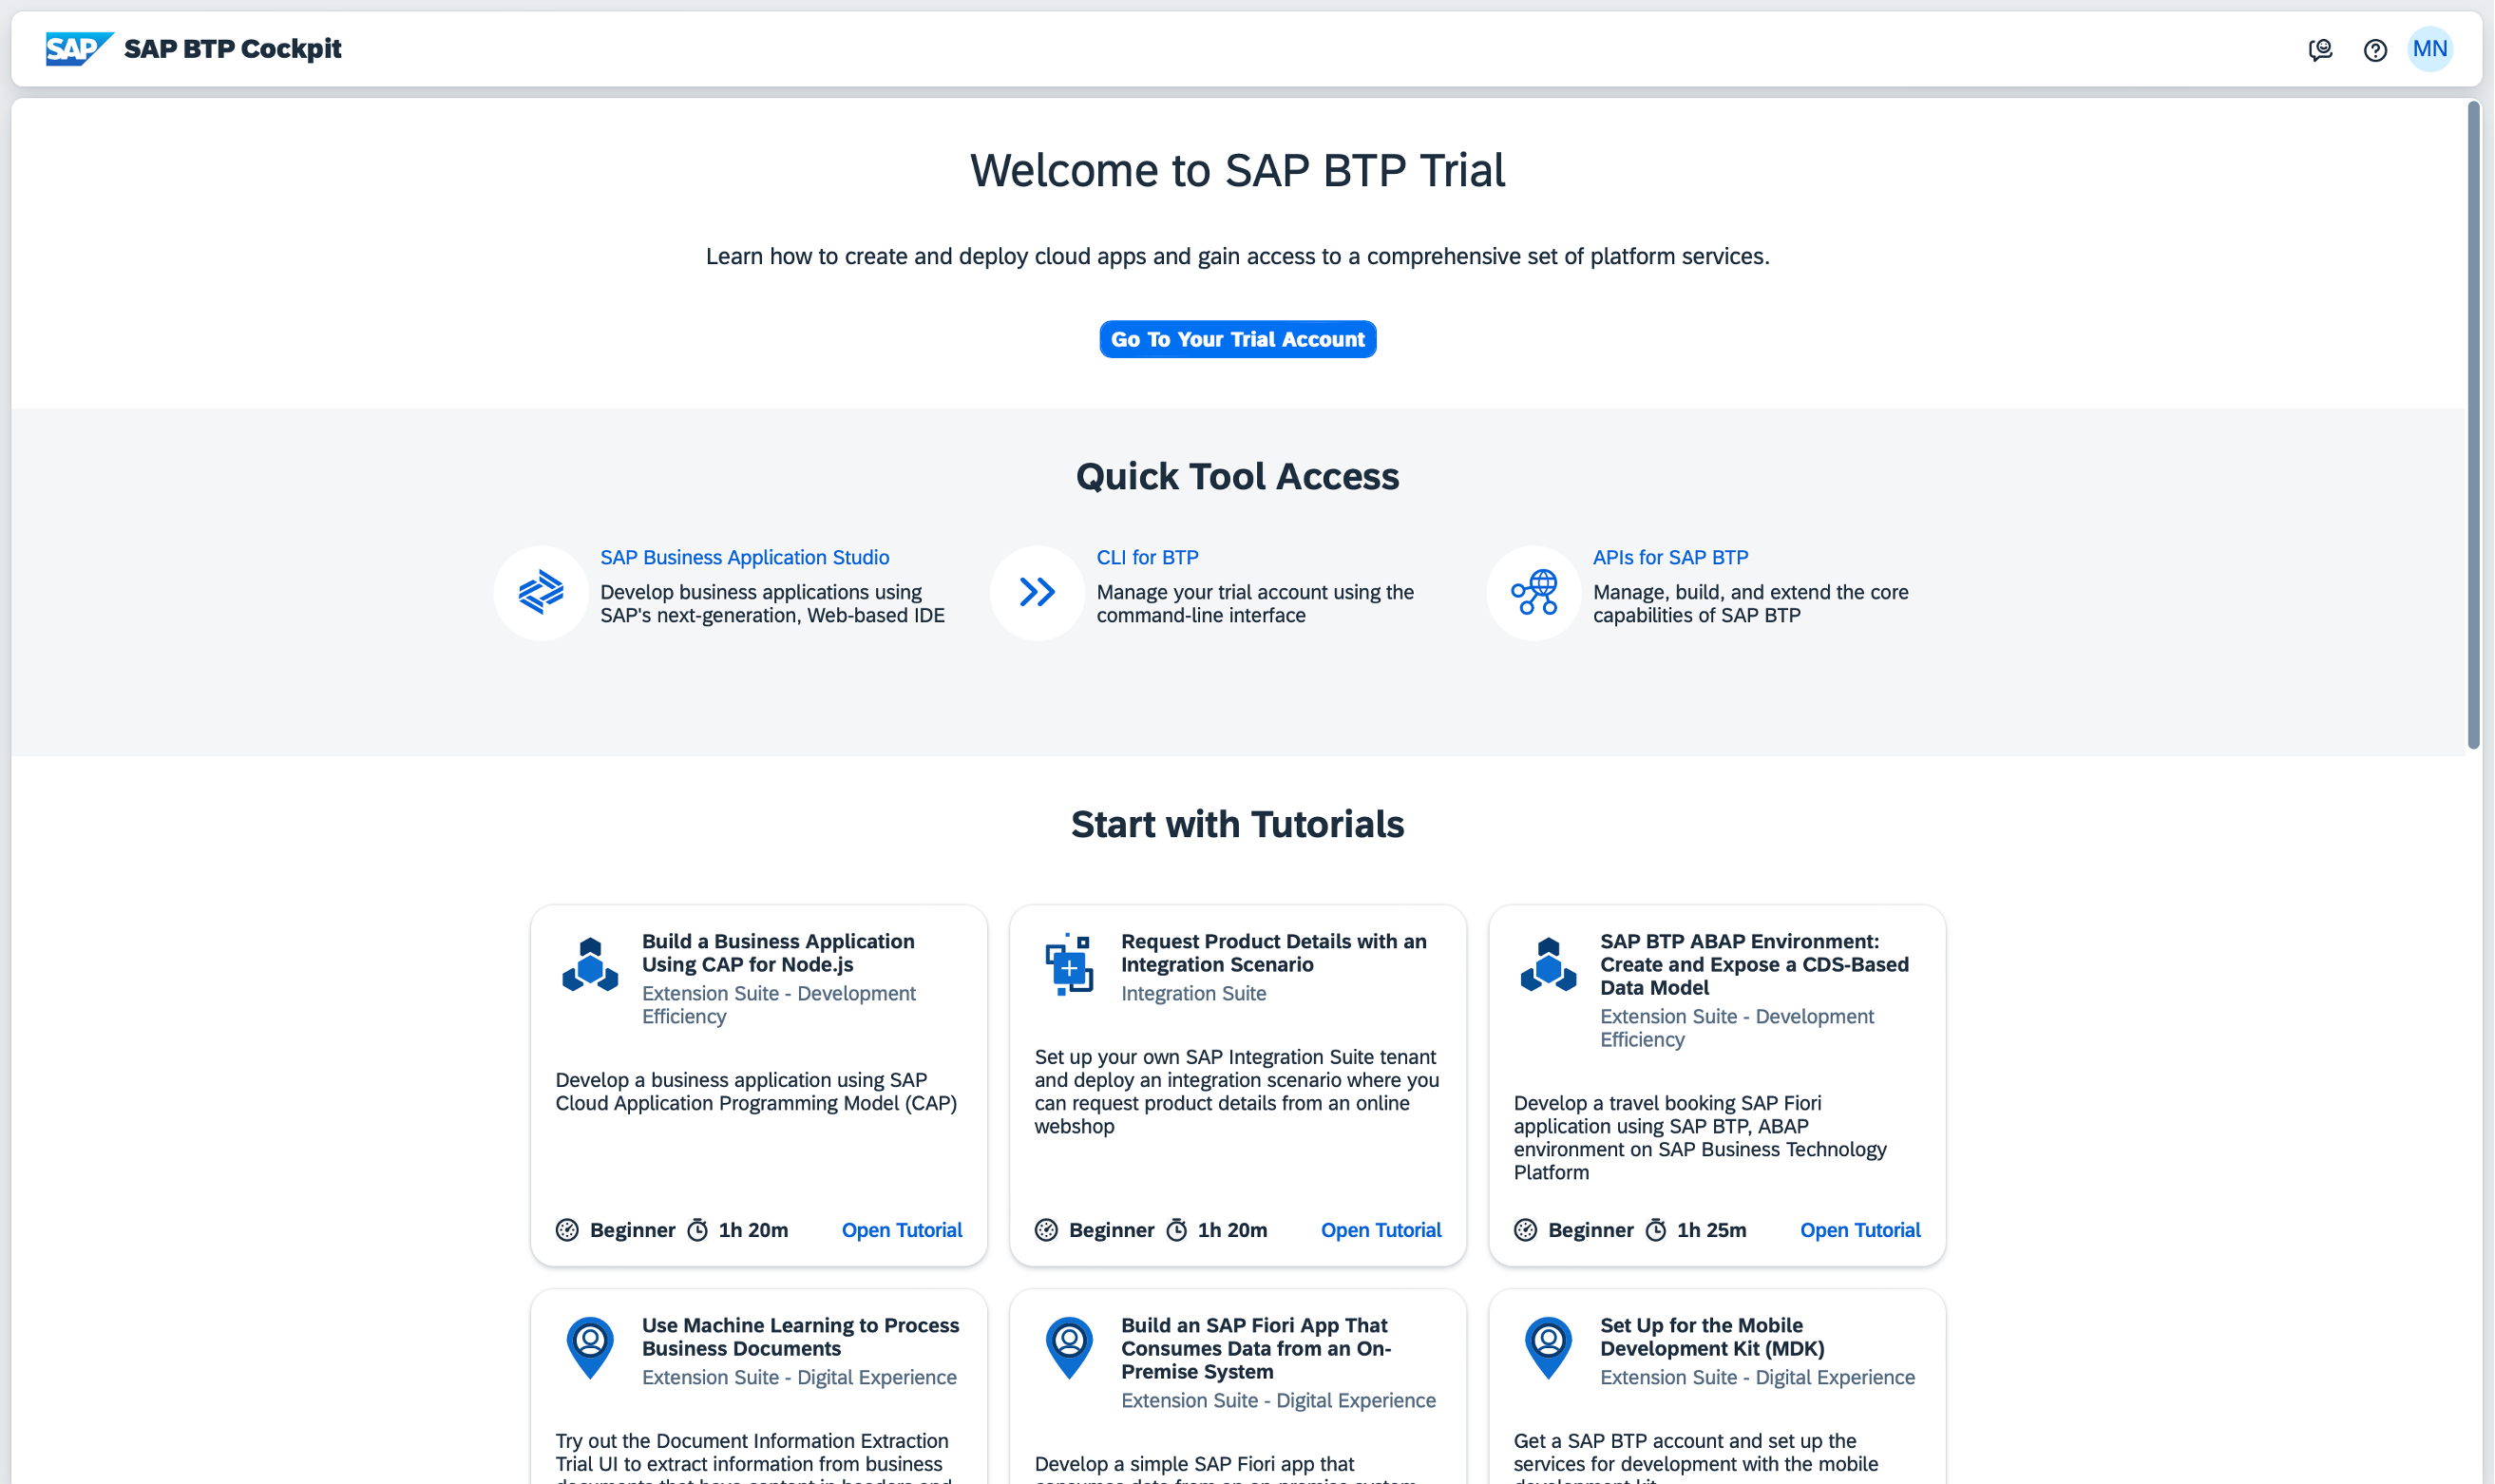
Click on Go To Your Trial Account.
Activate Document Information Extraction Service
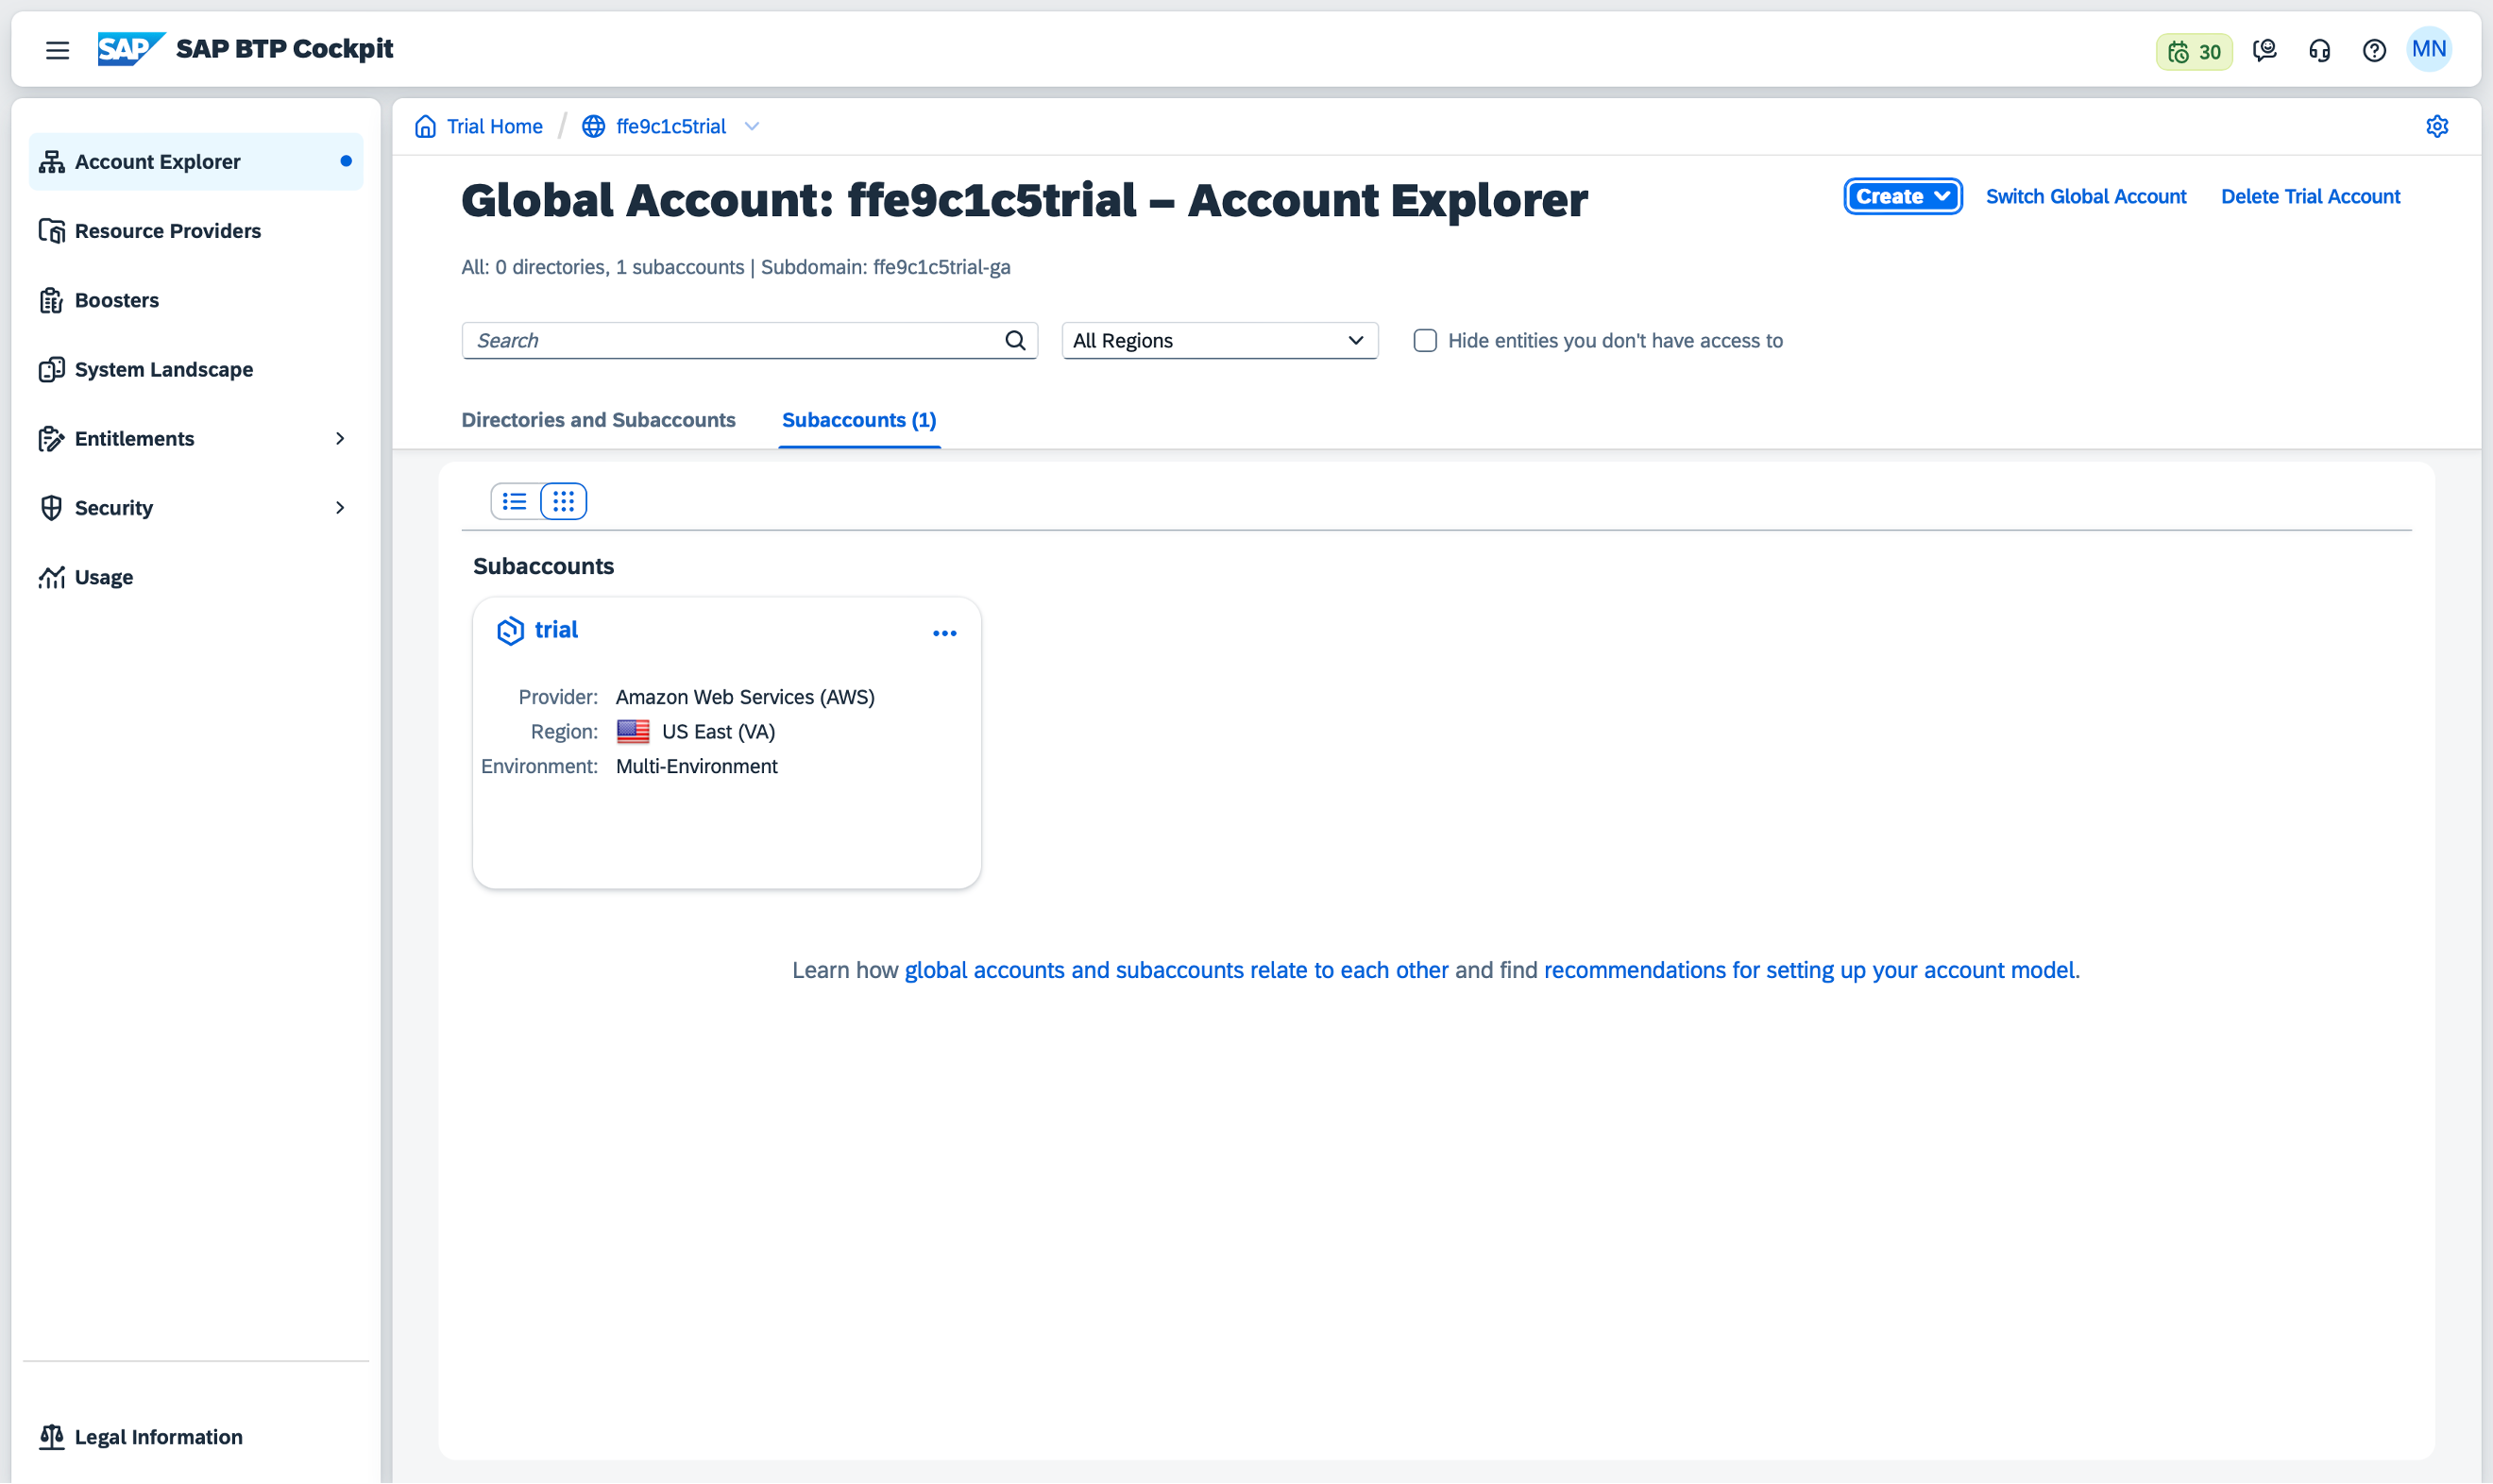
In the left-hand menu, click on Boosters.
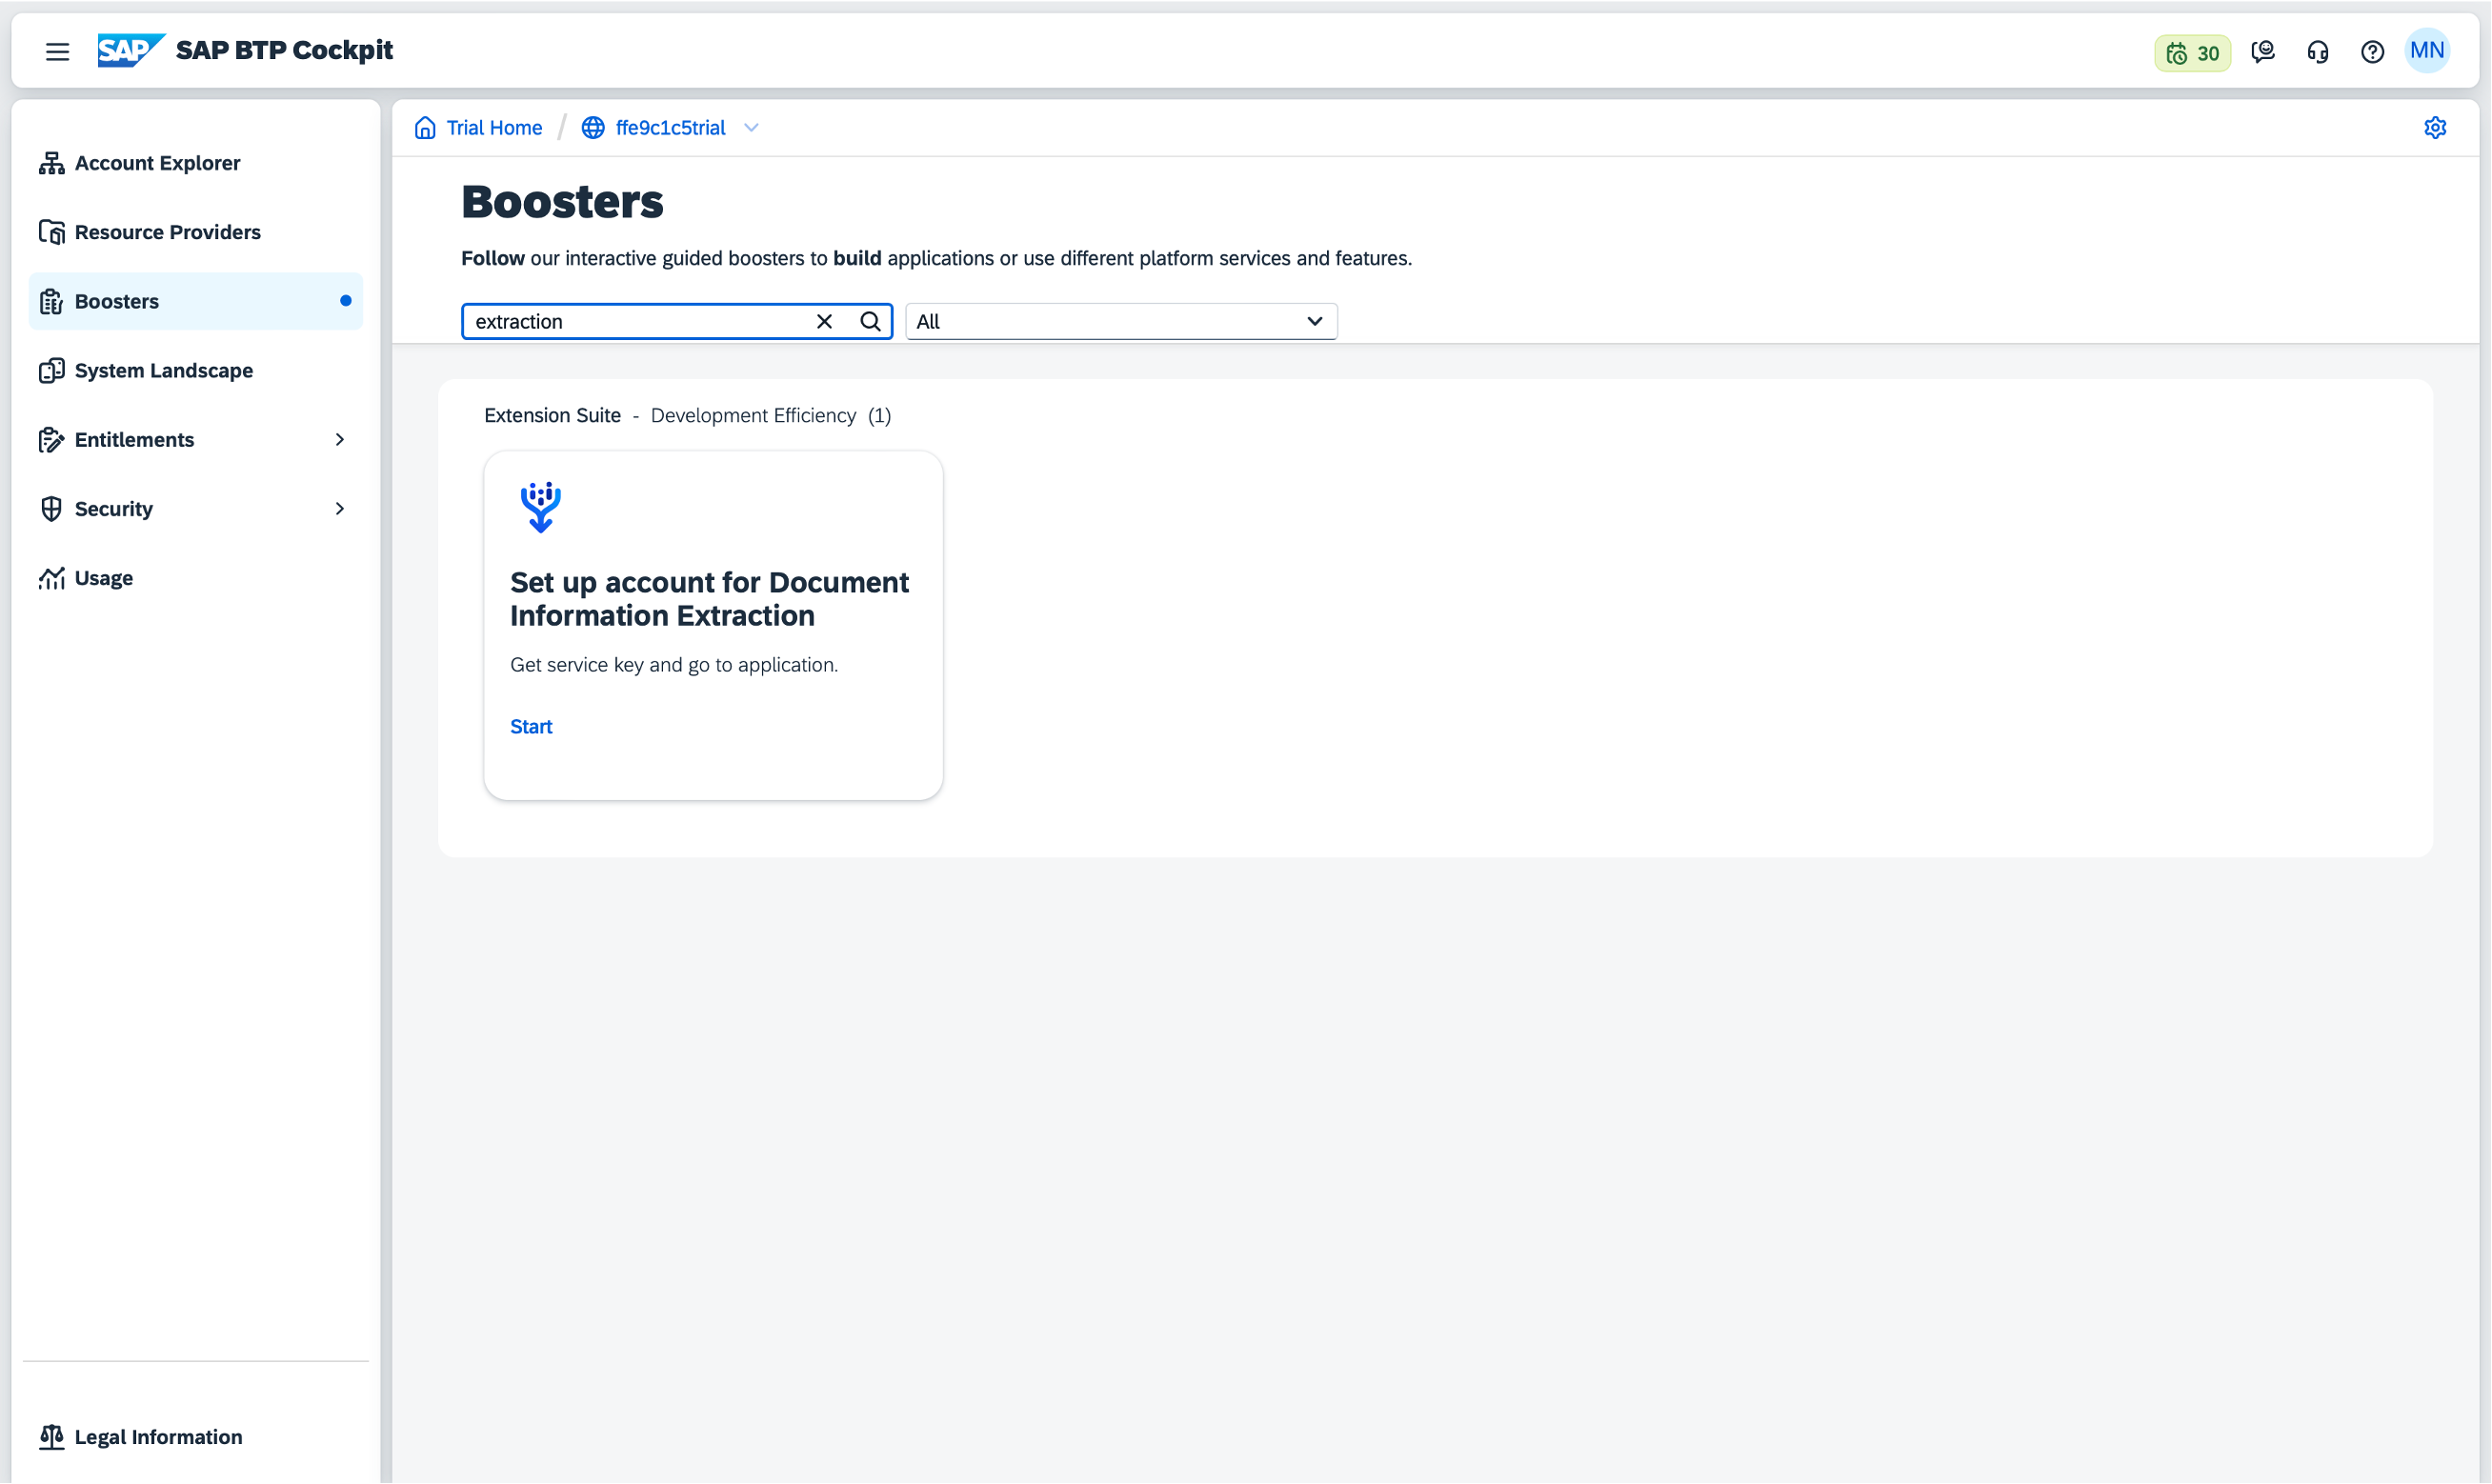
Search for extraction. One tile will remain: Setup account for Document Information Extraction. Click on Start.
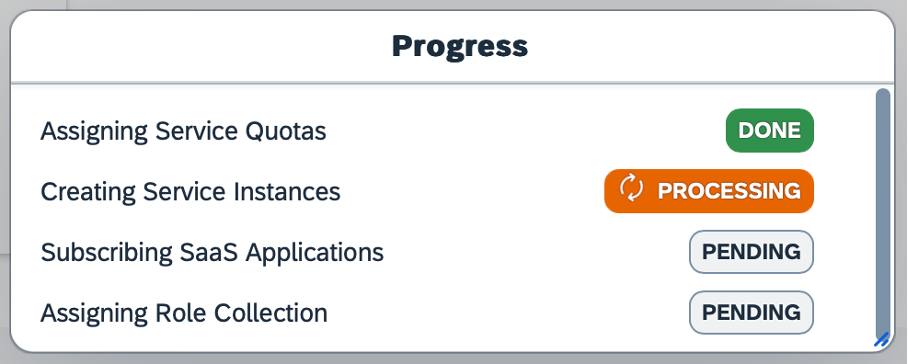
This process can take a couple of minutes.
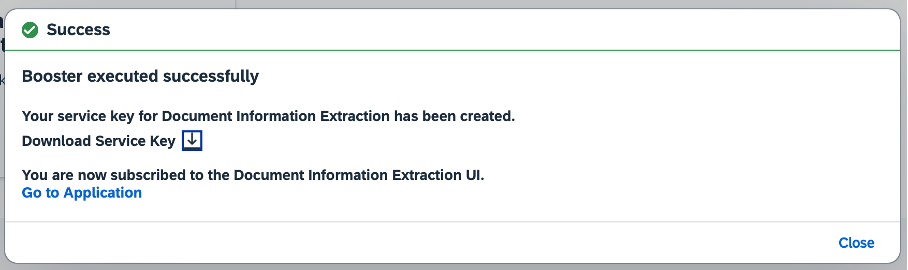
When the process is finished, click on Go to Application.
Exploring SAP Document Information Extraction
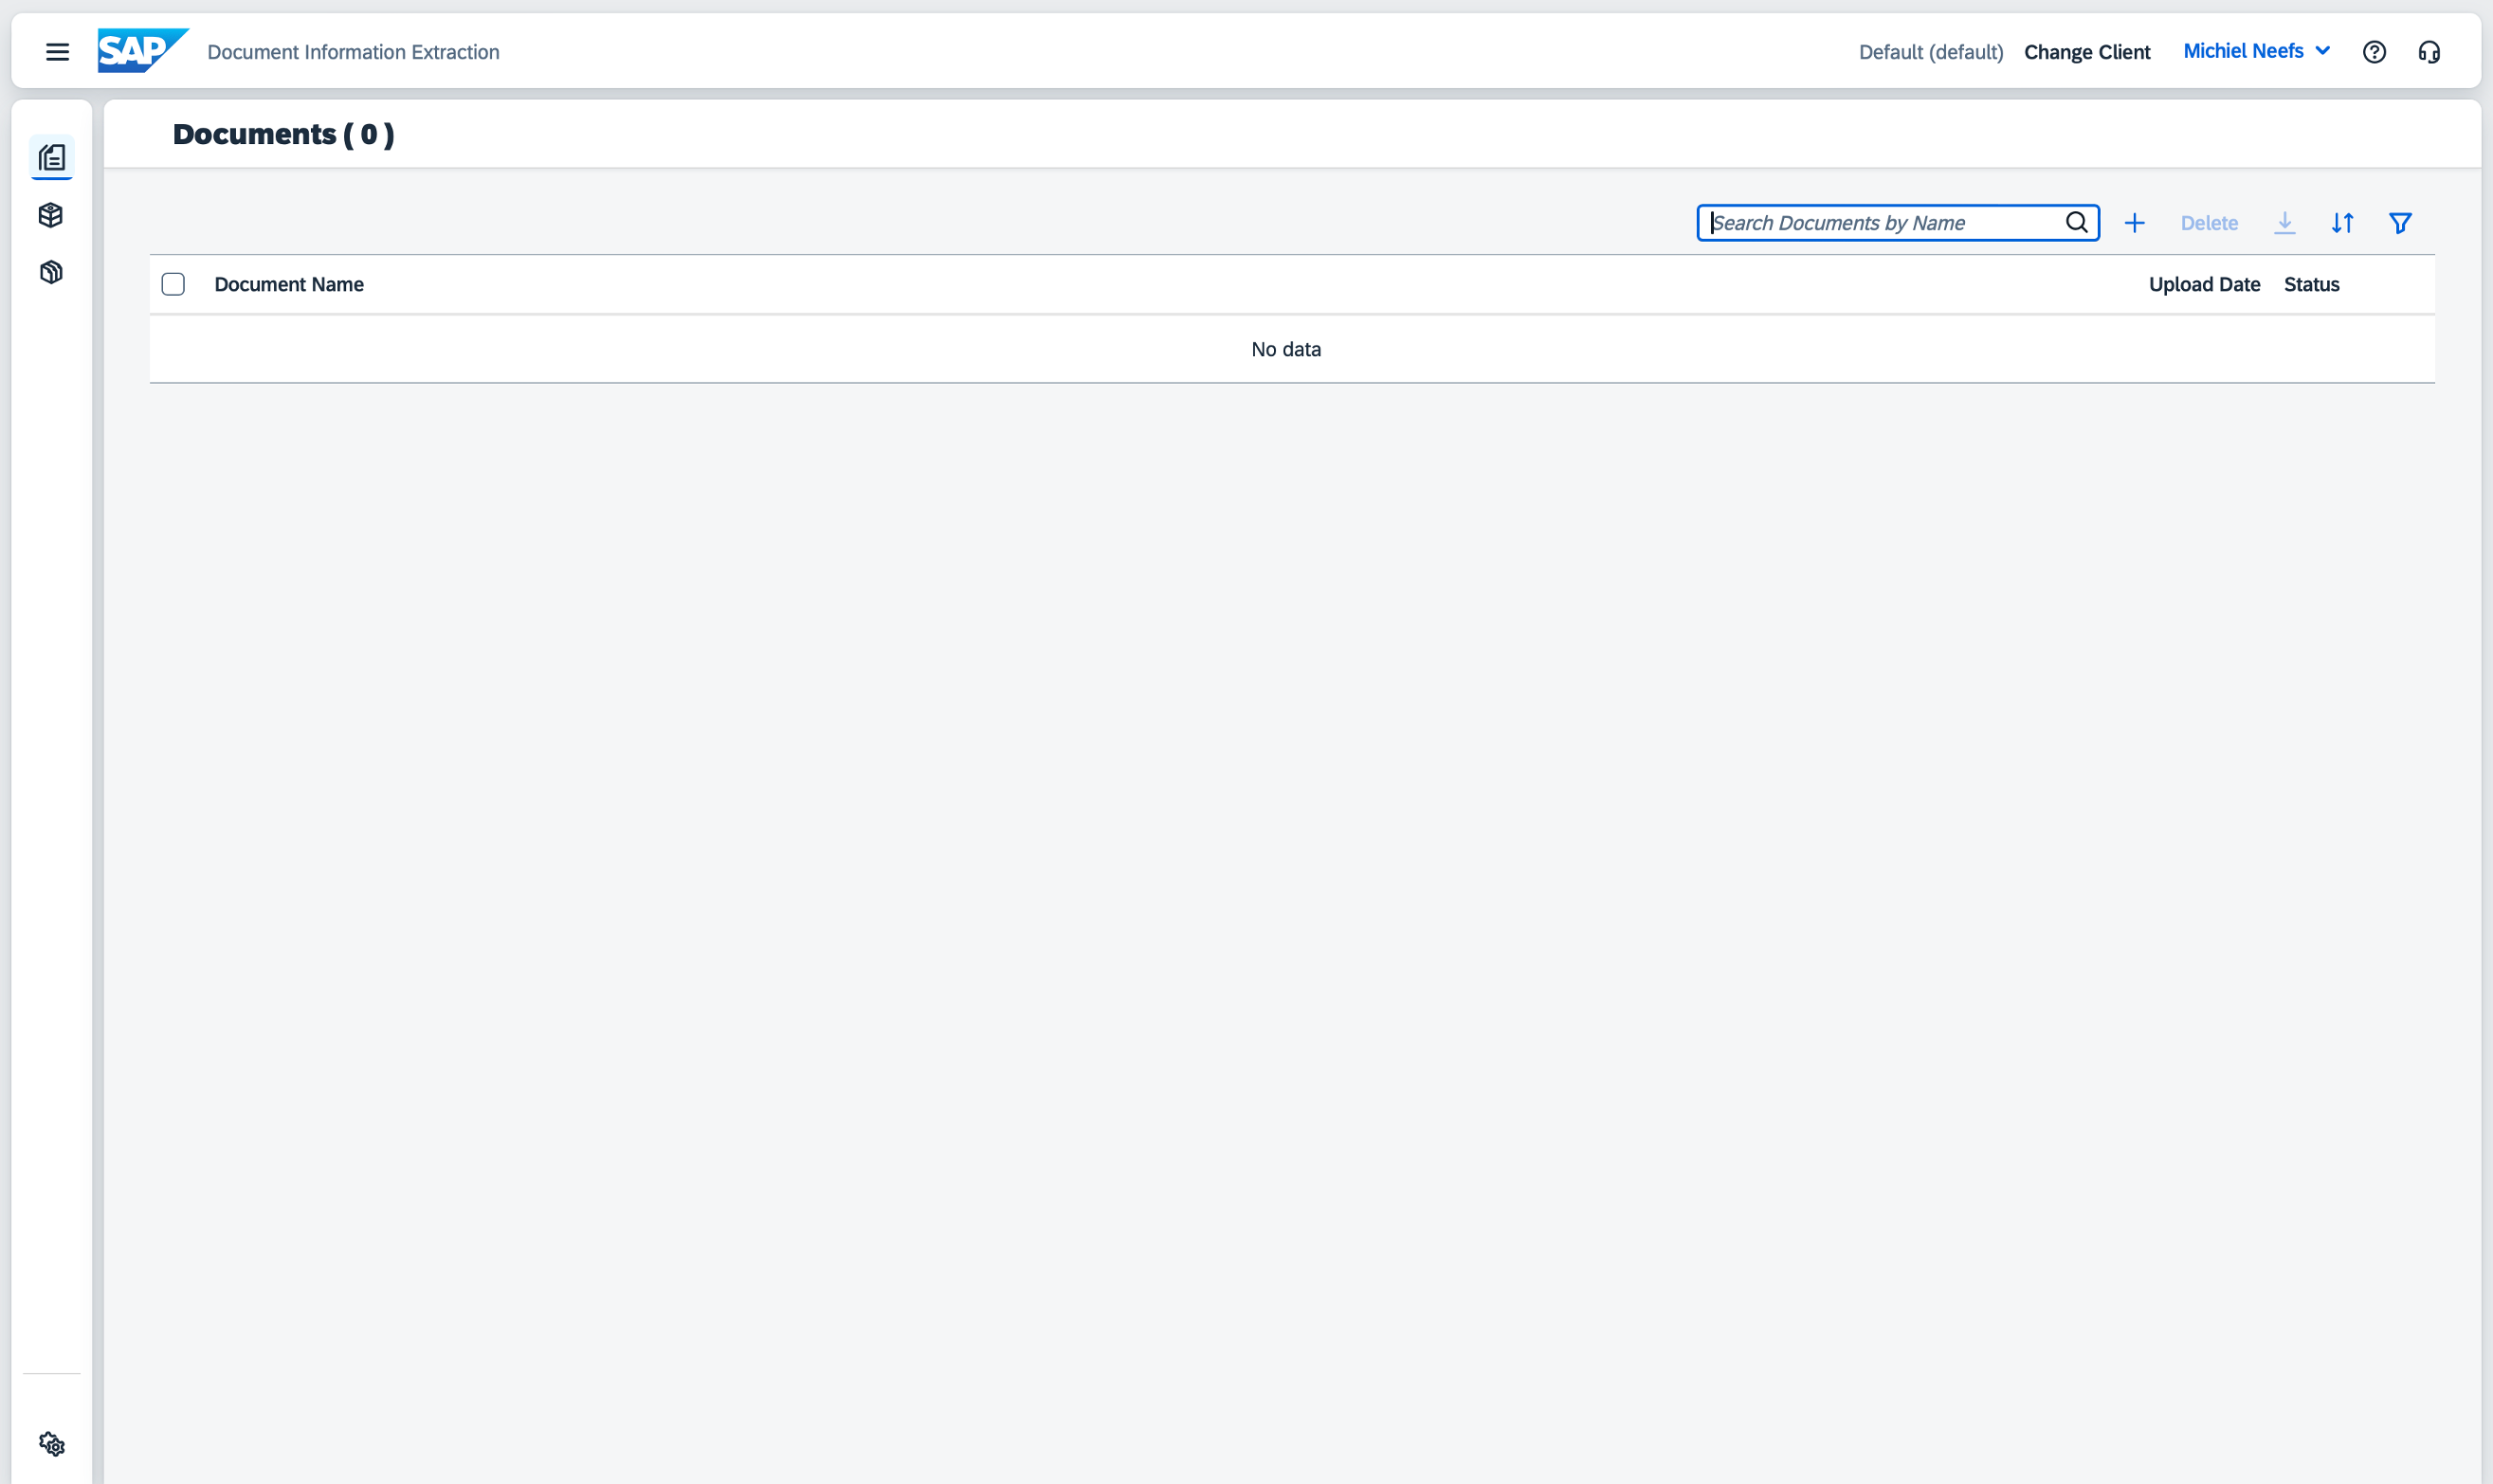
Documents
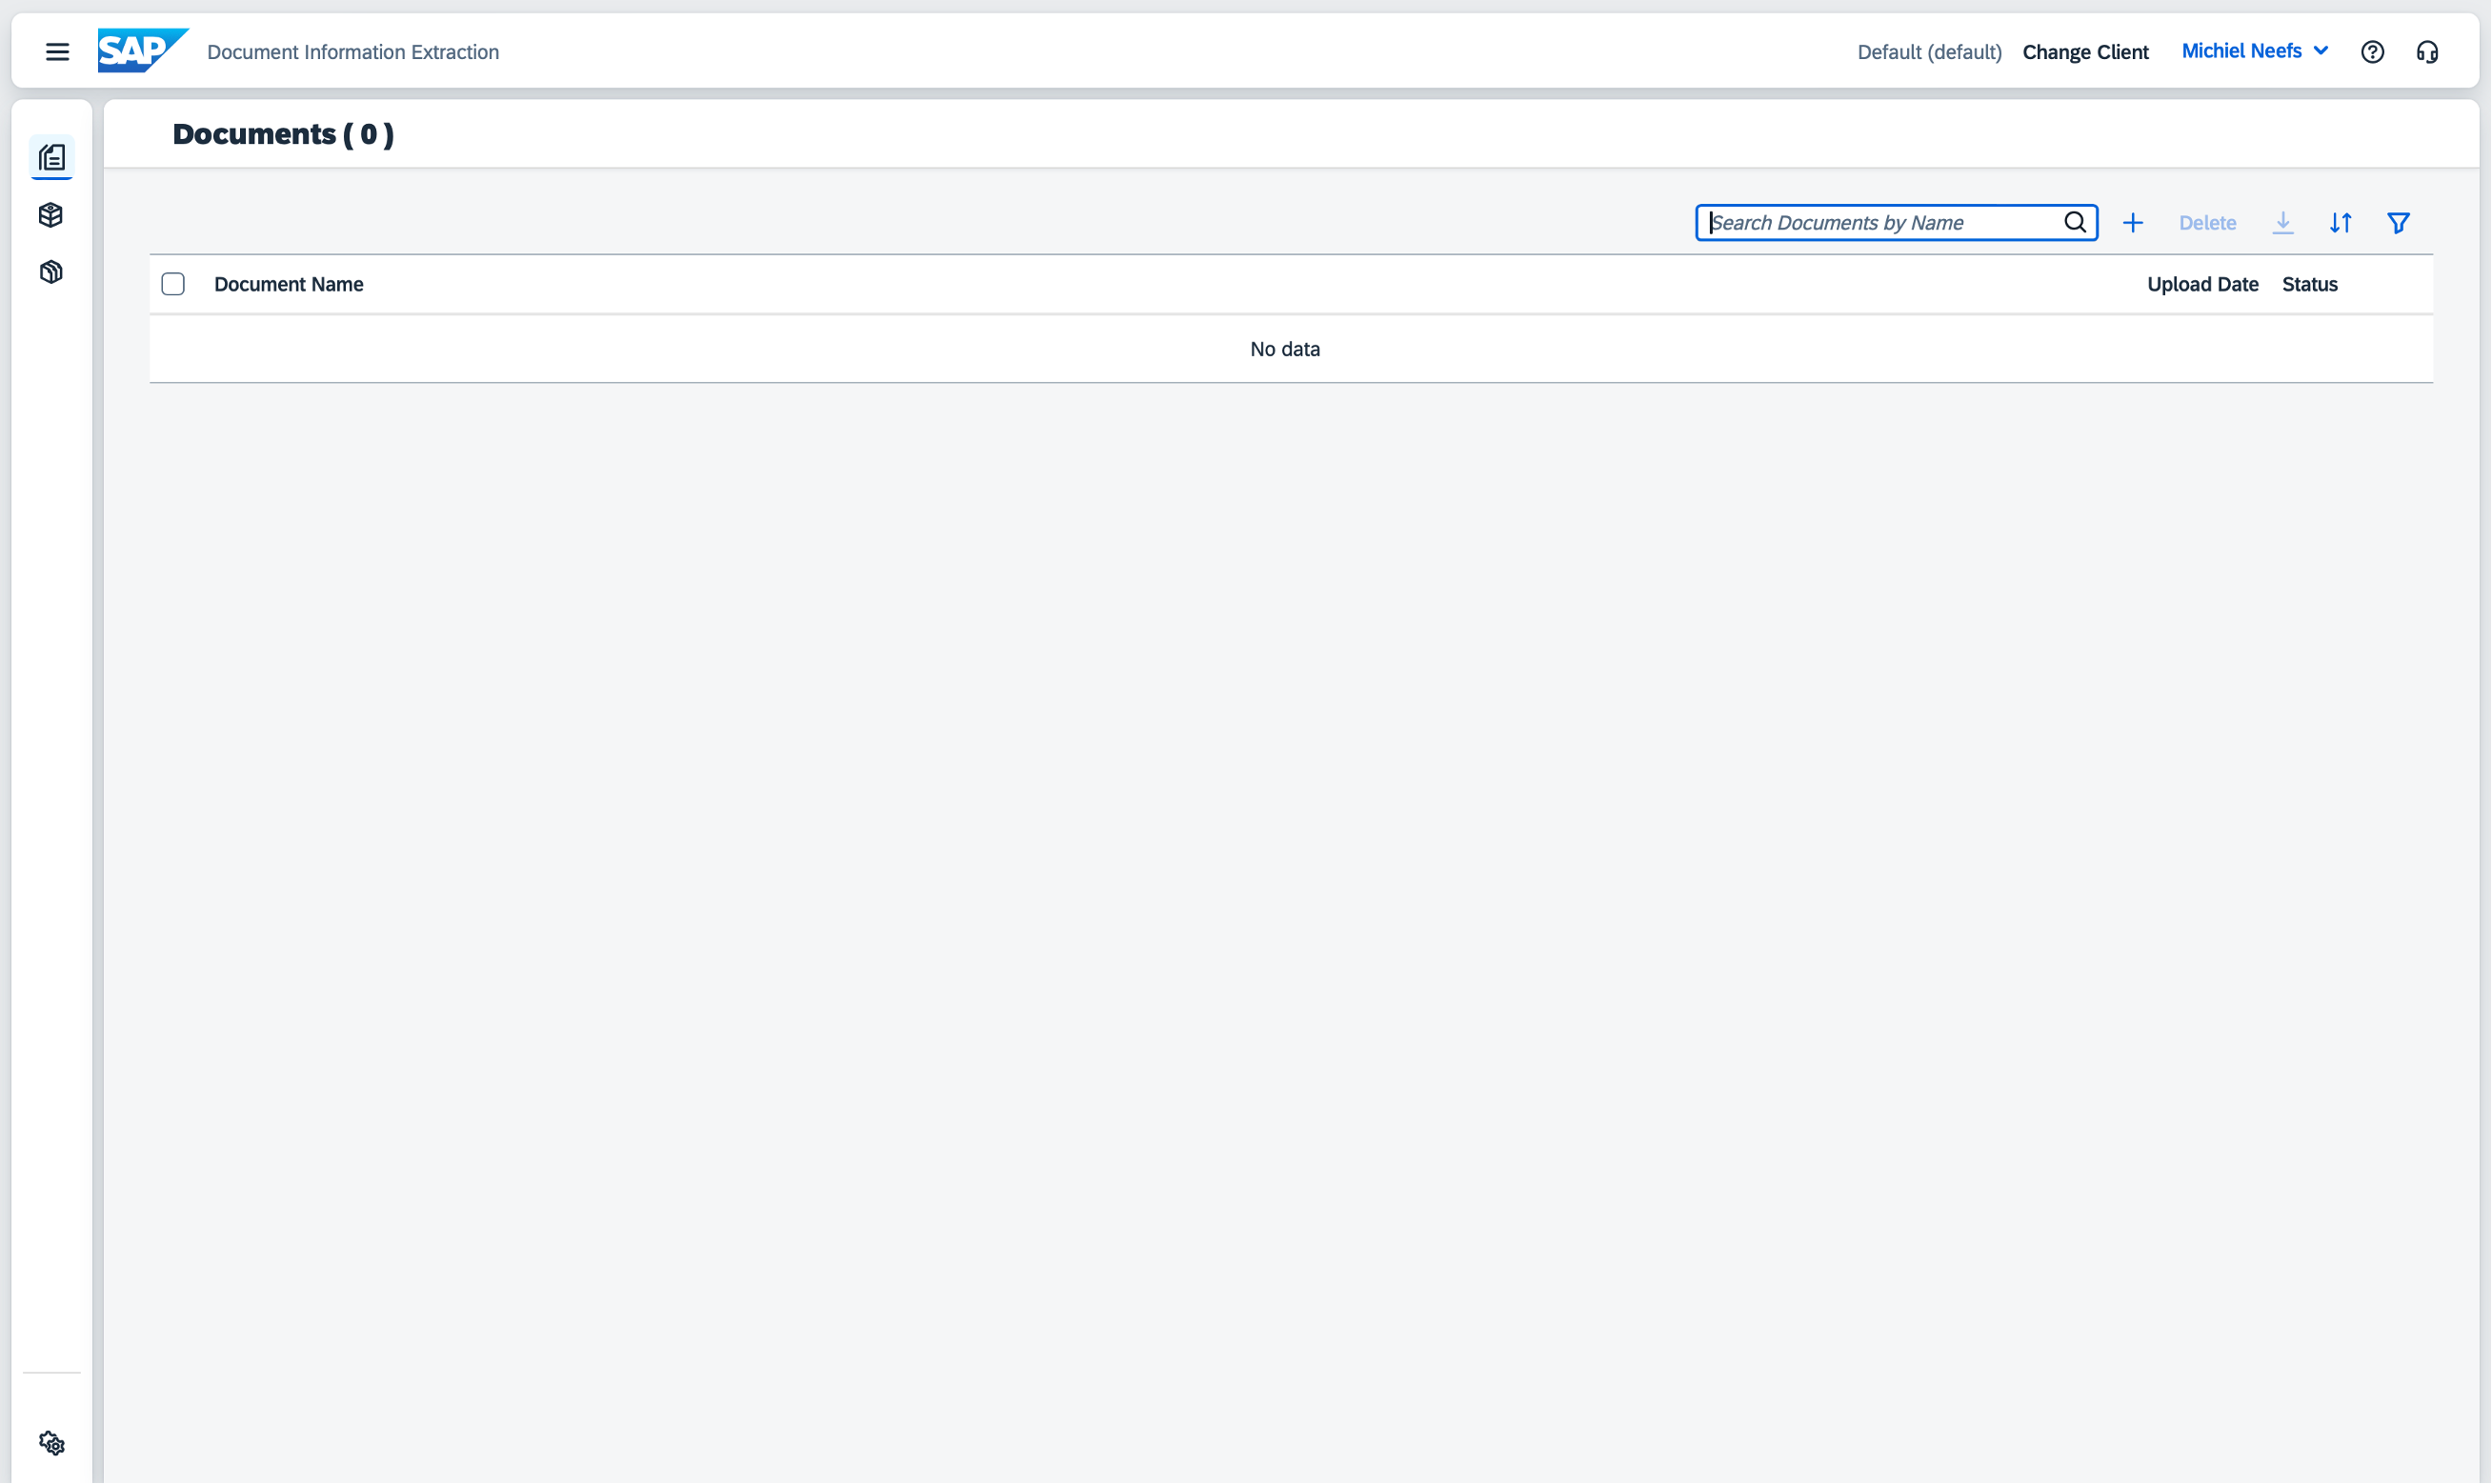
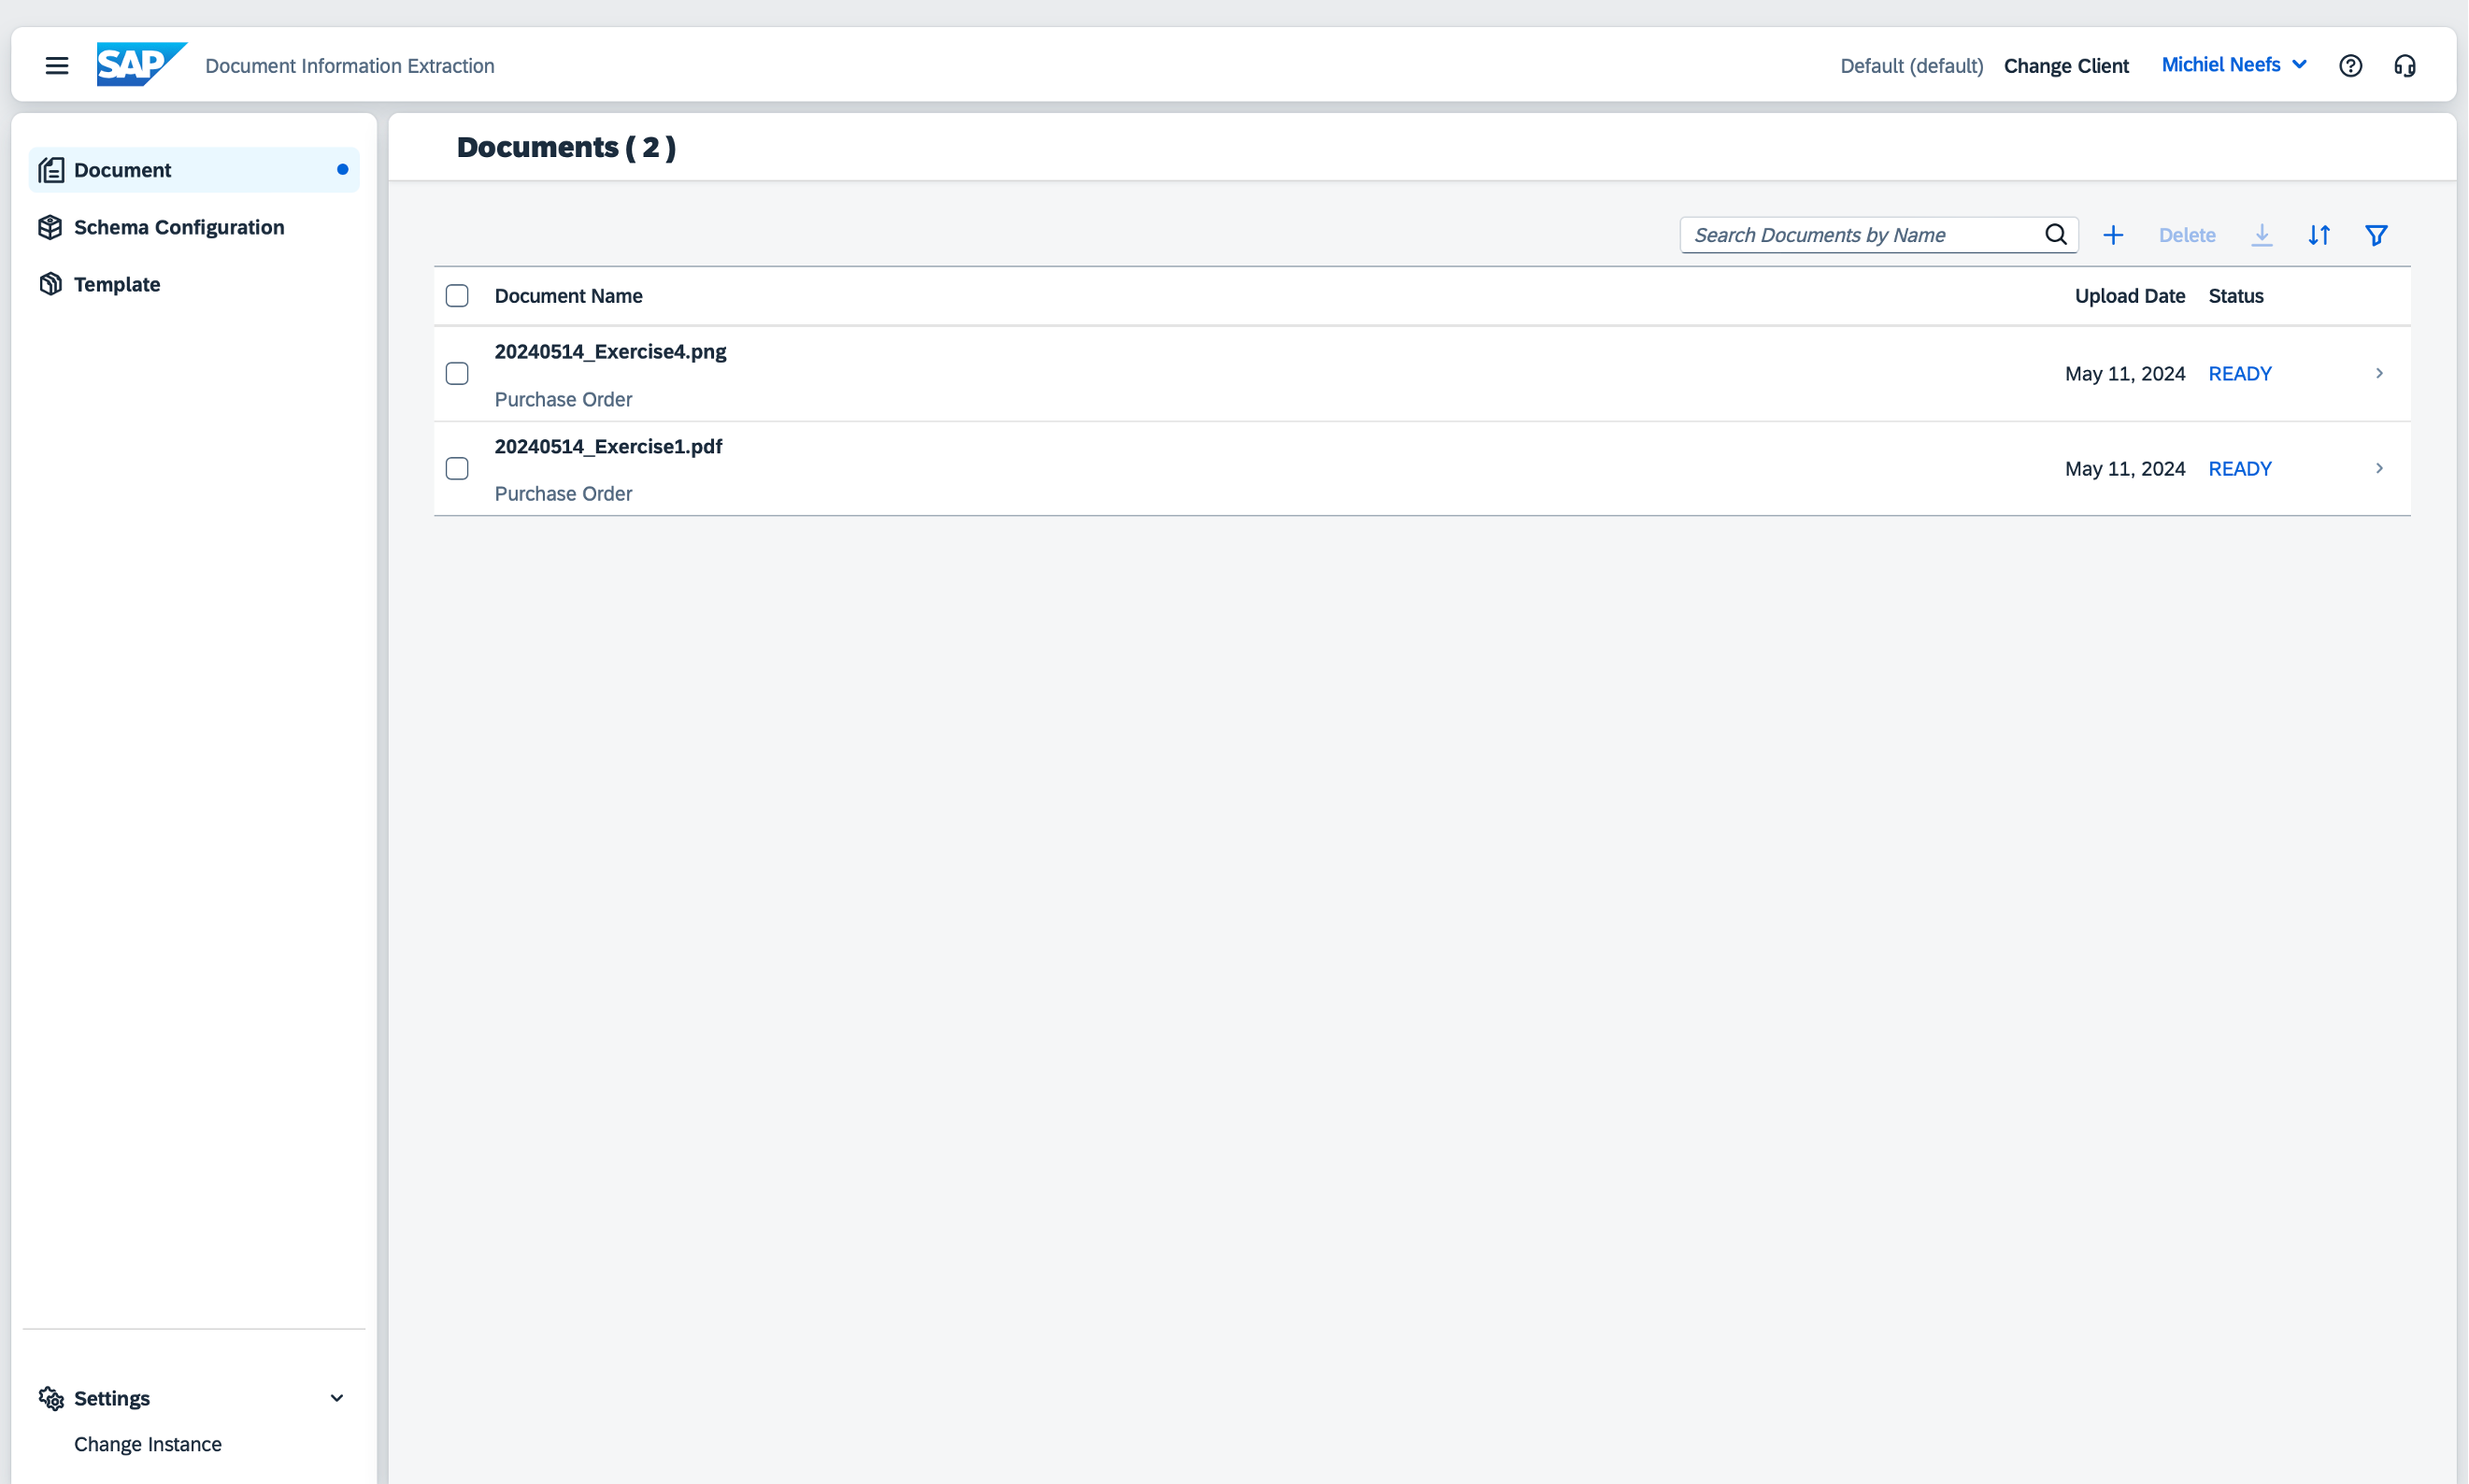
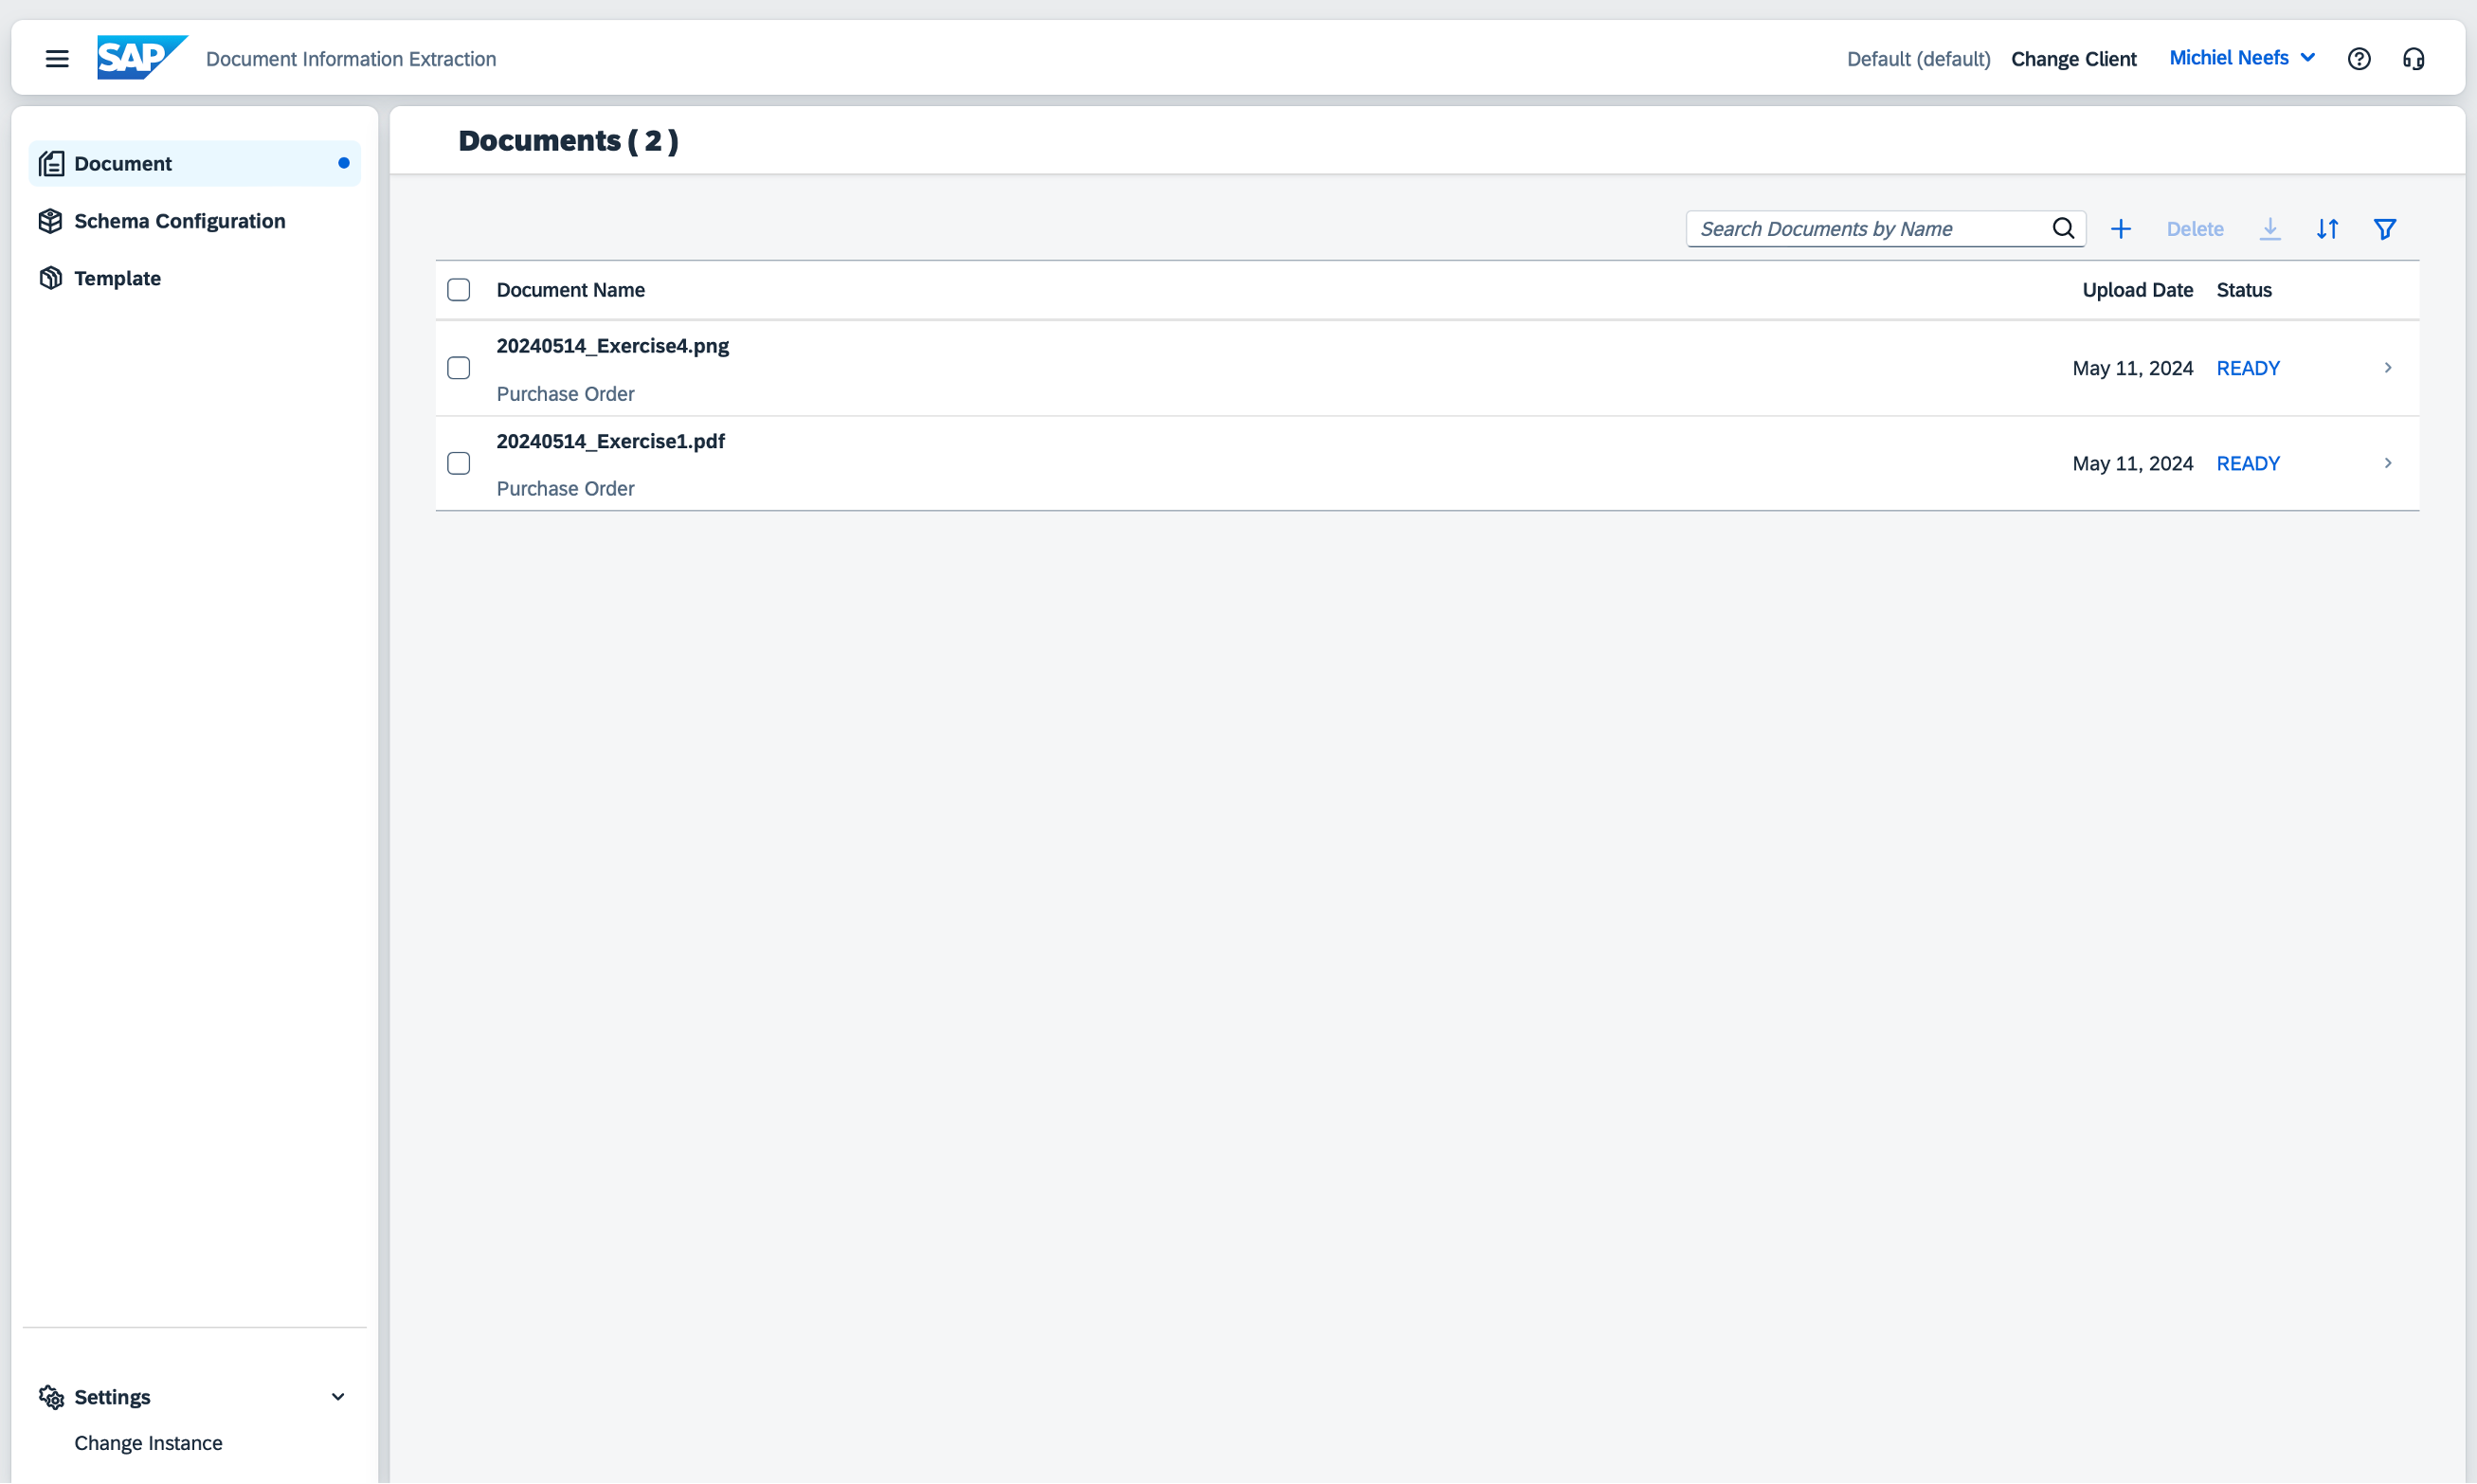
The home page contains a list of uploaded documents. Clicking on a document, shows a detail view of the document and the extracted information. This will be discussed in more detail later on this workshop.
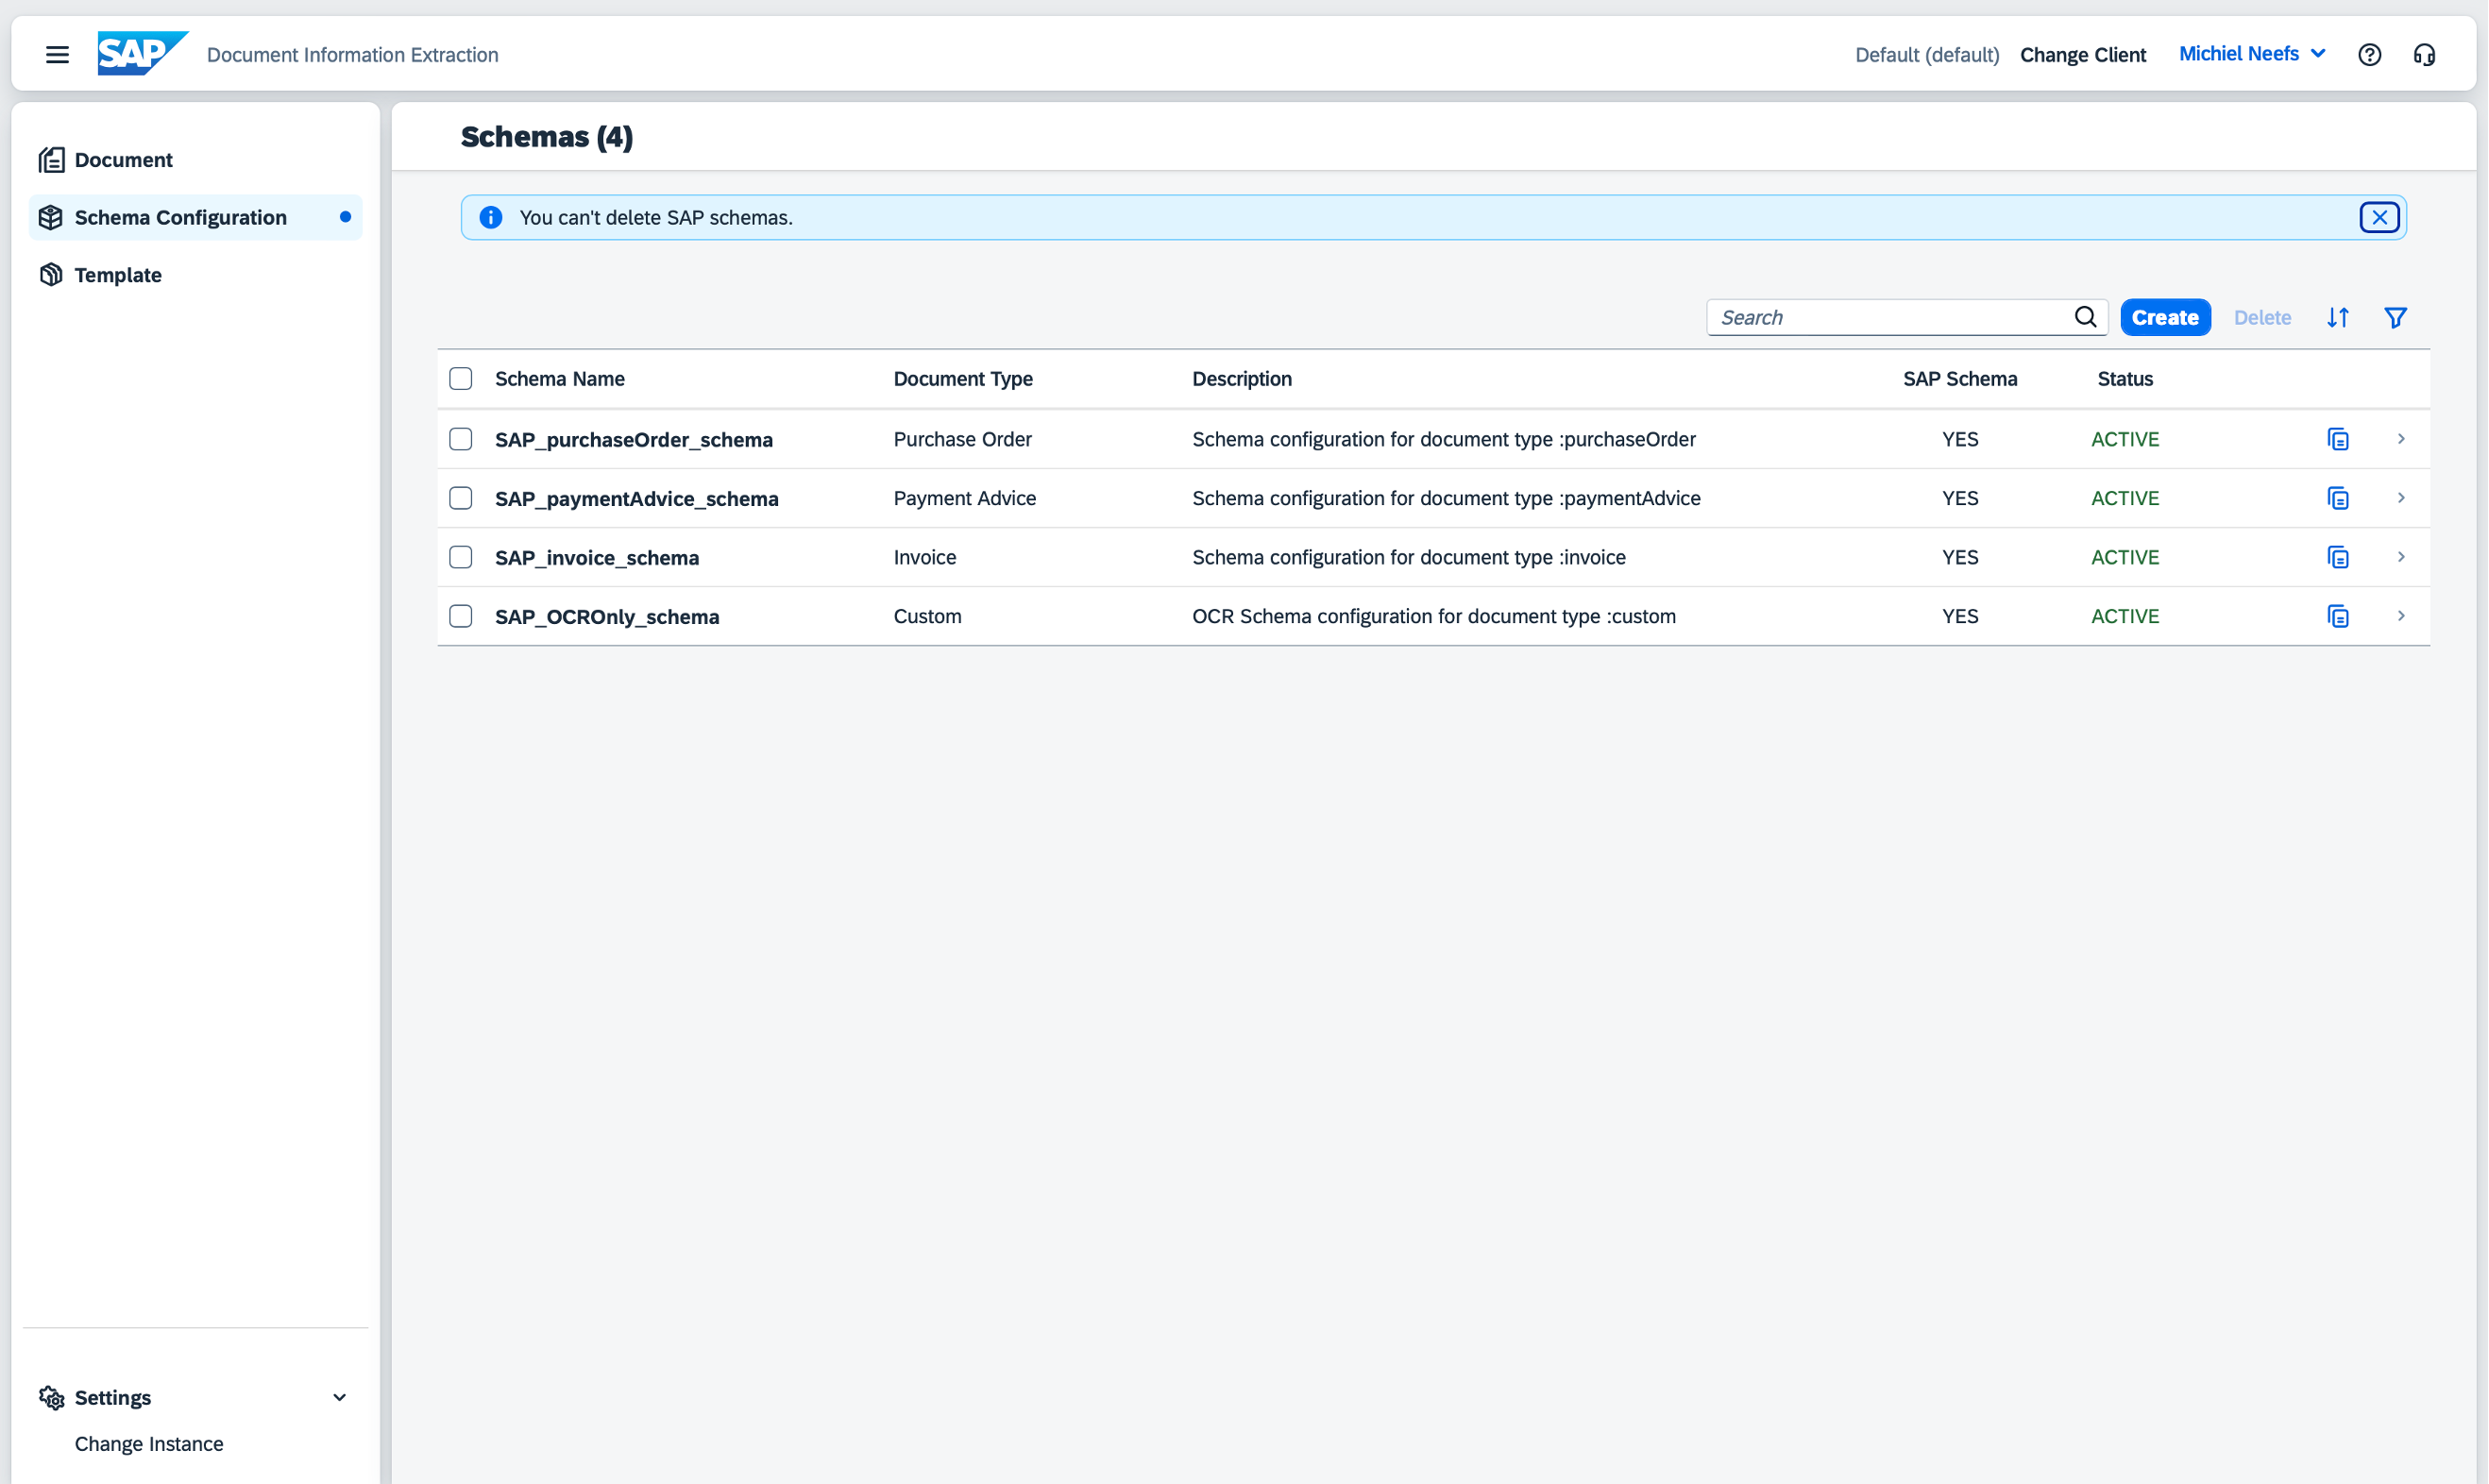
Schema configuration
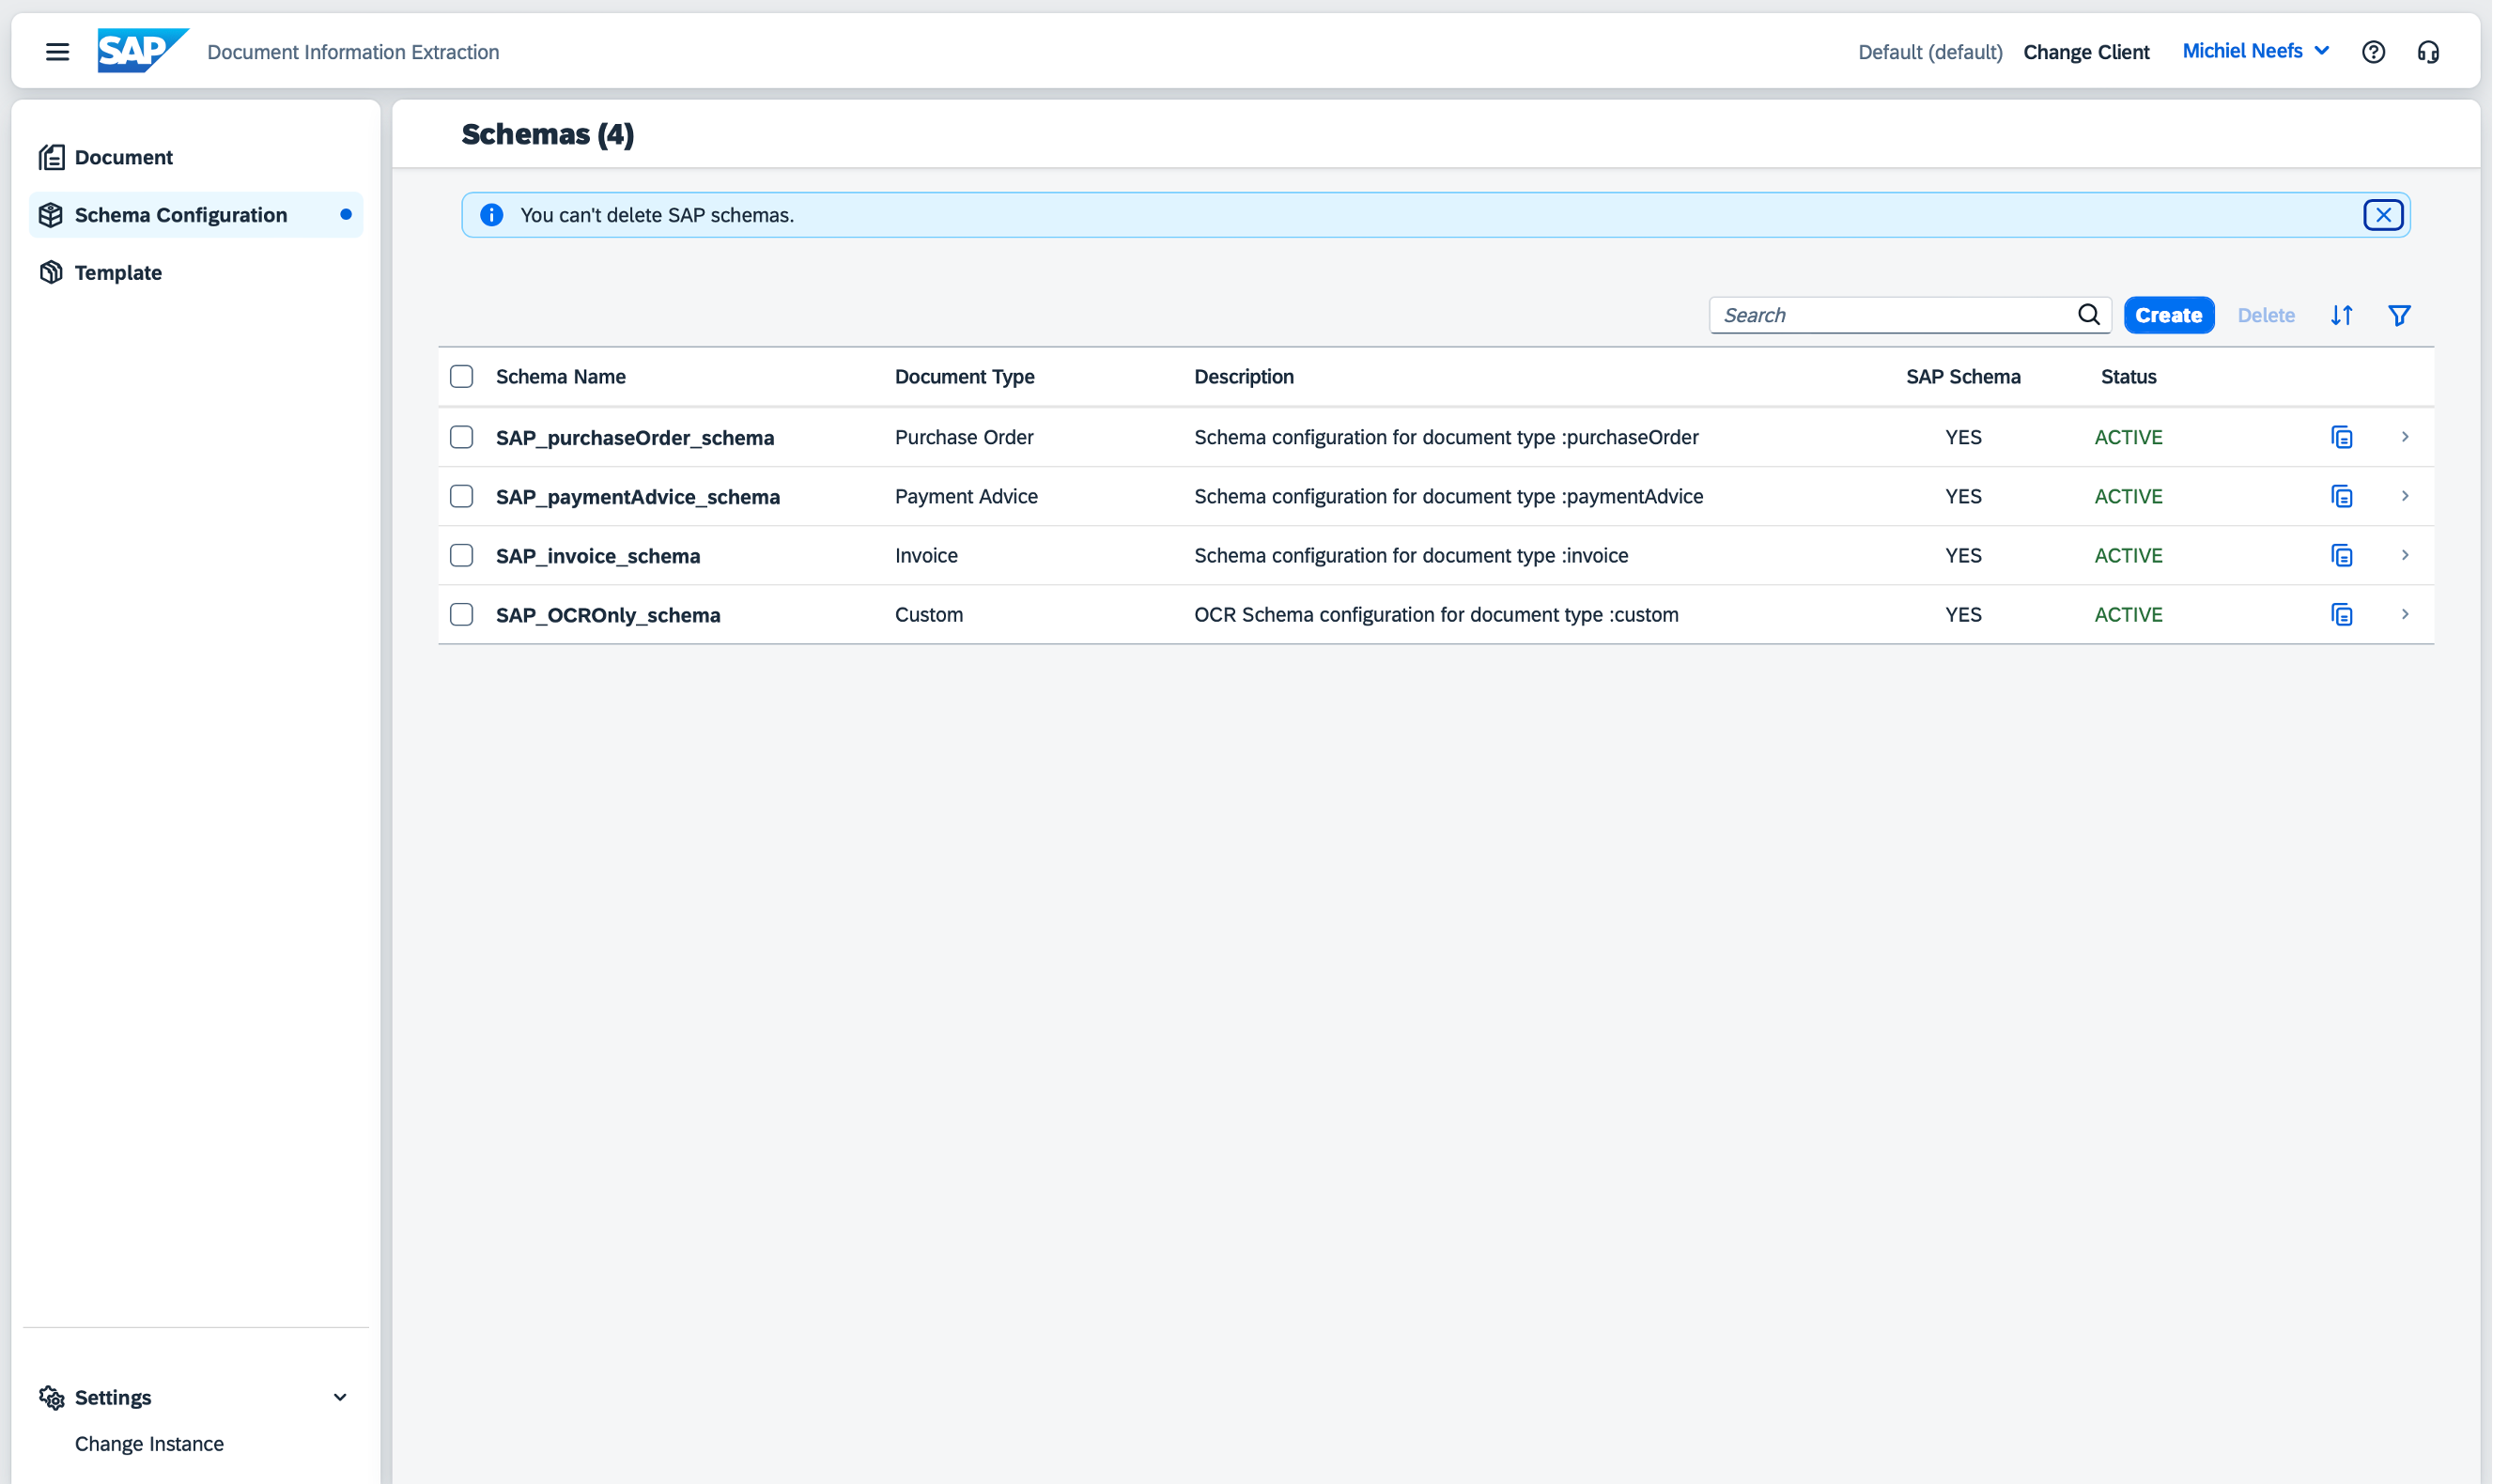
A schema is a collection of header and line item fields, for which the service will look when extraction information in a document. SAP provides some schemas out of the box (Purchase Order, Payment Advice and Invoice).
Templates
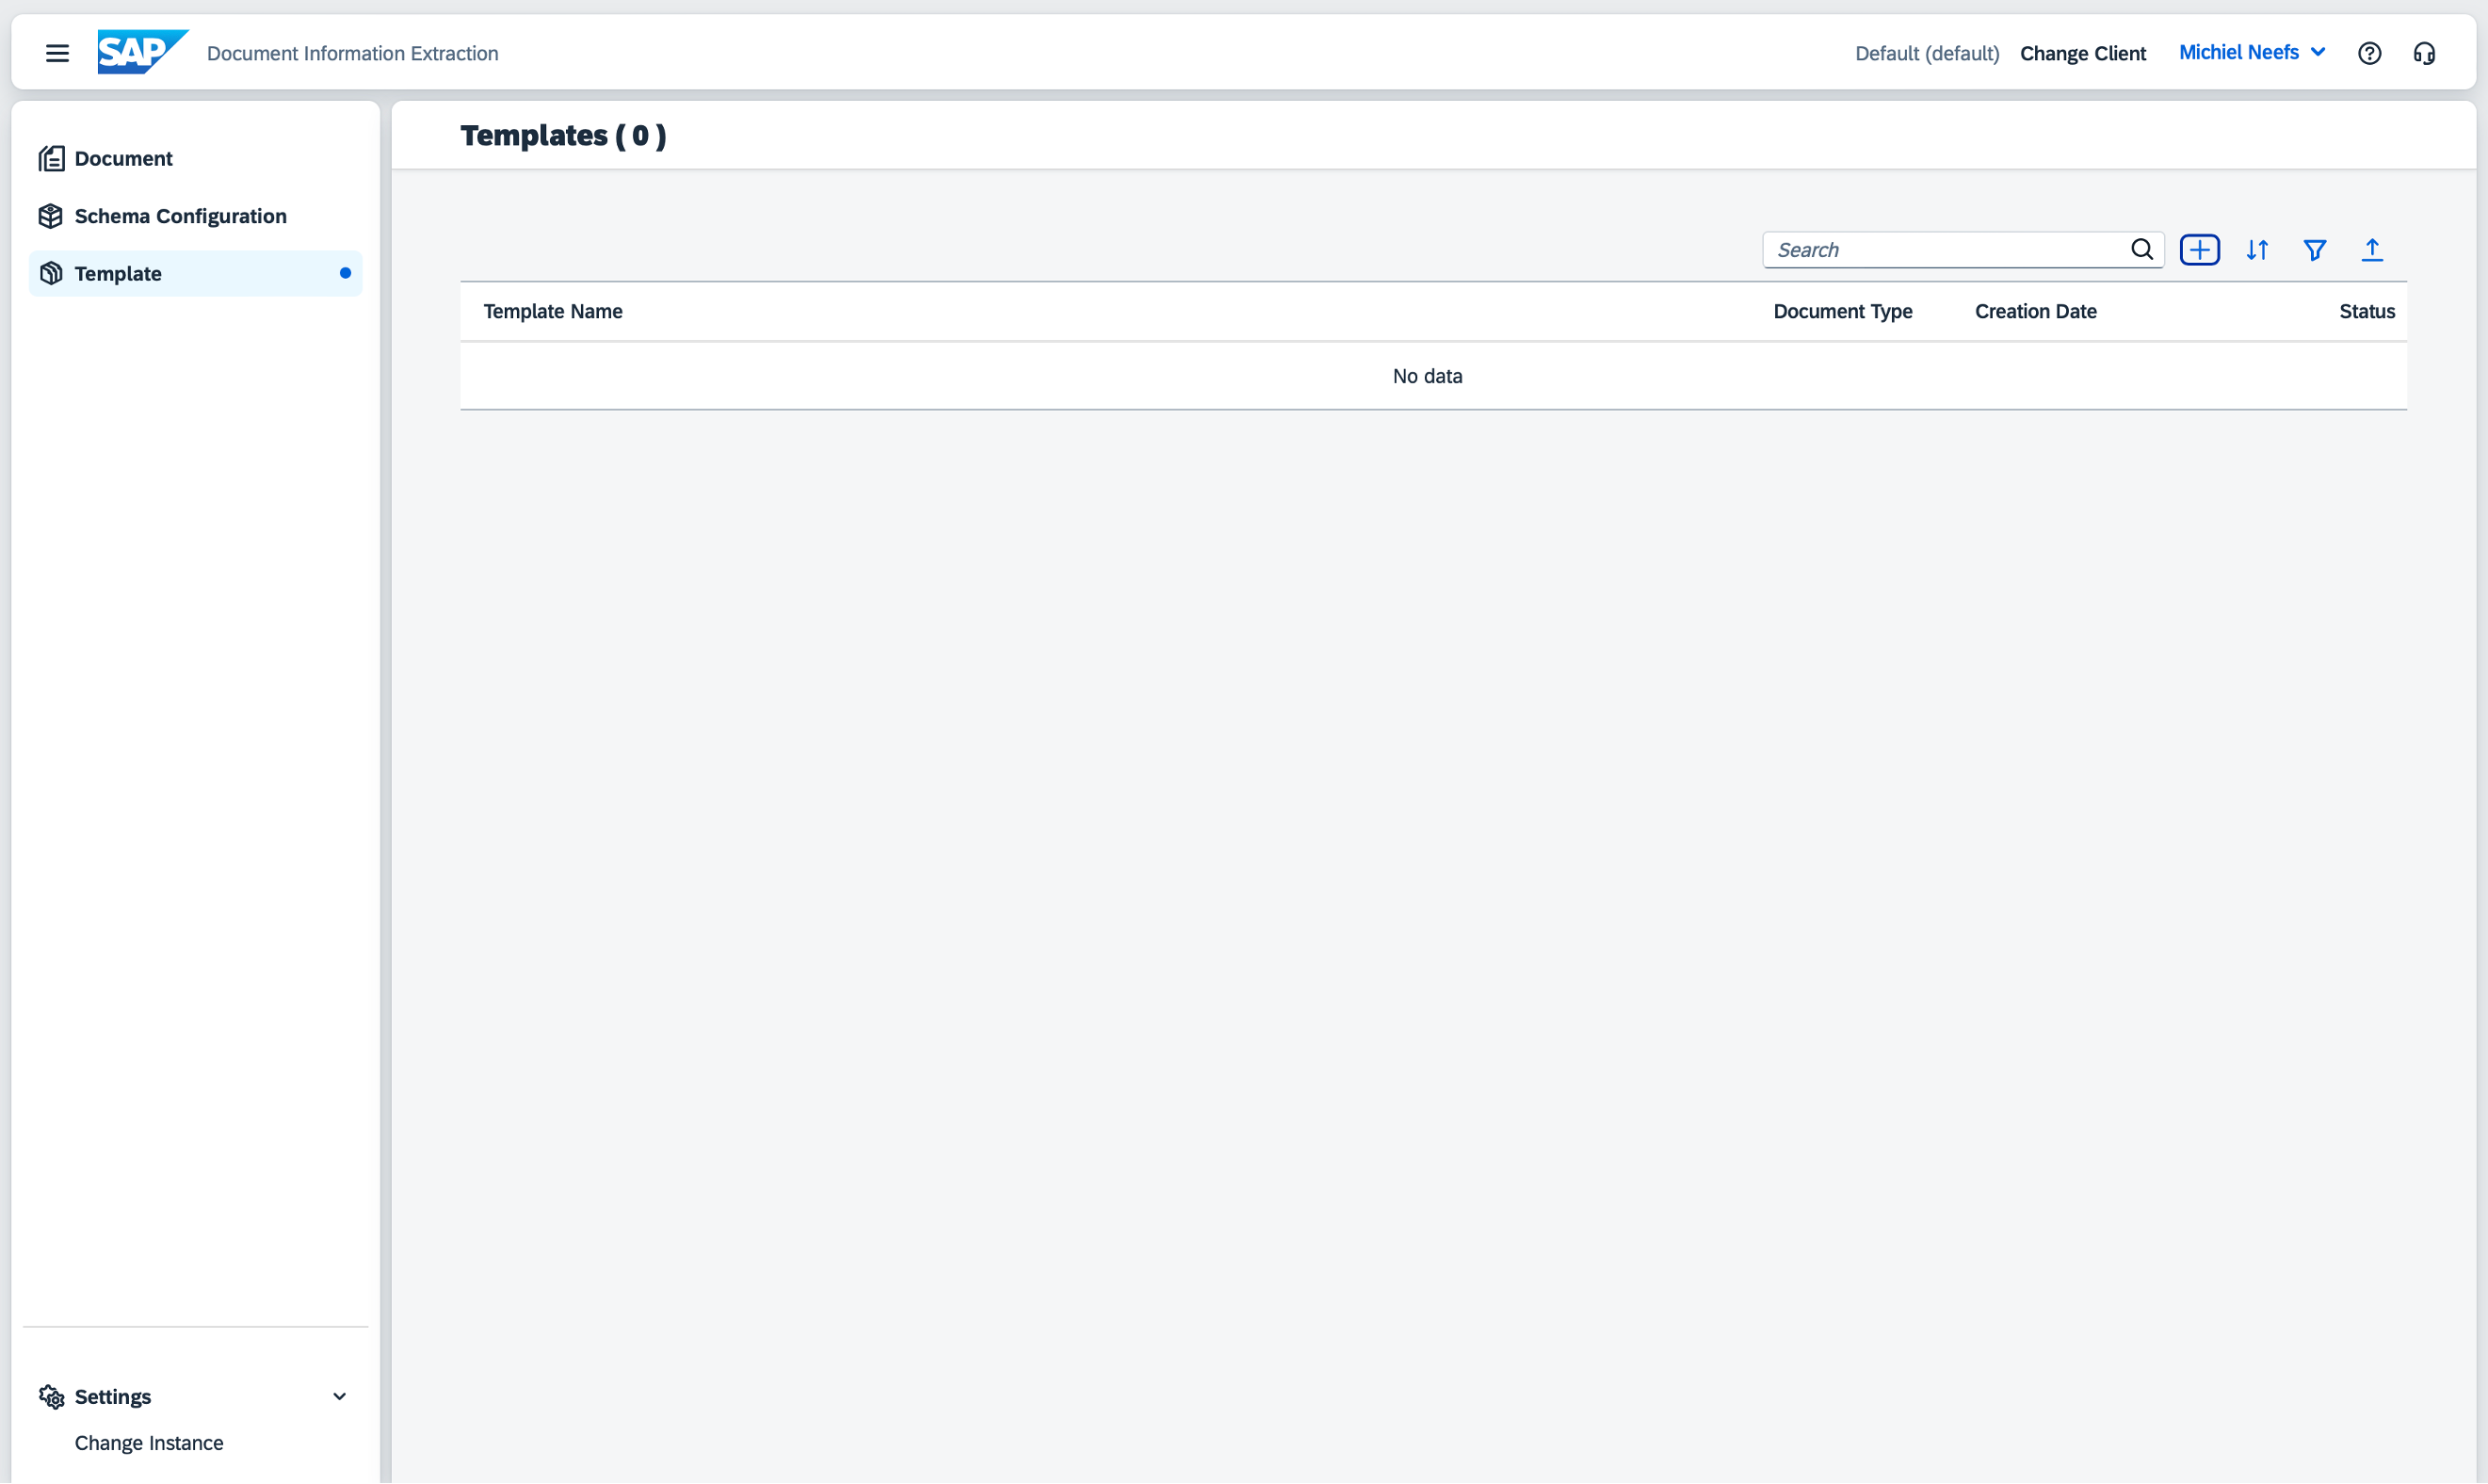
A template is used to show where fields for extraction are located in a particular document layout. Templates can be used with custom document types (such as a business card) or with standard document types (Purchase Order, Payment Advice and Invoice).
Exercises
Exercise 1 - Extracting information from a Purchase Order
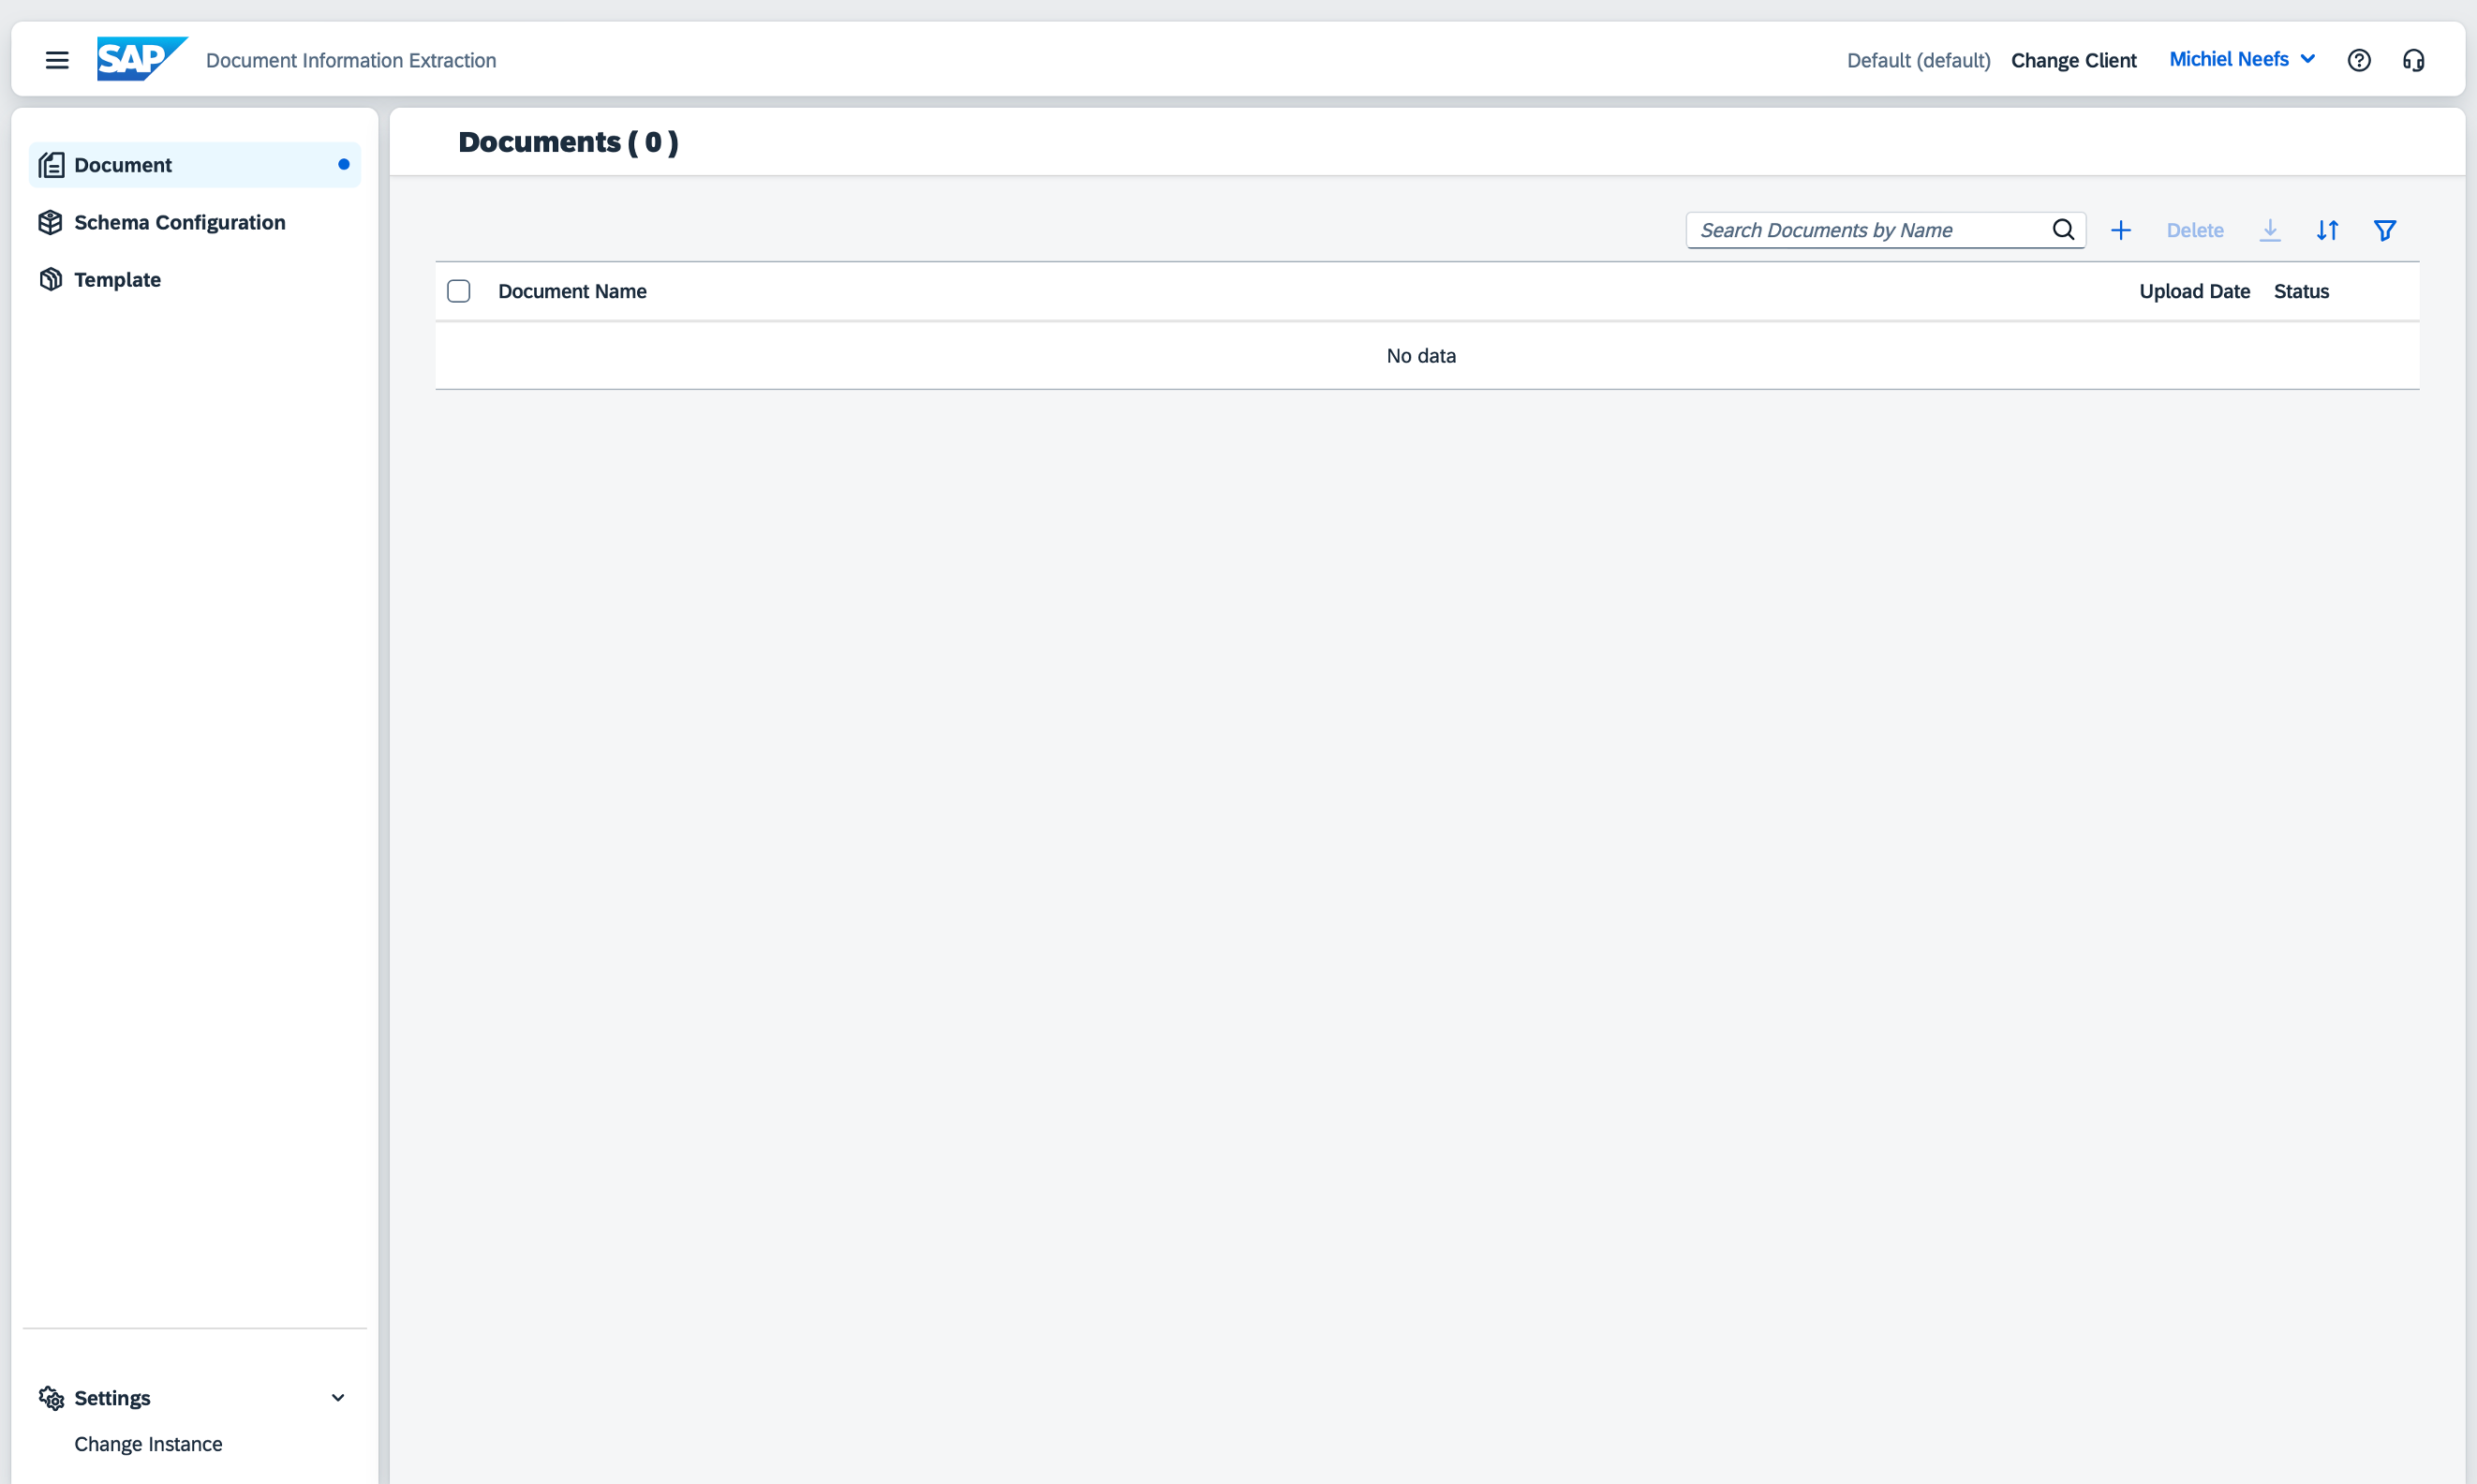
On the home page, click on the plus icon.
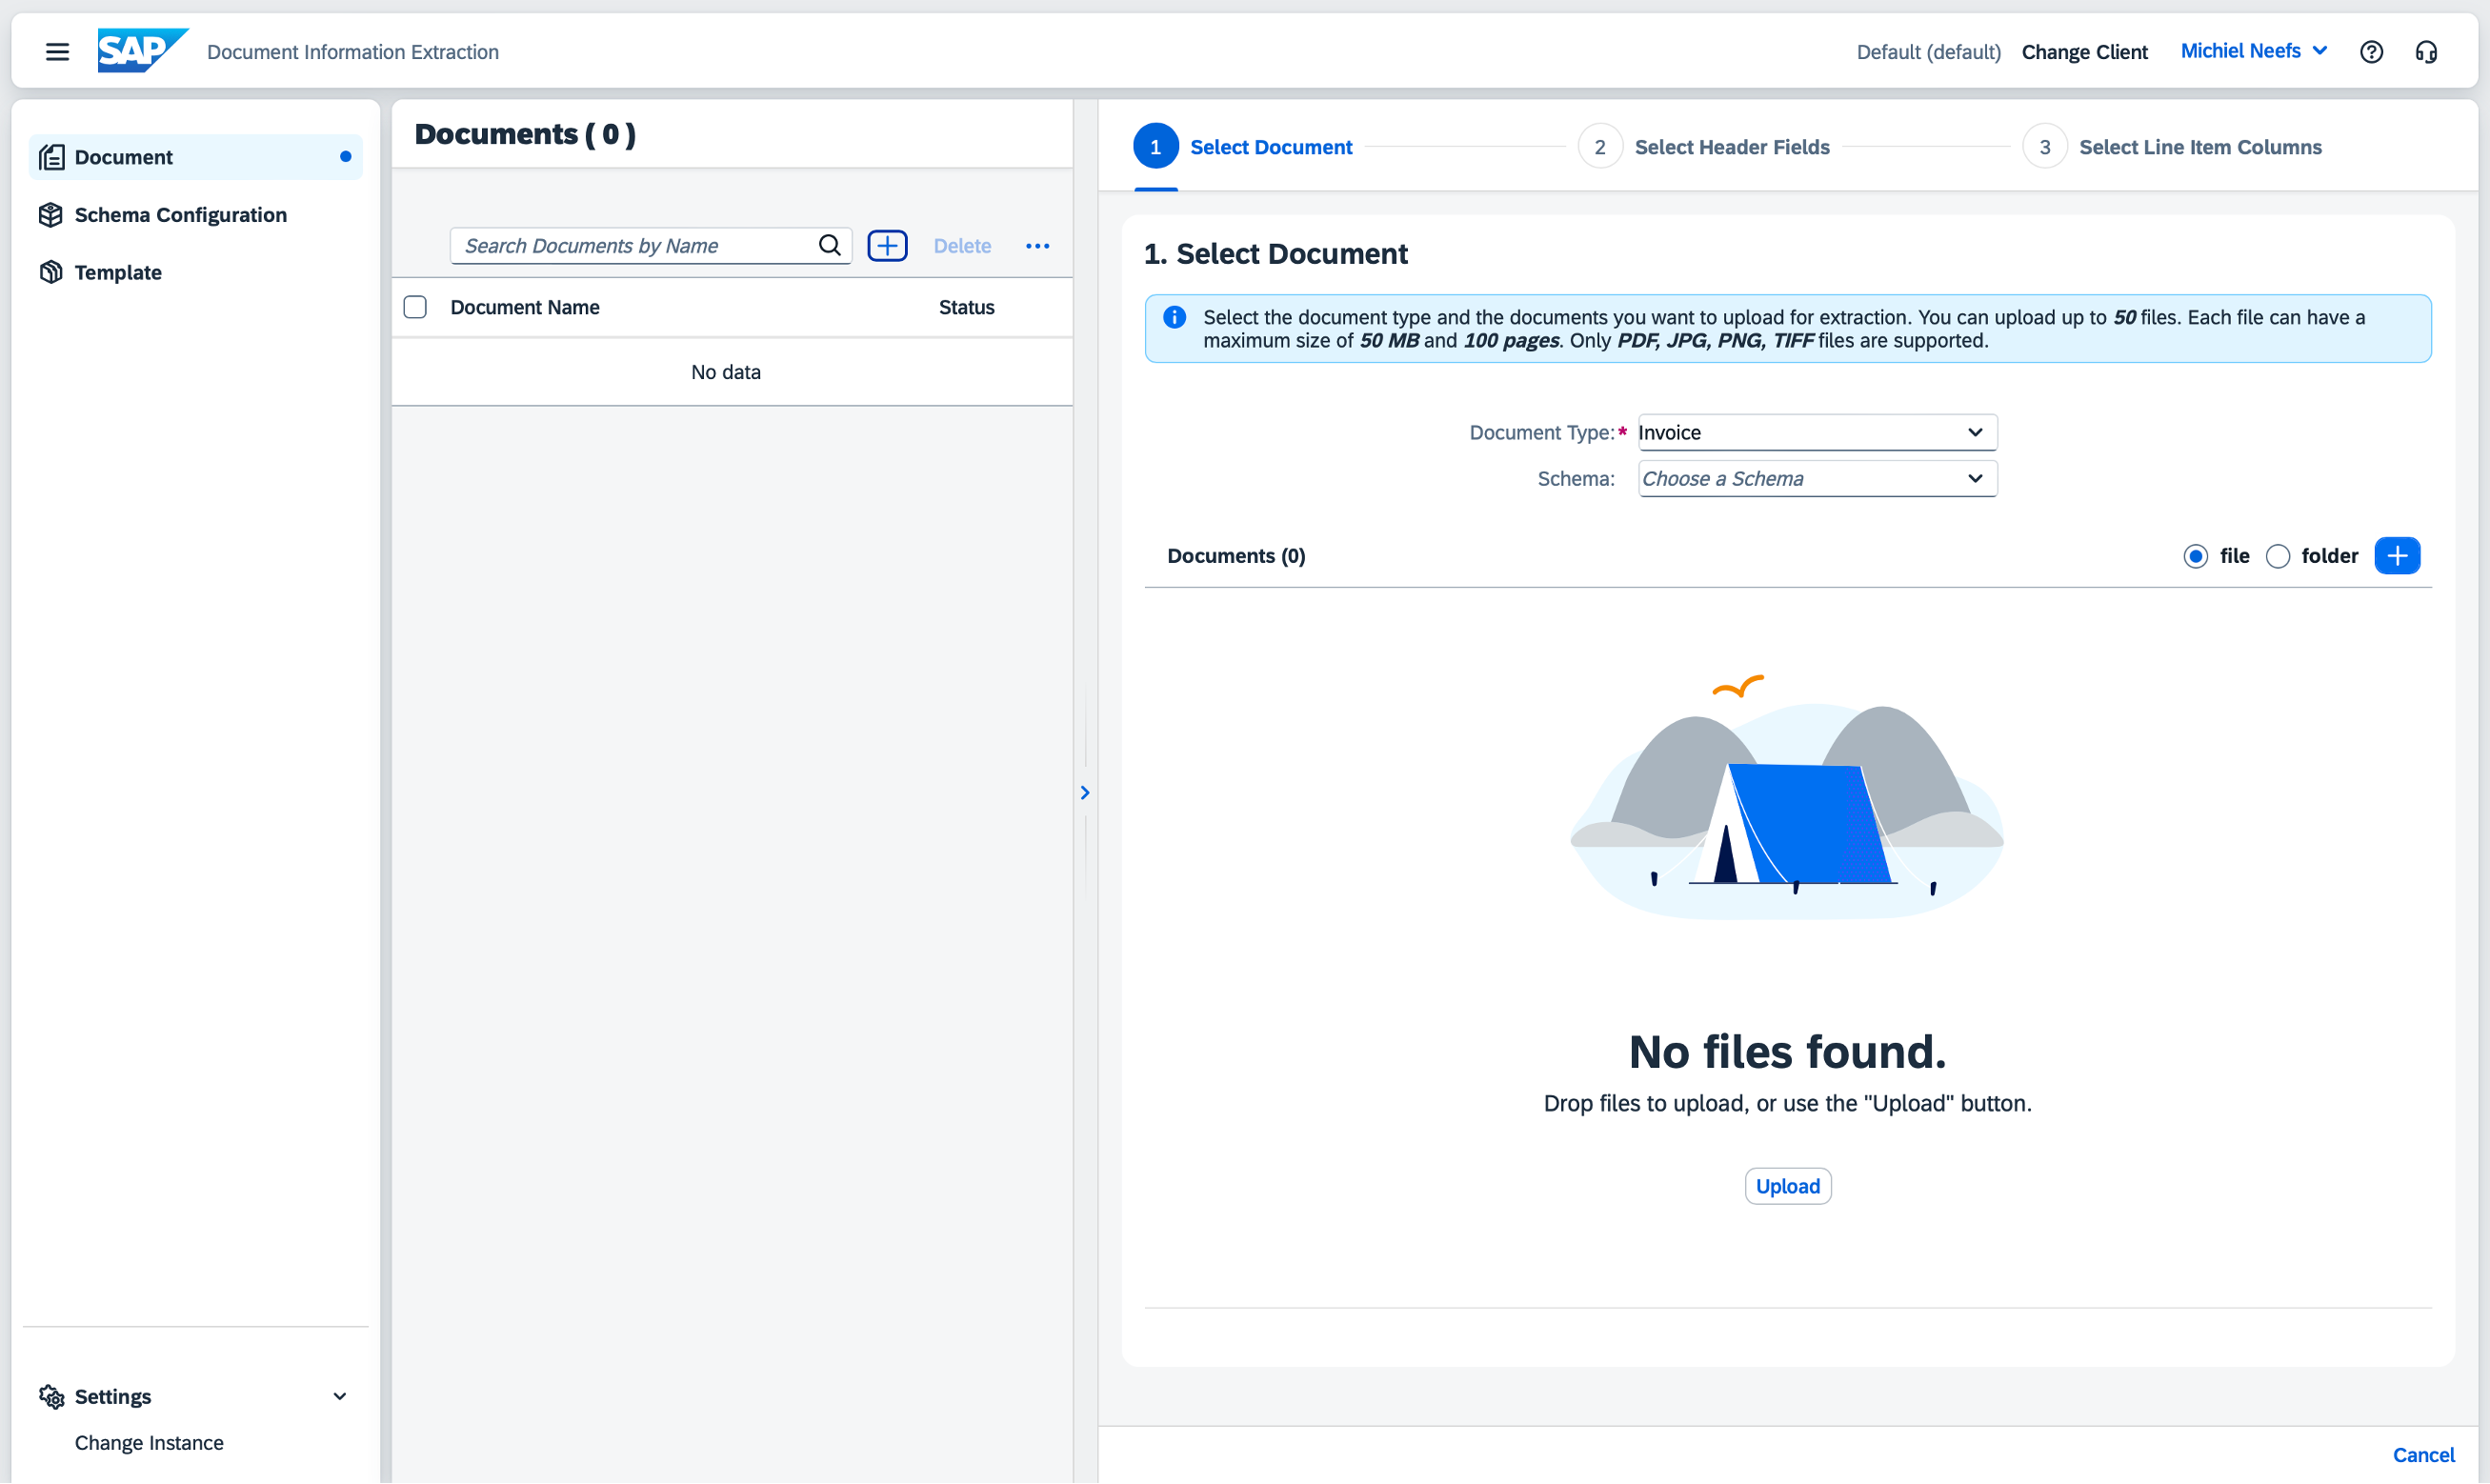
Select Purchase Order as Document Type, SAP_purchaseOrder_schema as Schema and leave the template field empty. Click on Upload to select a file and choose 20240514_Exercise1.pdf.
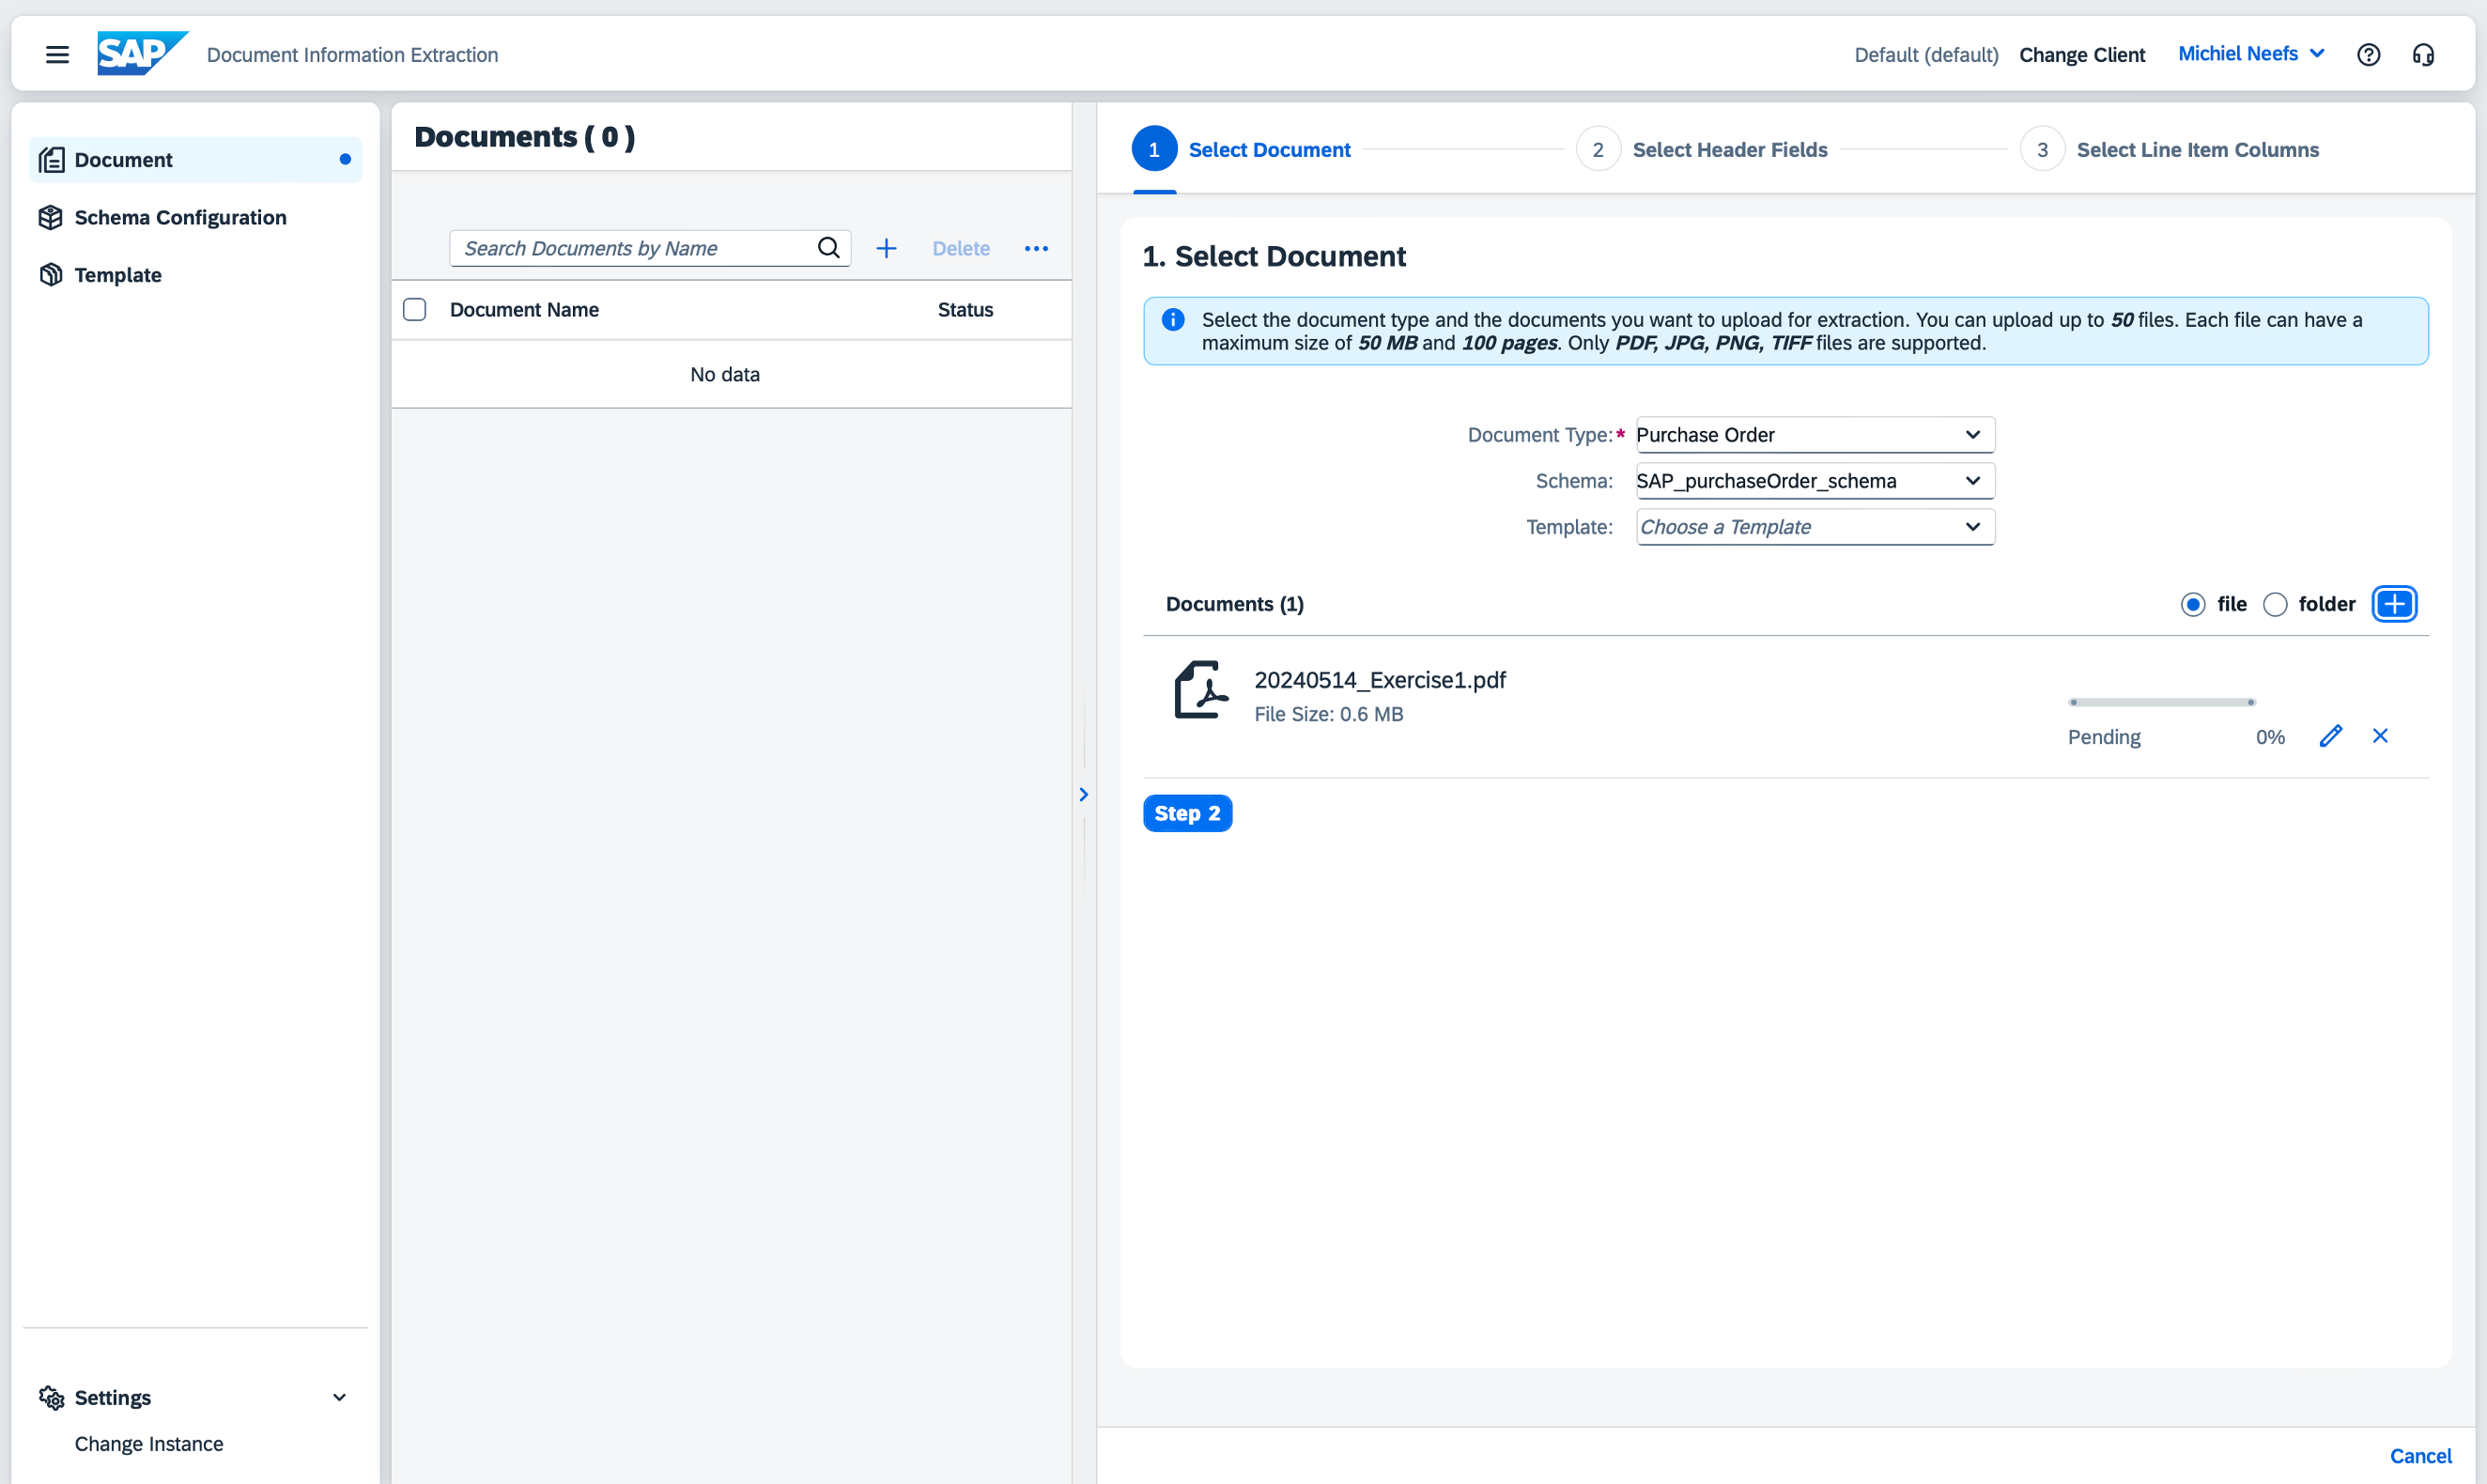
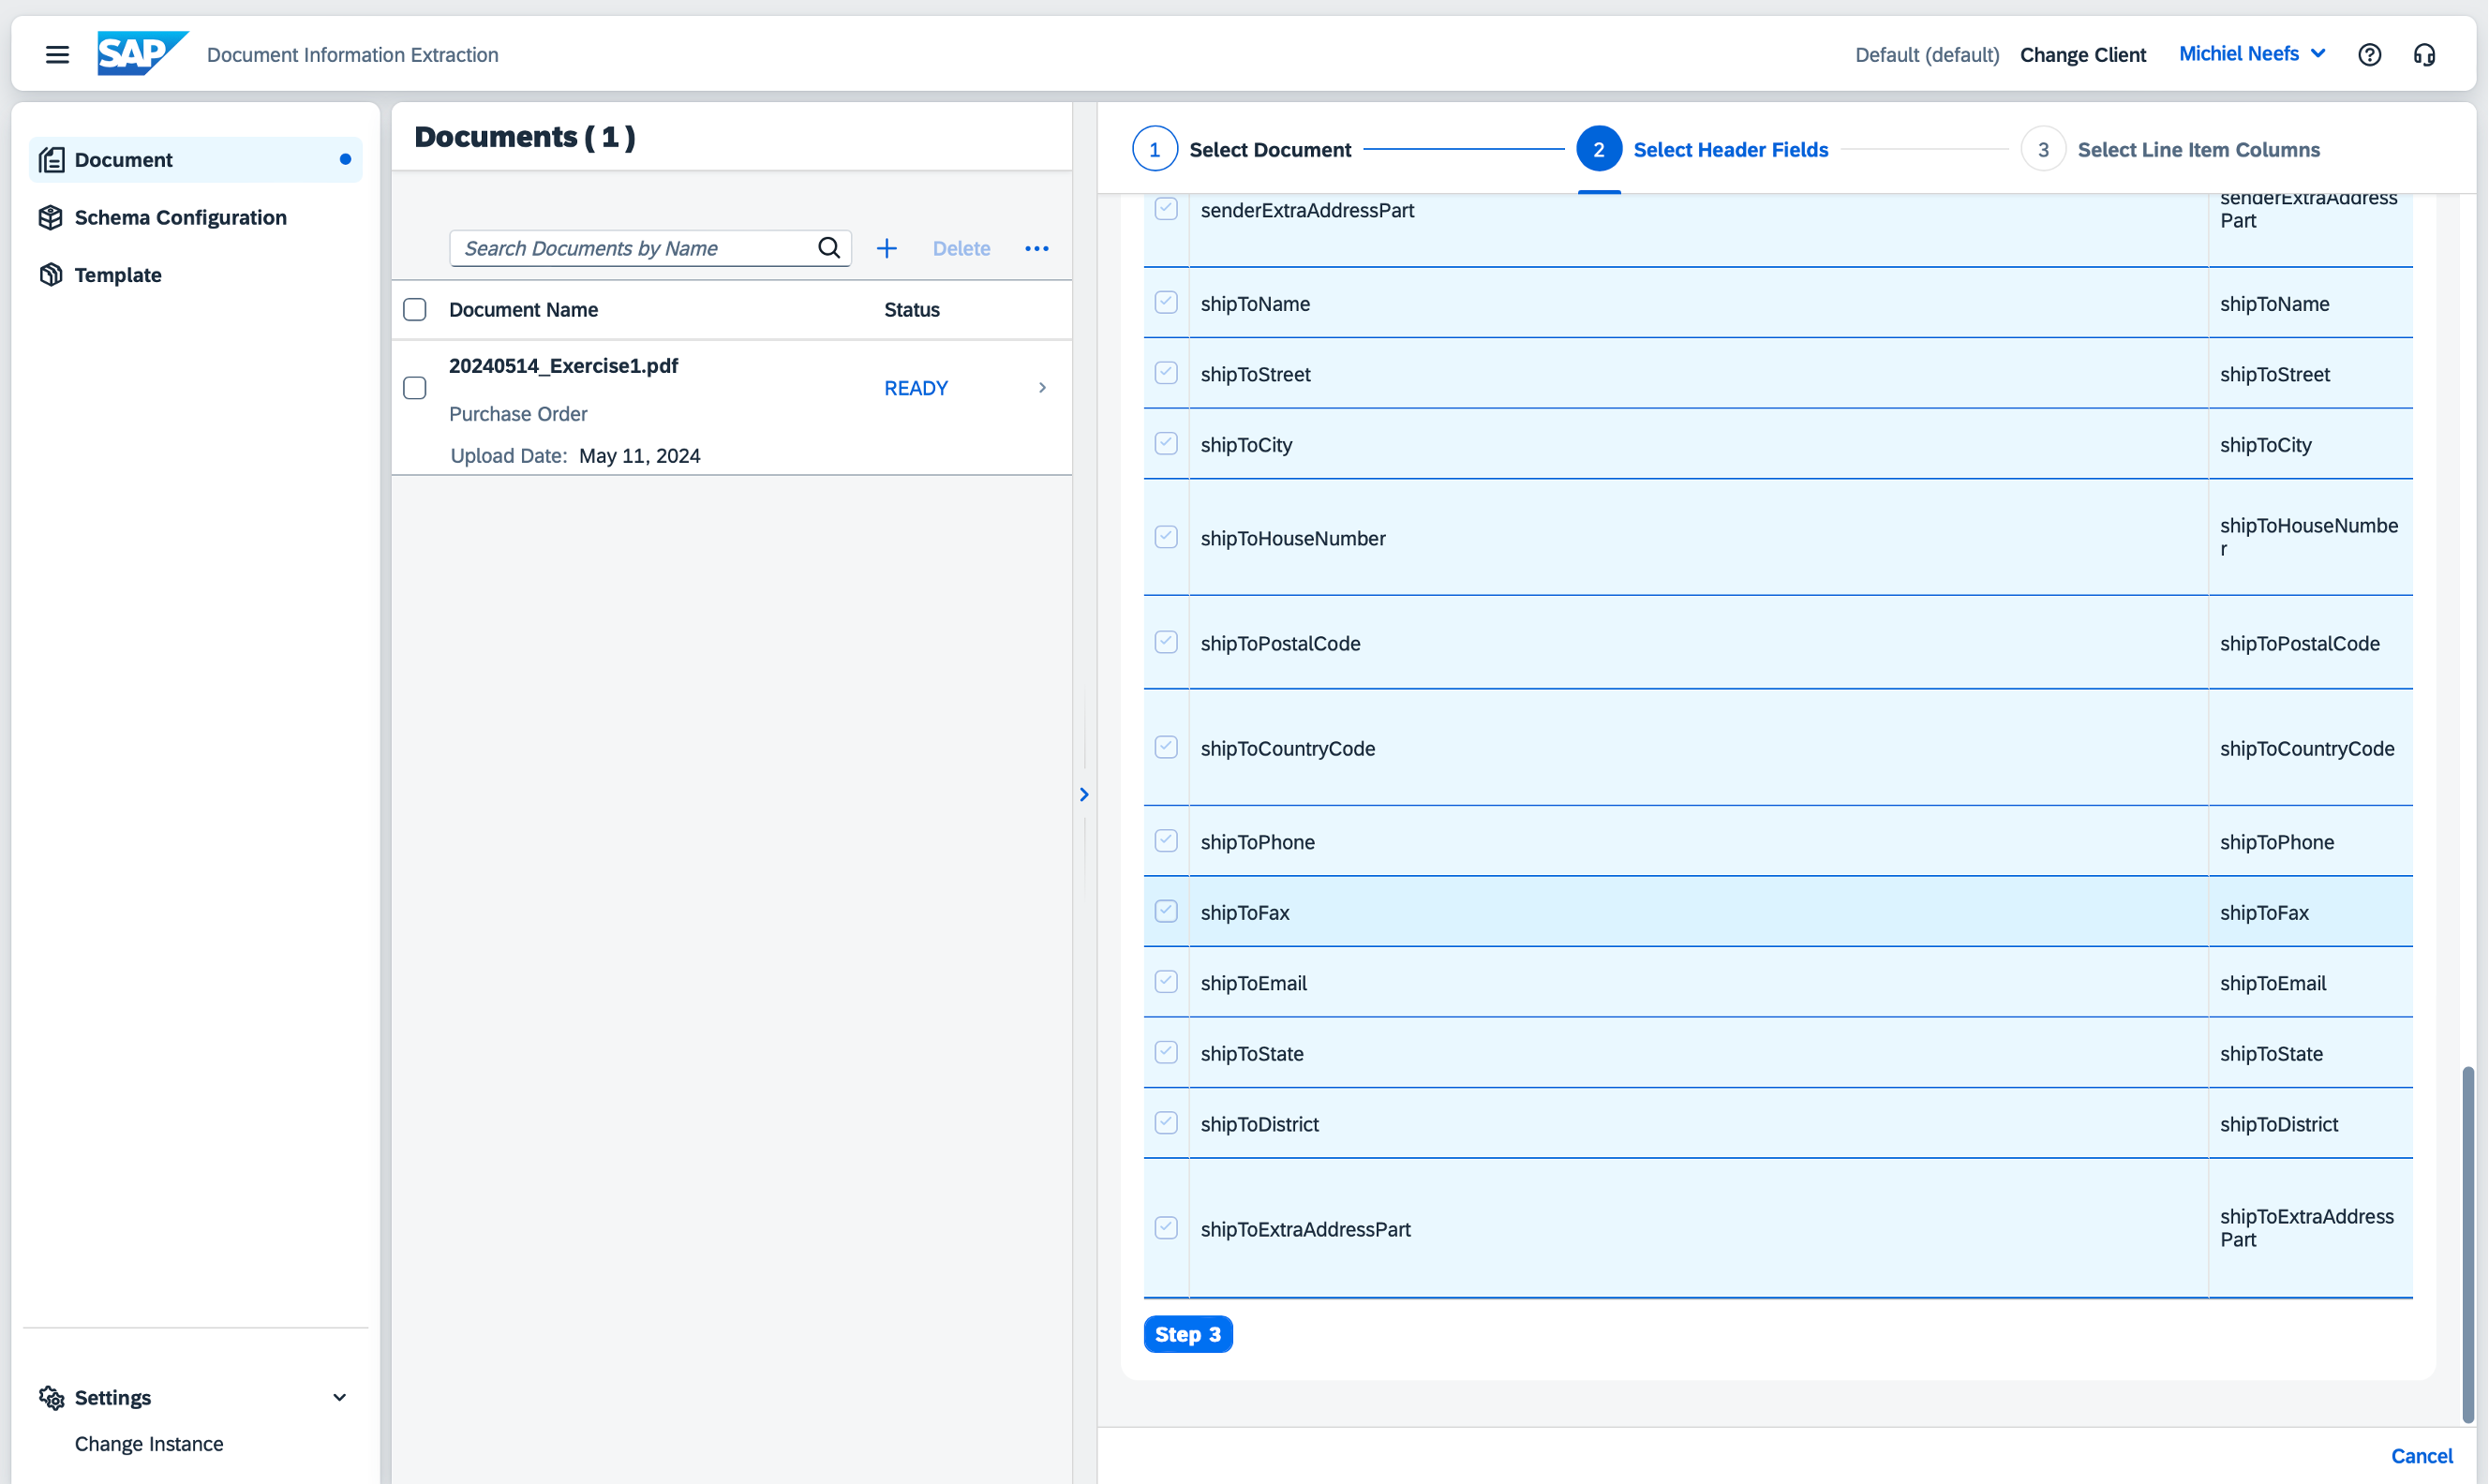
Click on Step 2.
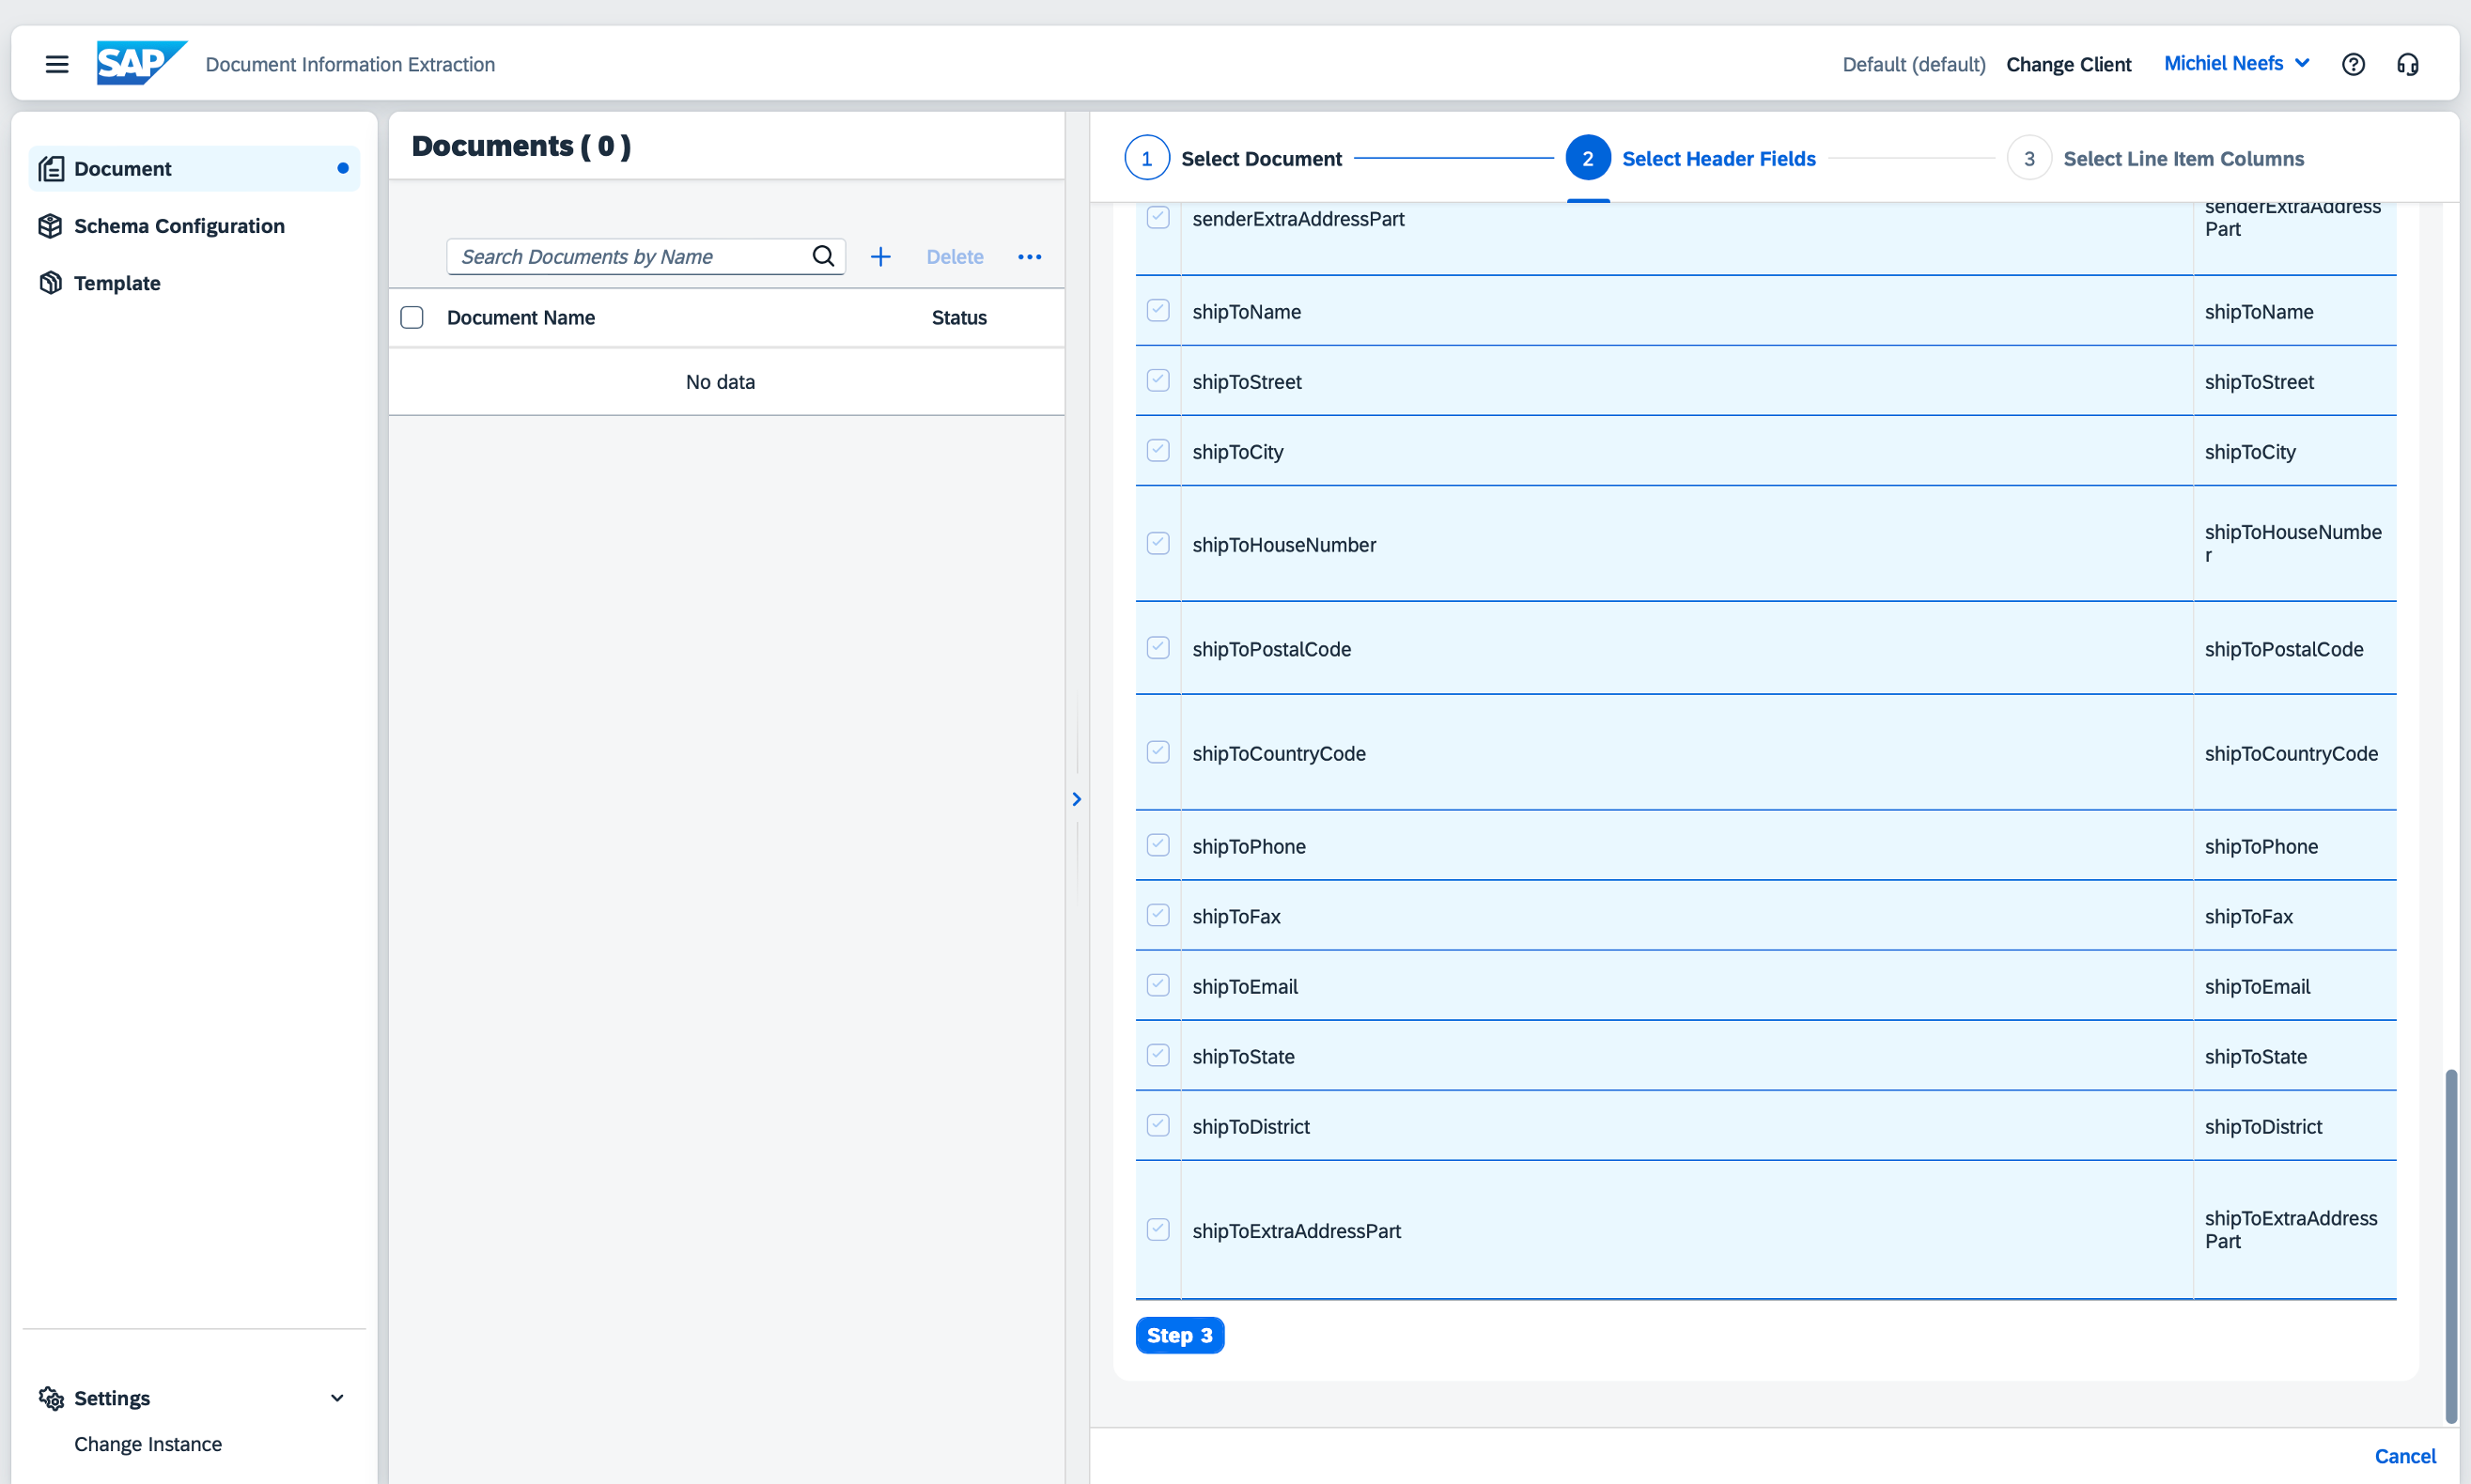
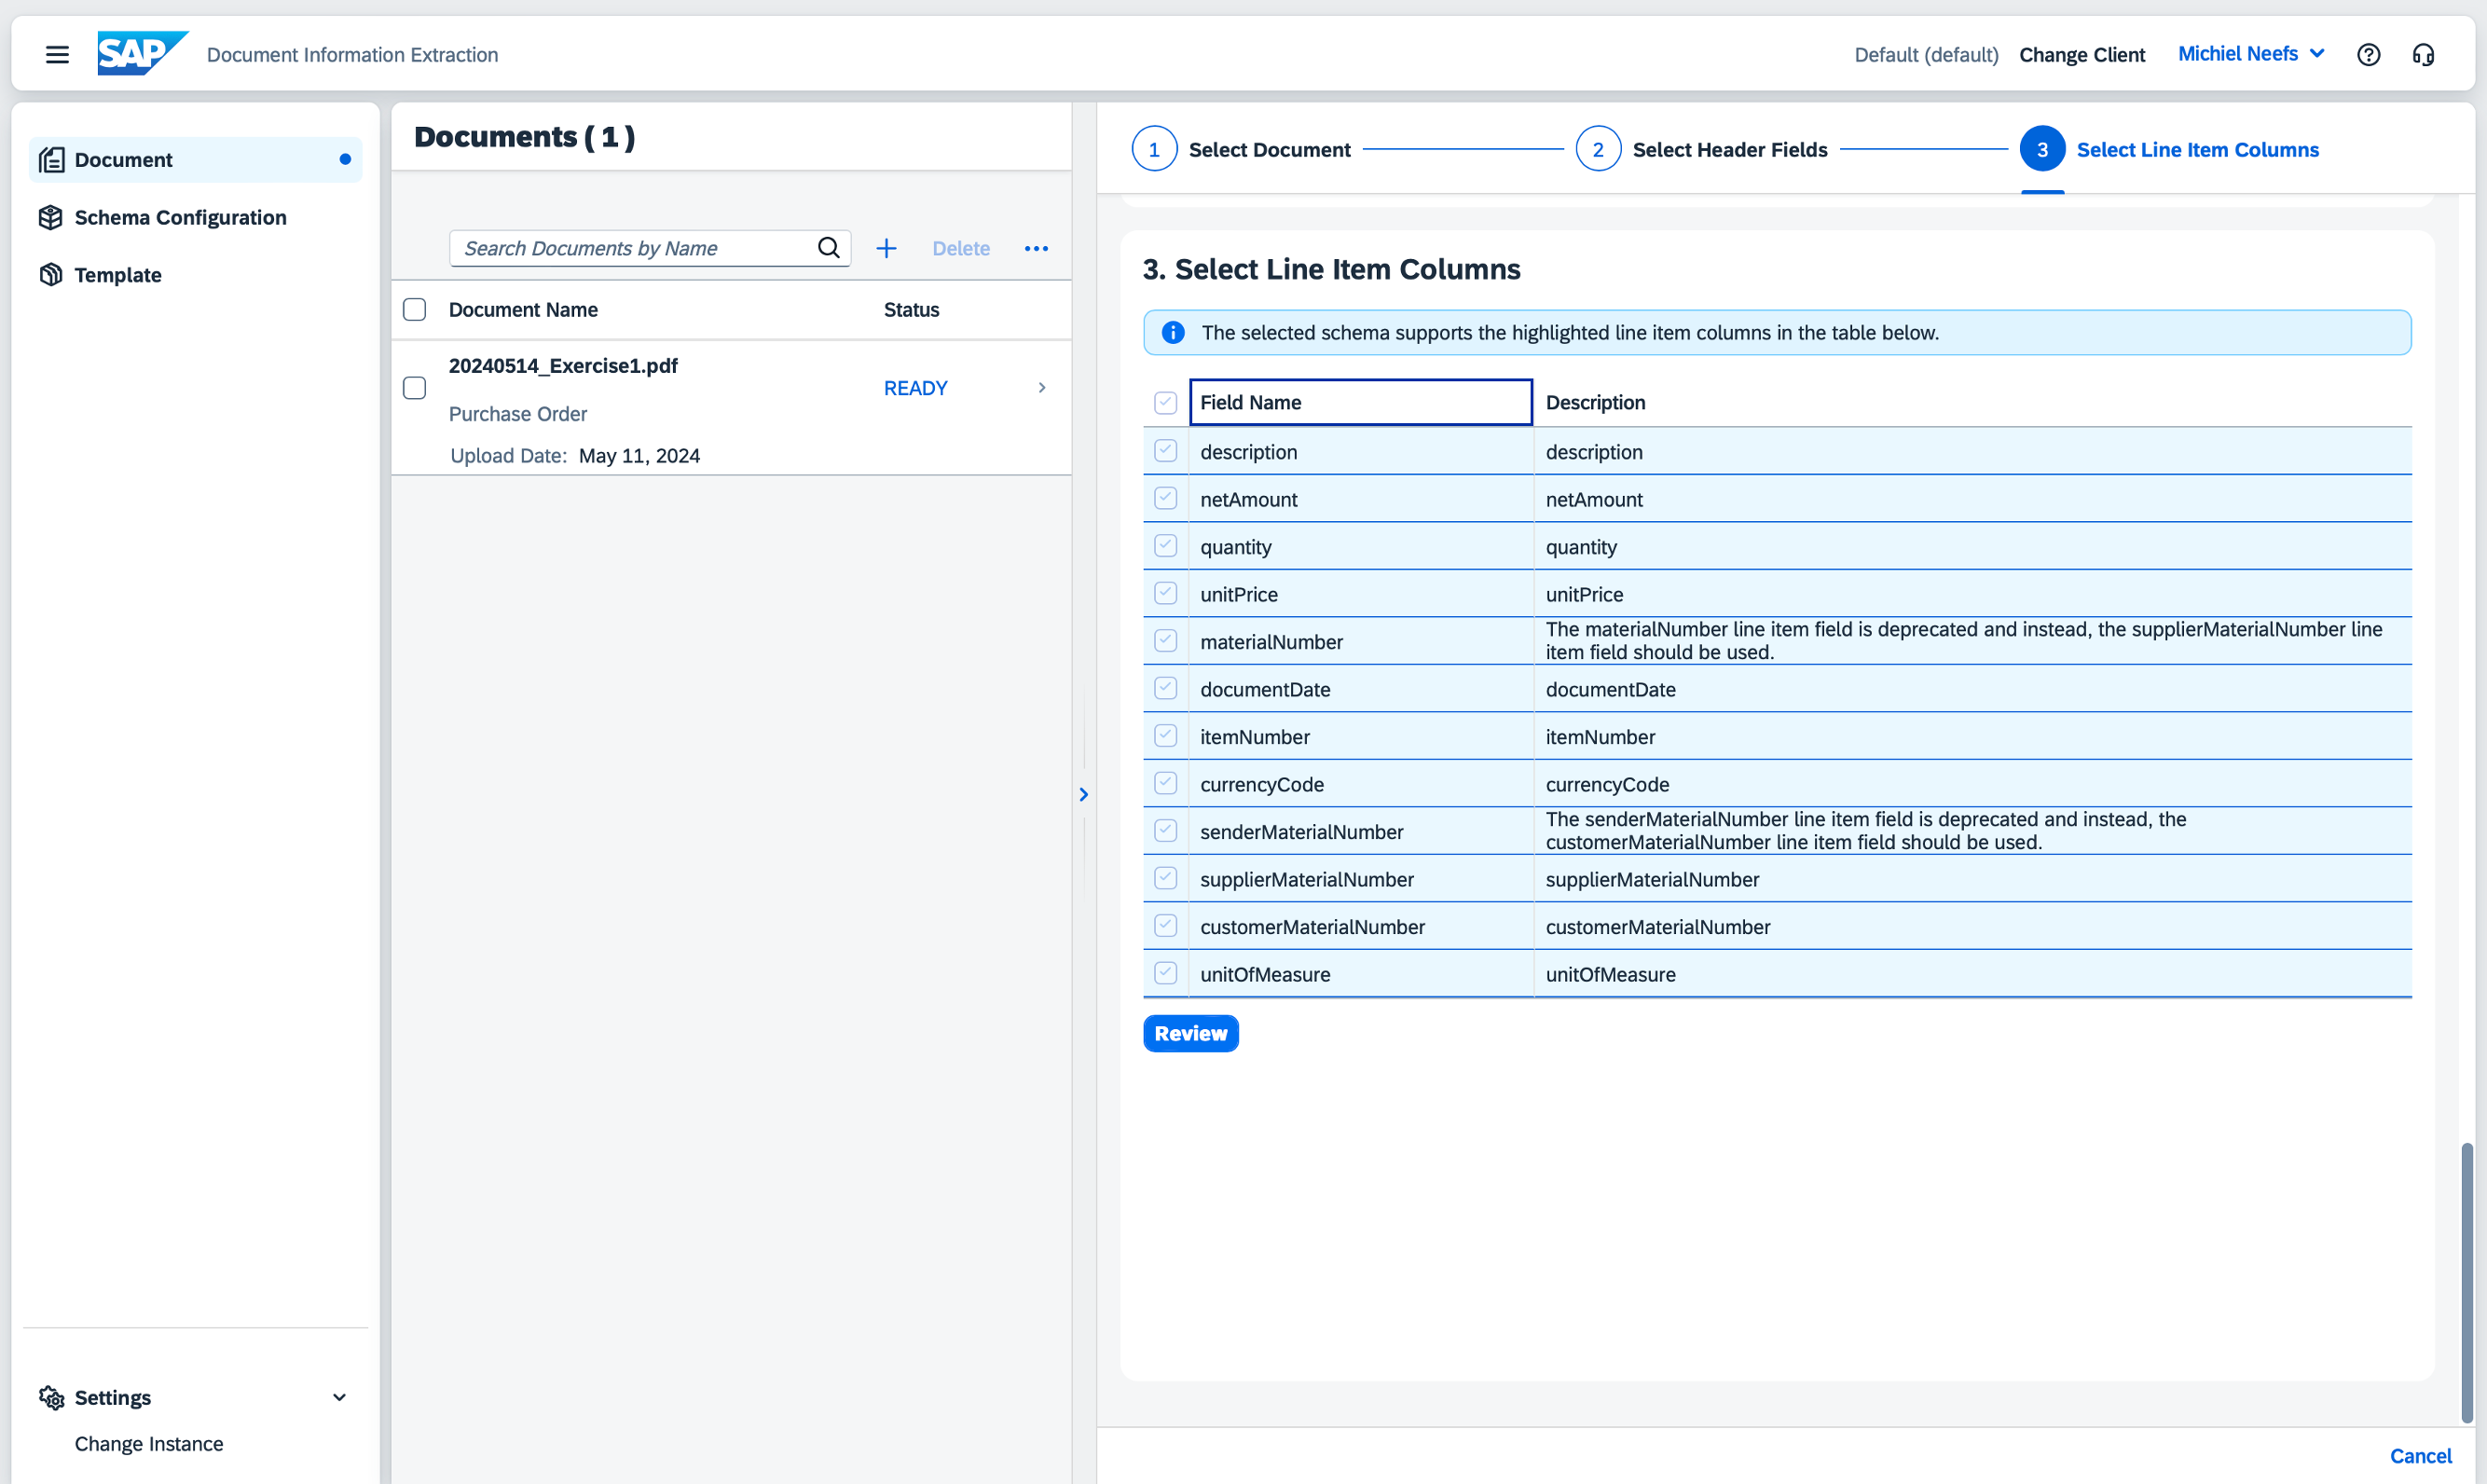
All header fields are selected by default. Leave it like this and click on Step 3.
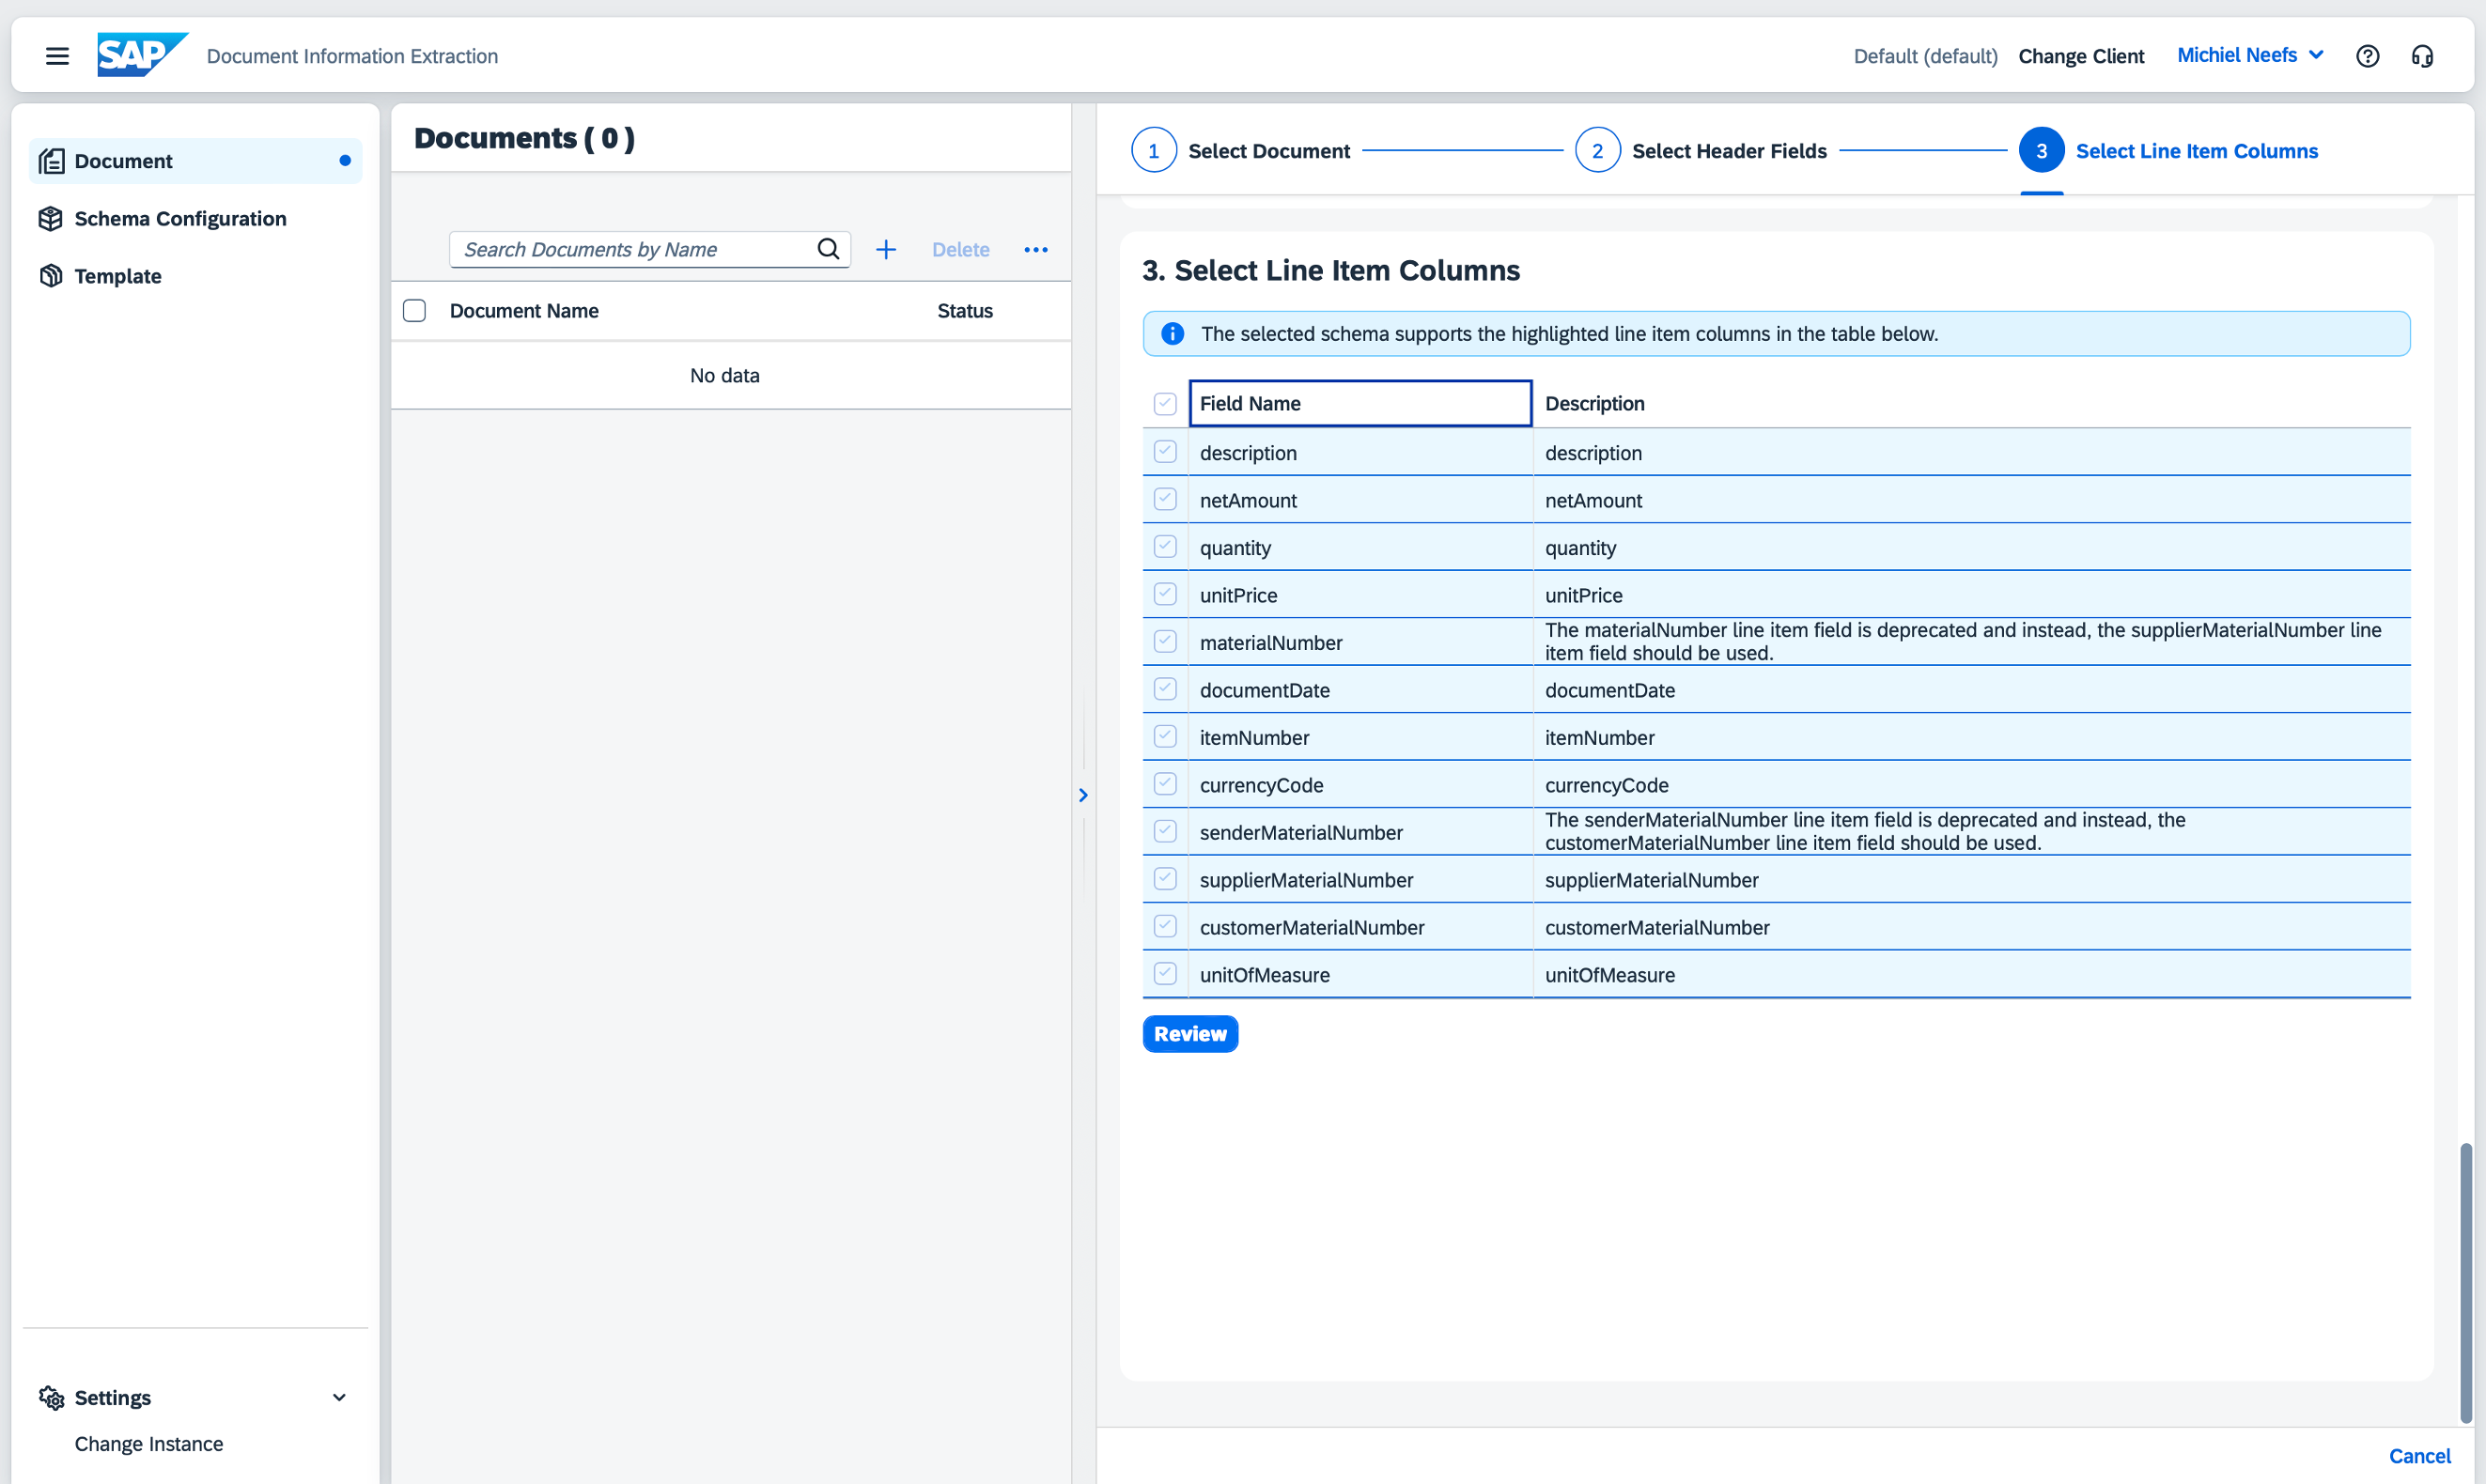
All line item fields are selected by default. Leave it like this and click on Review.
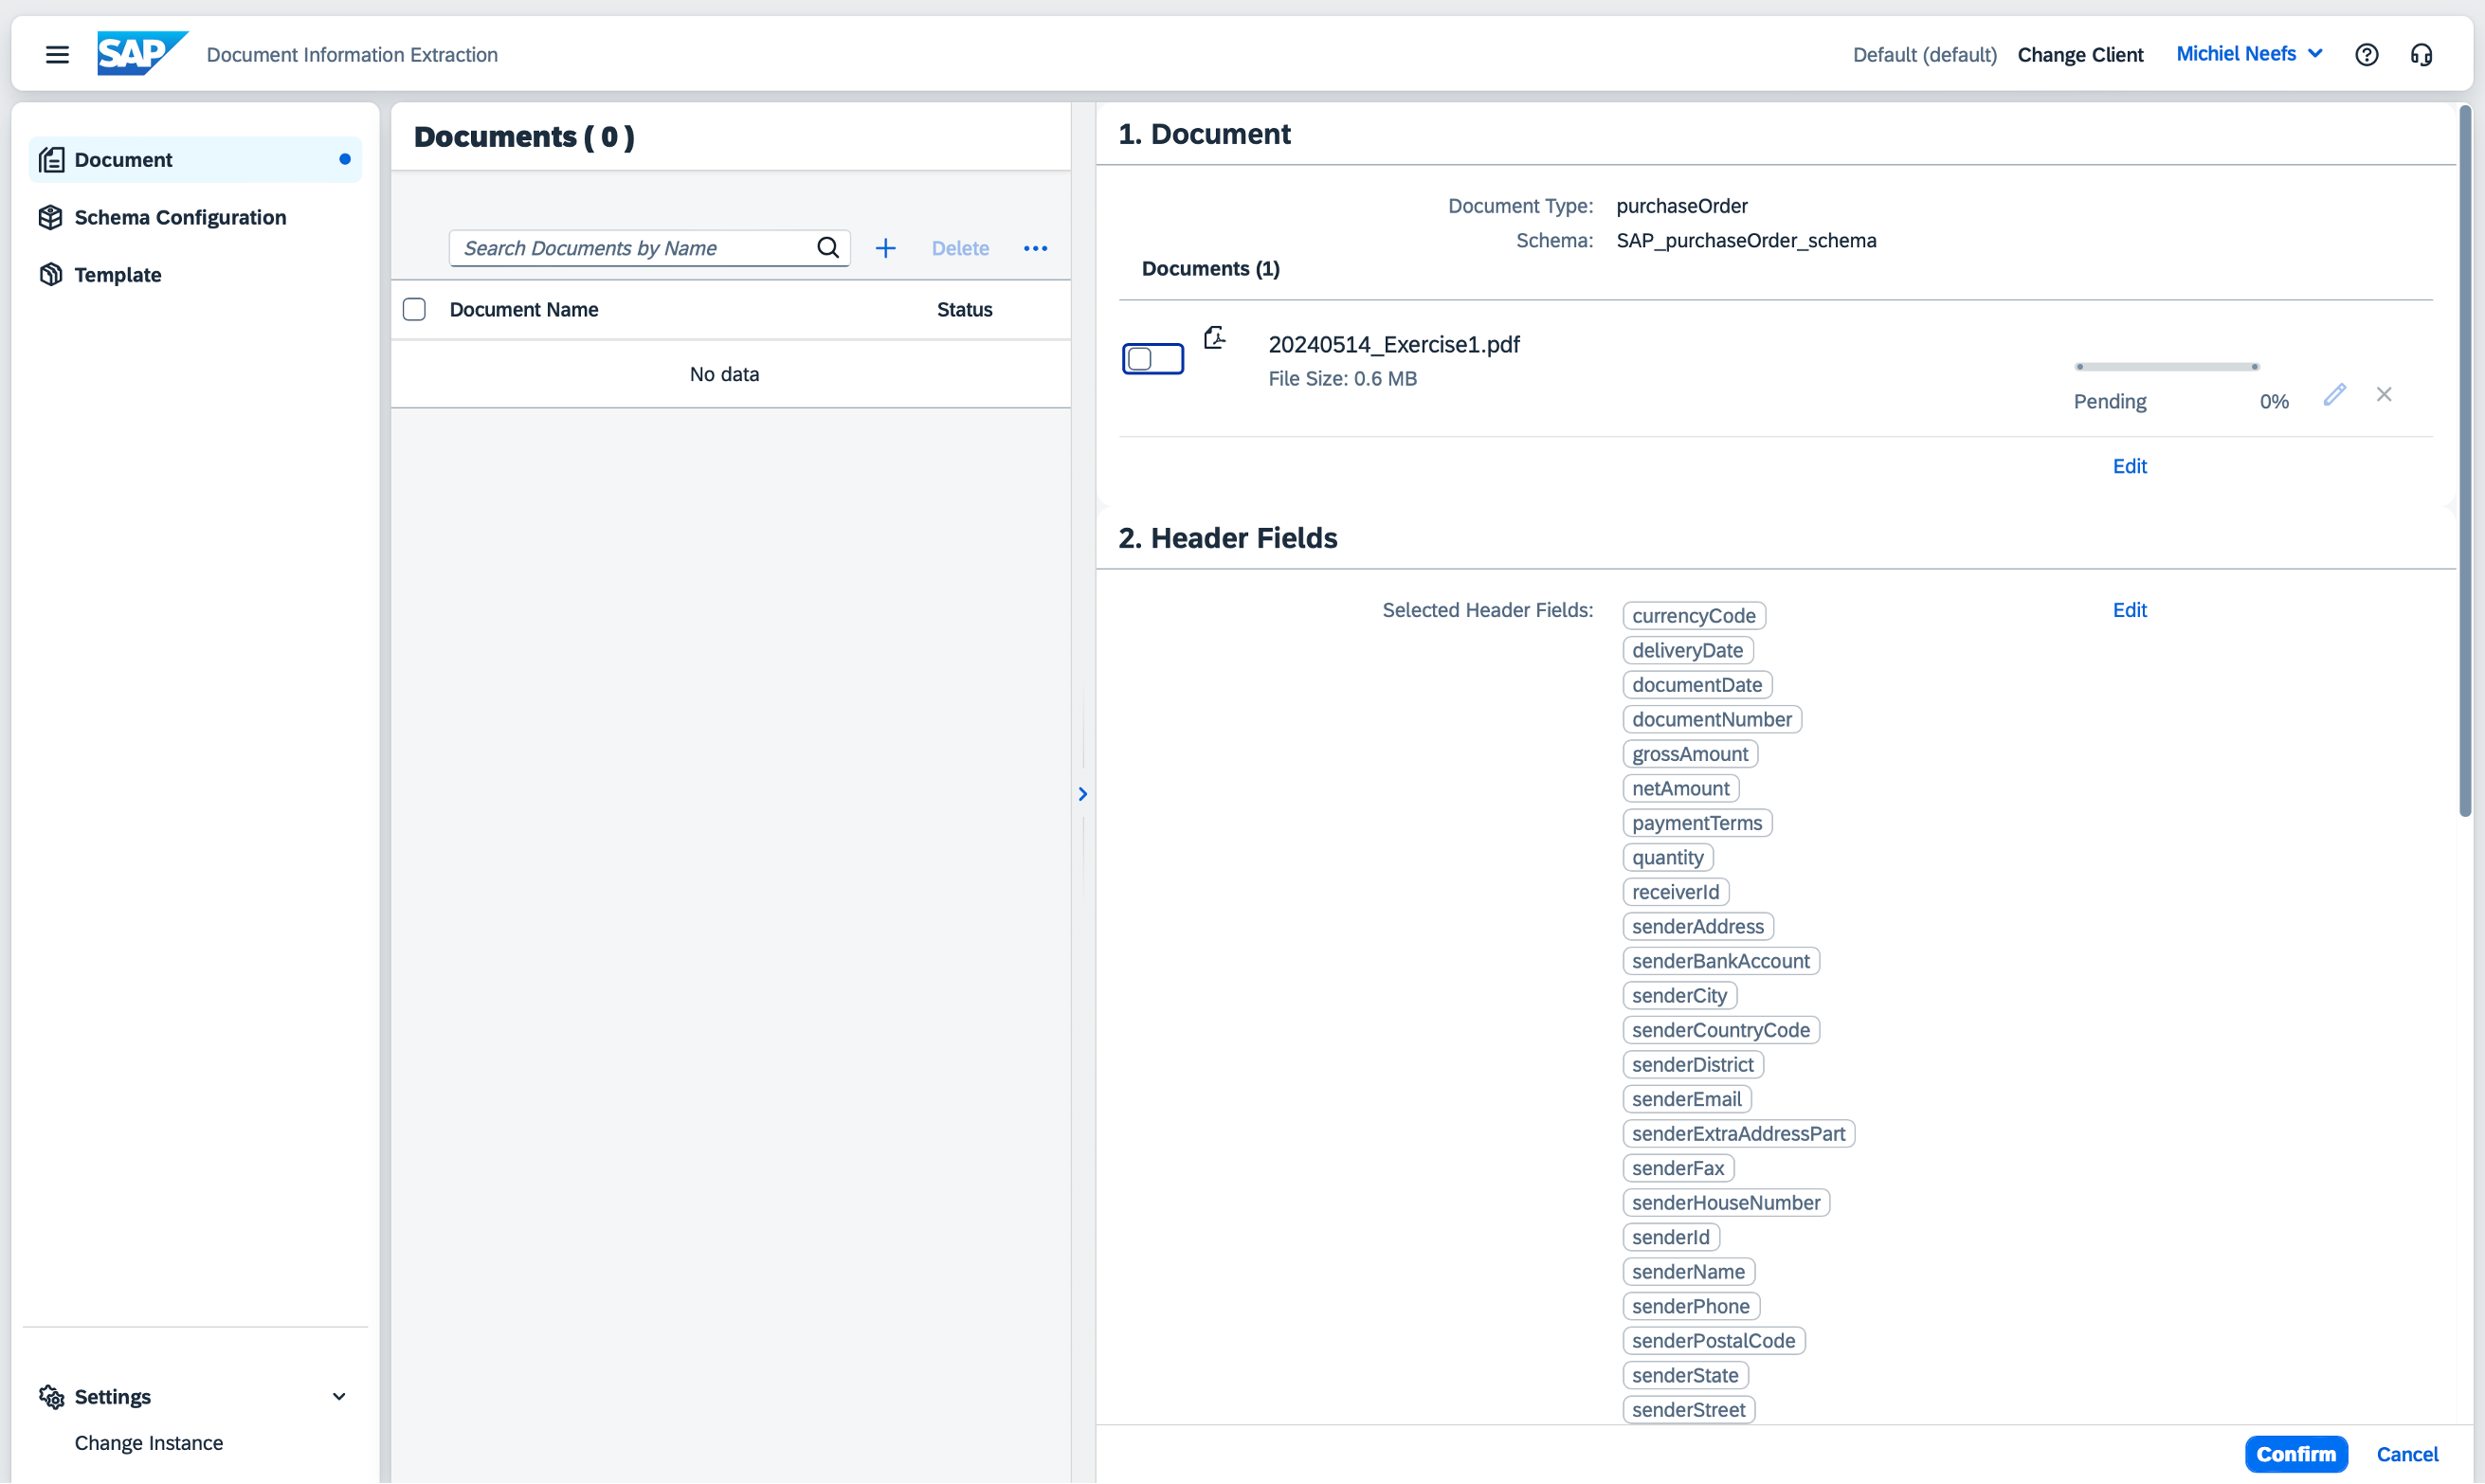
Click on Confirm to process the document.
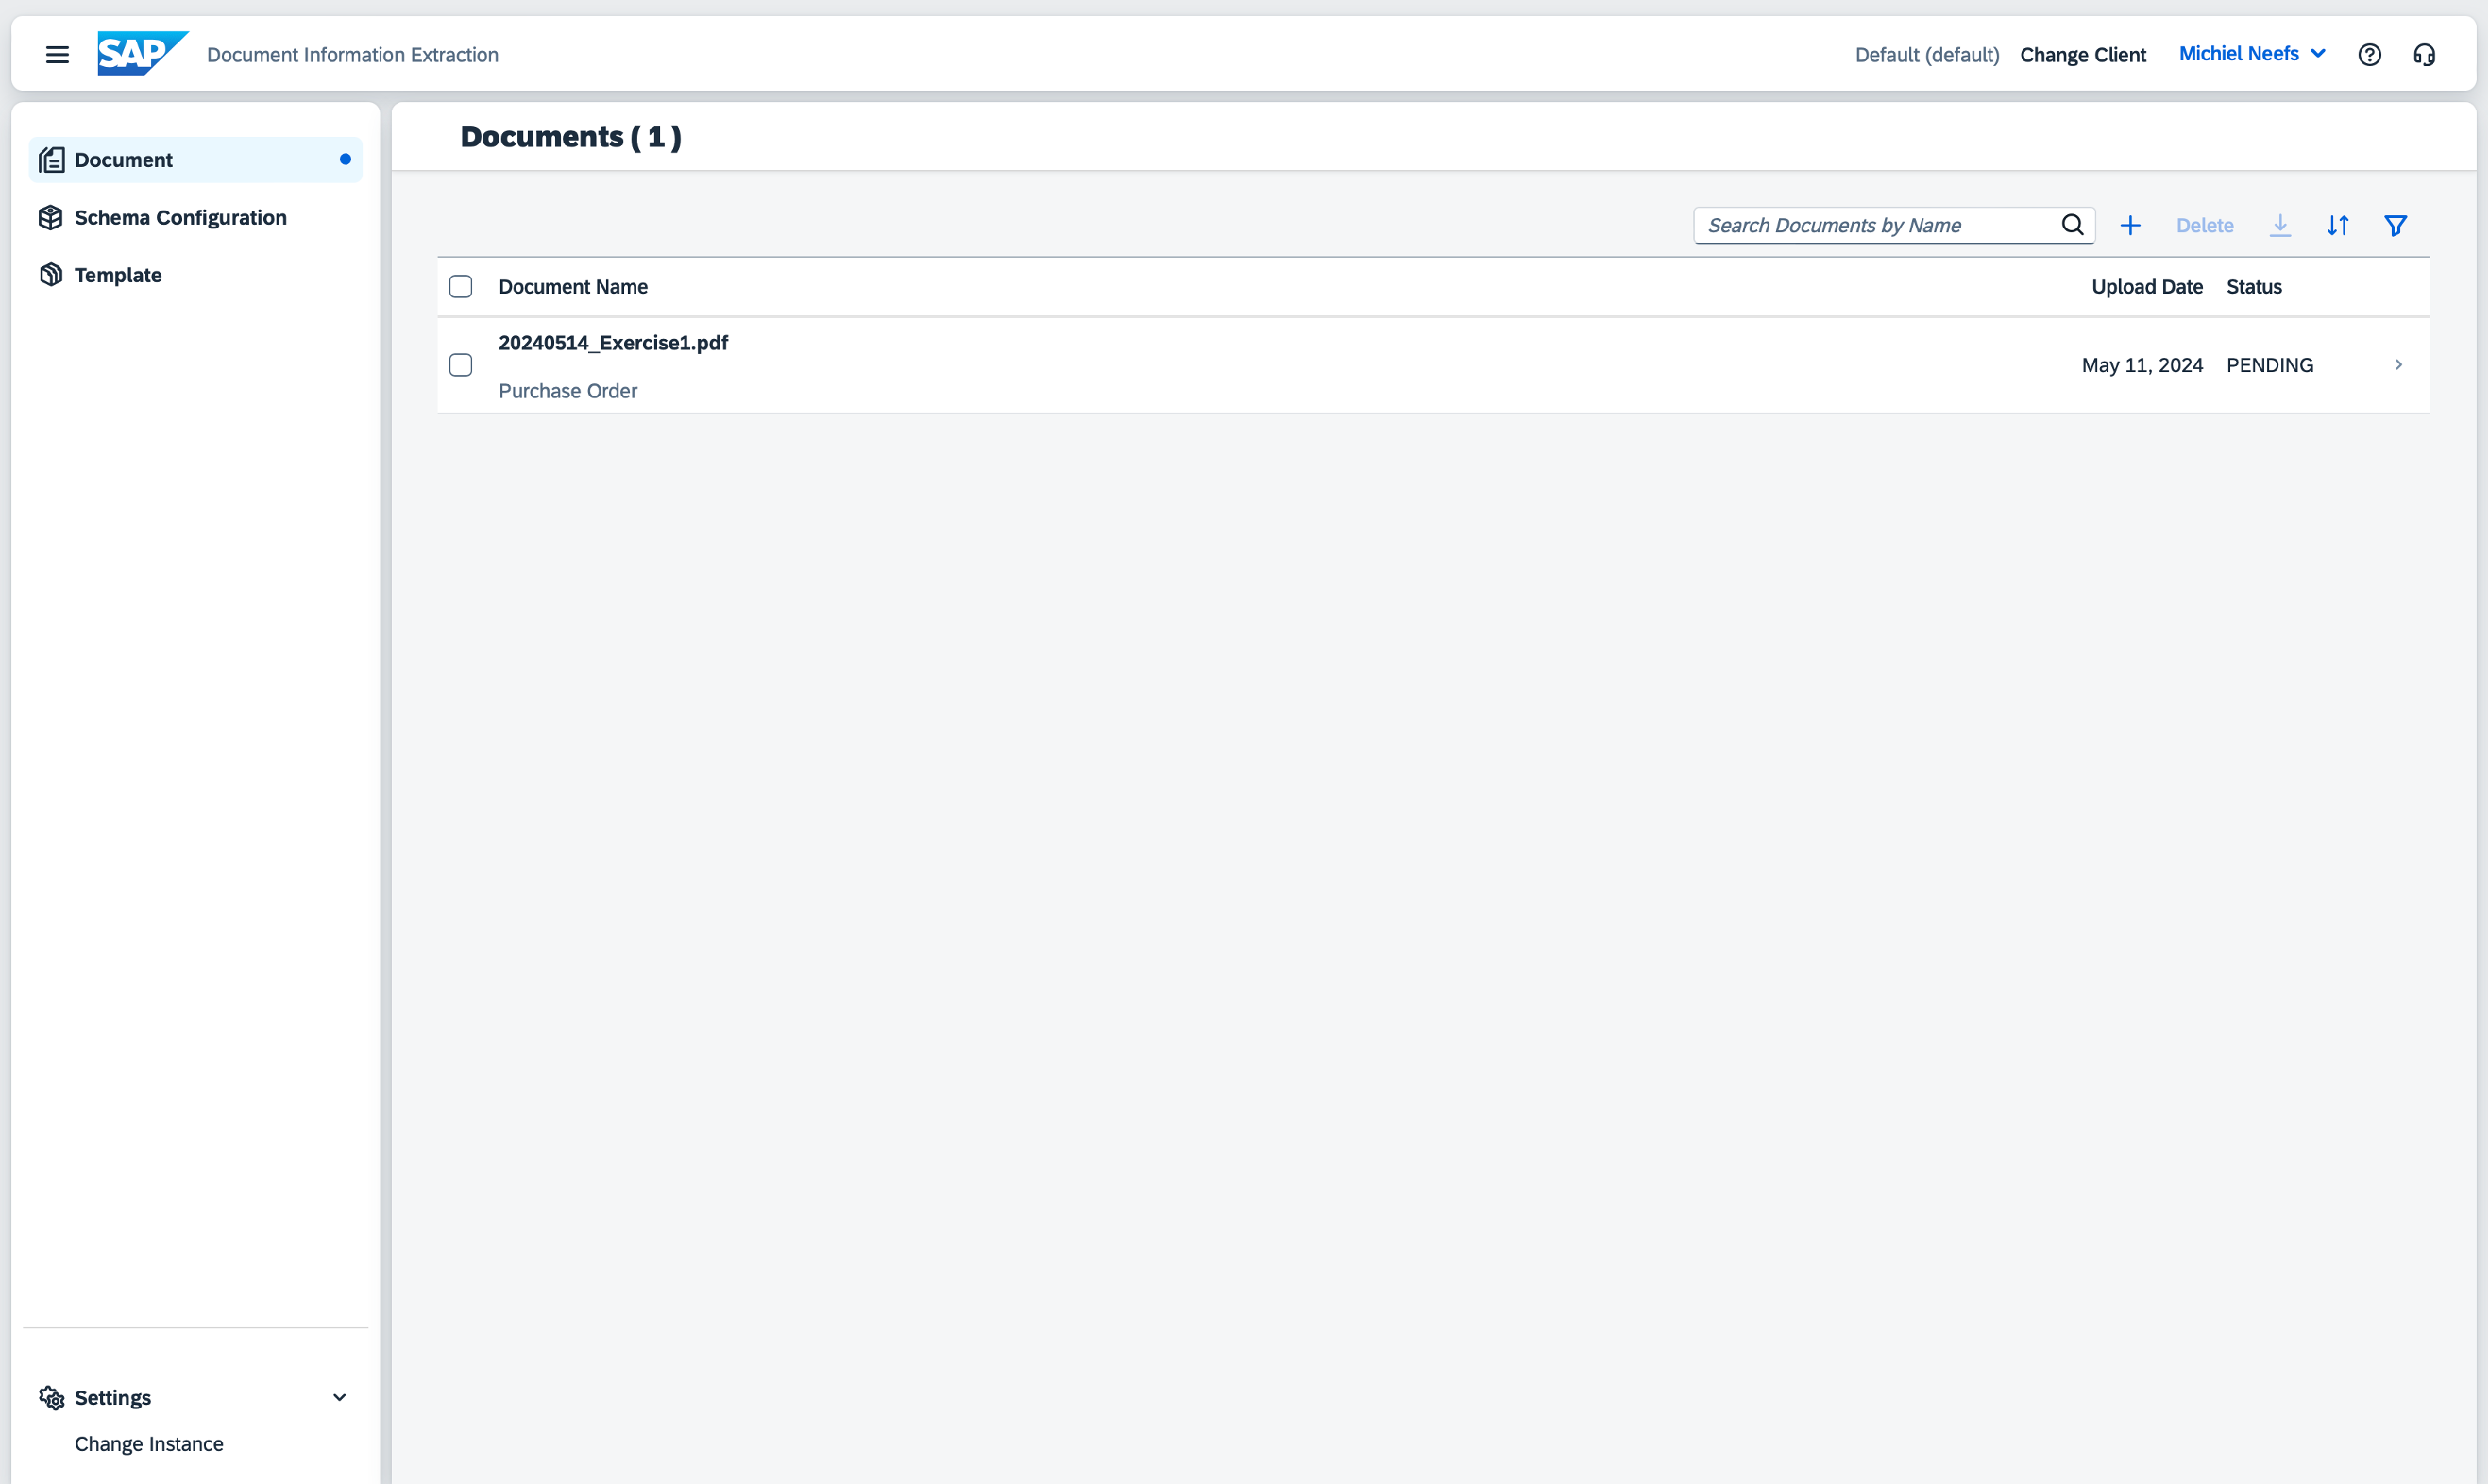
Wait for the document to be fully processed. This process can take up to a minute.

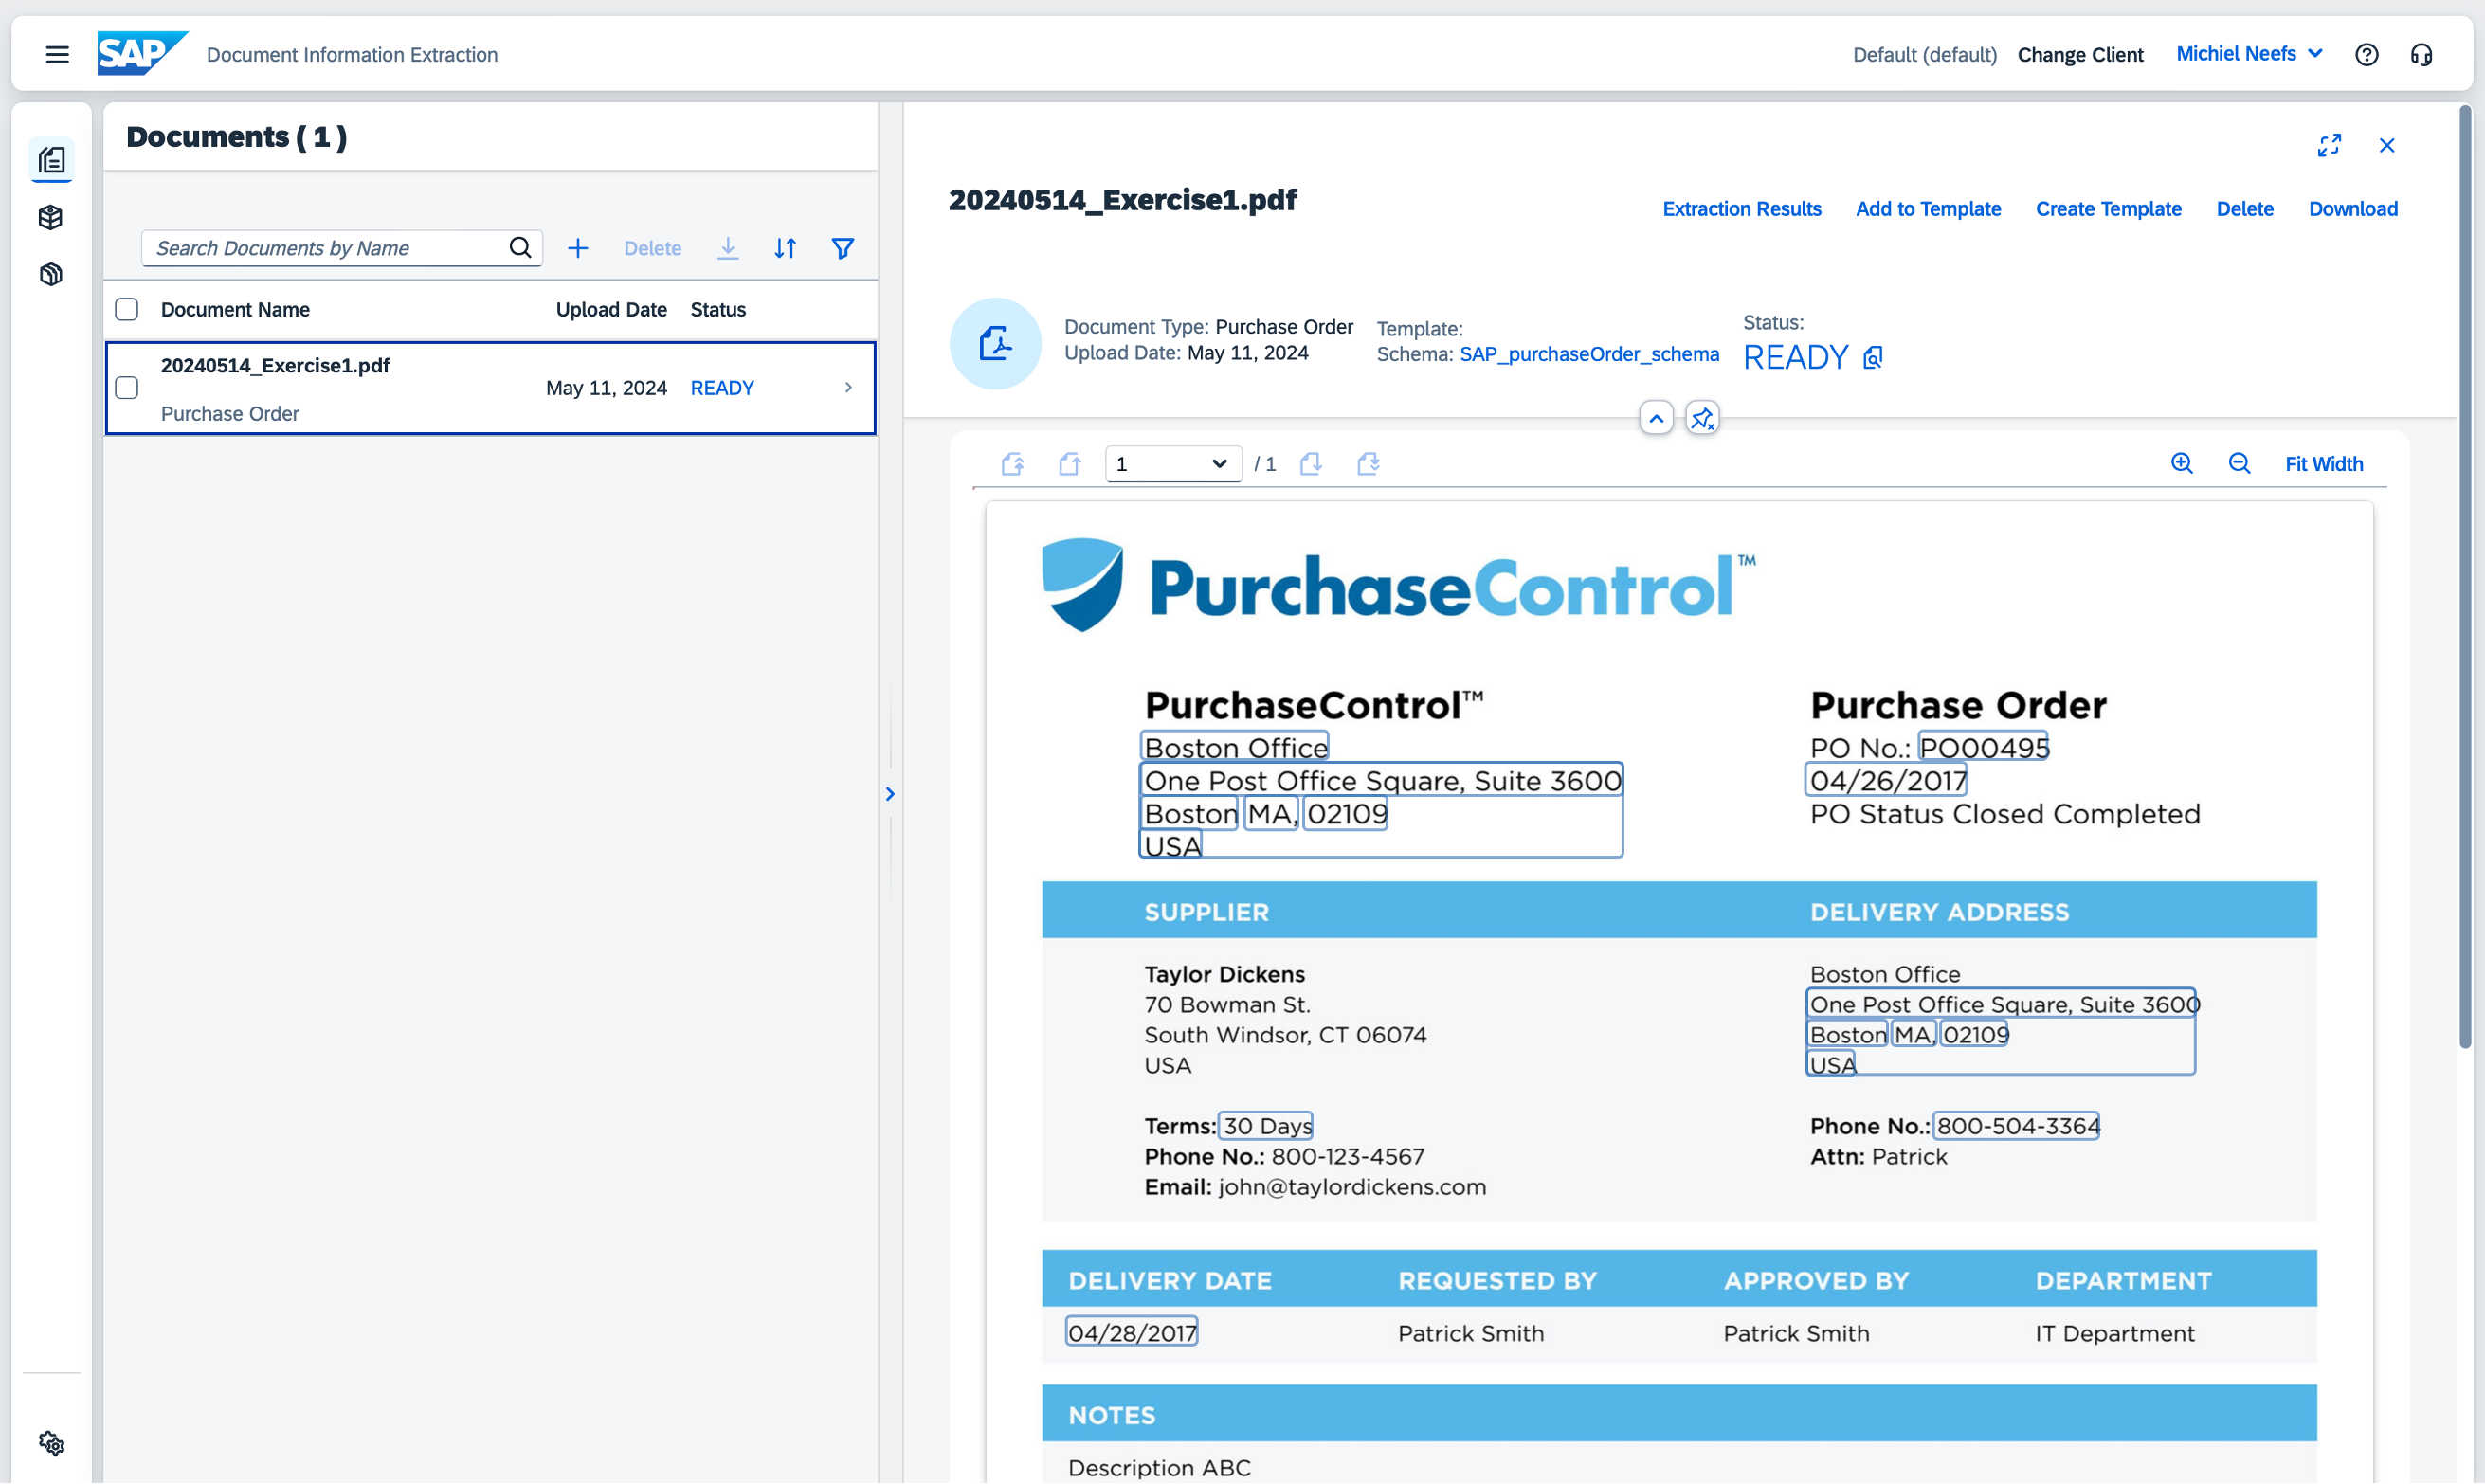
When the status is READY, click on the table row to view the details of the processed document.
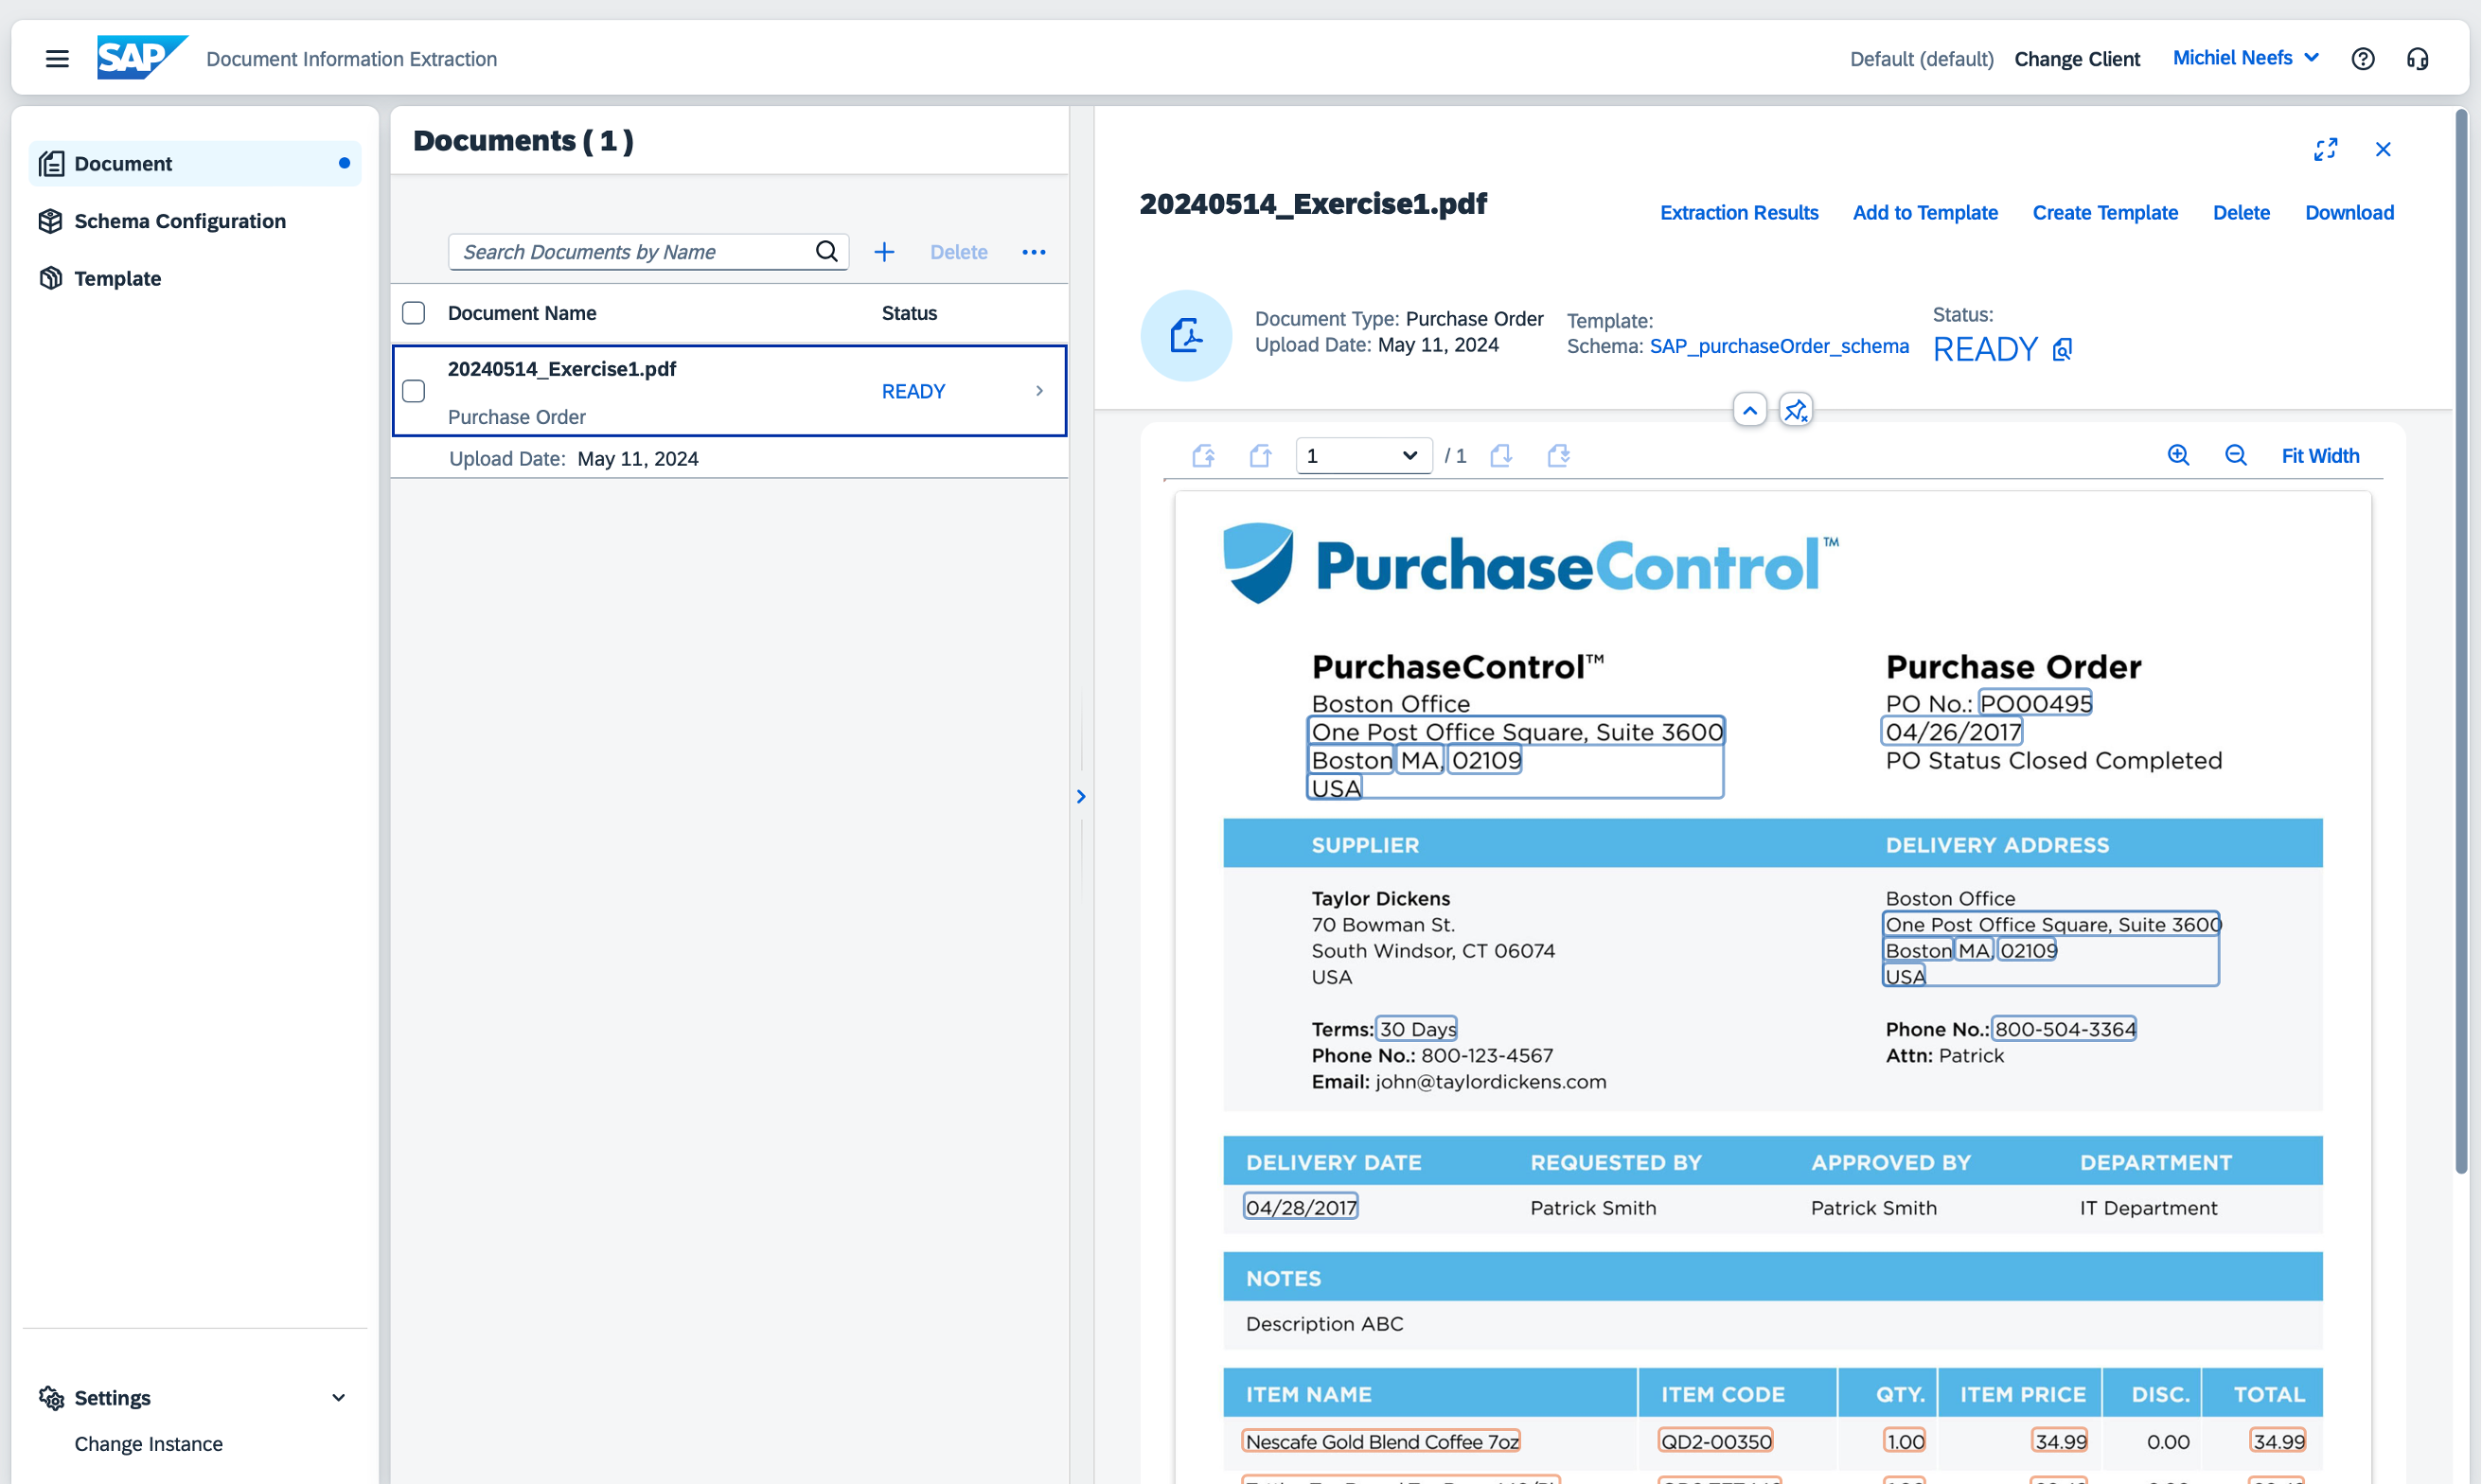
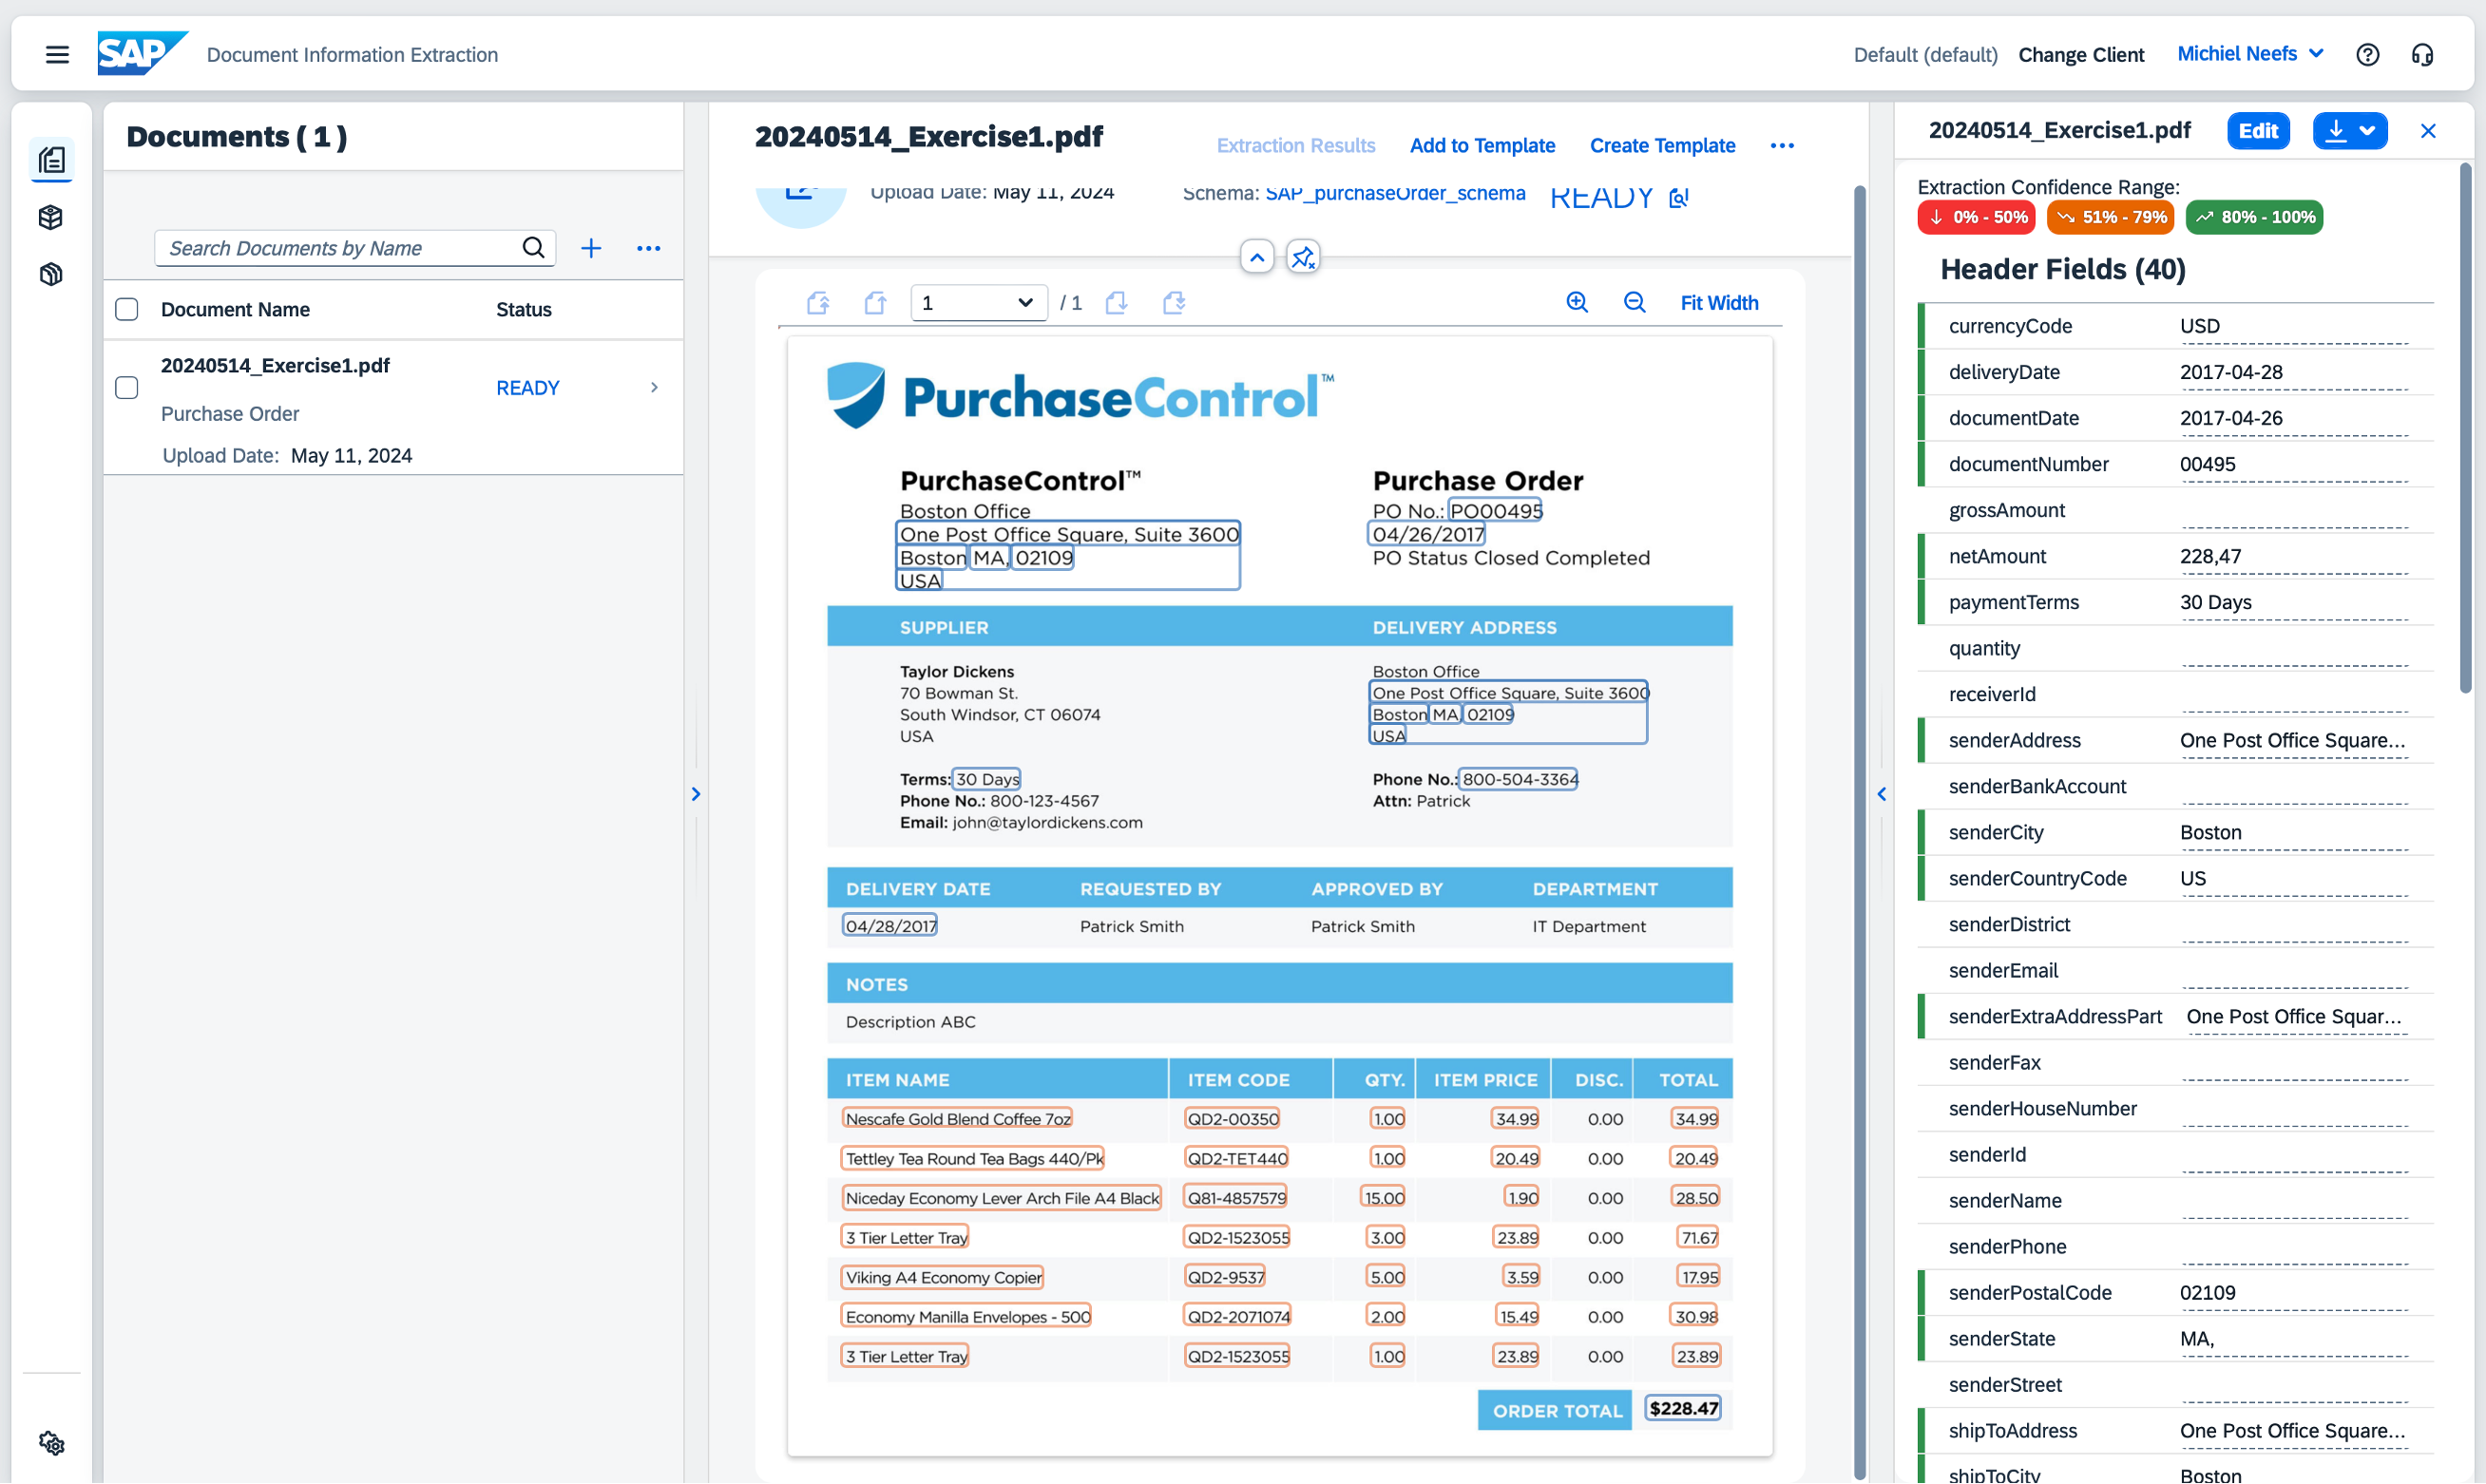
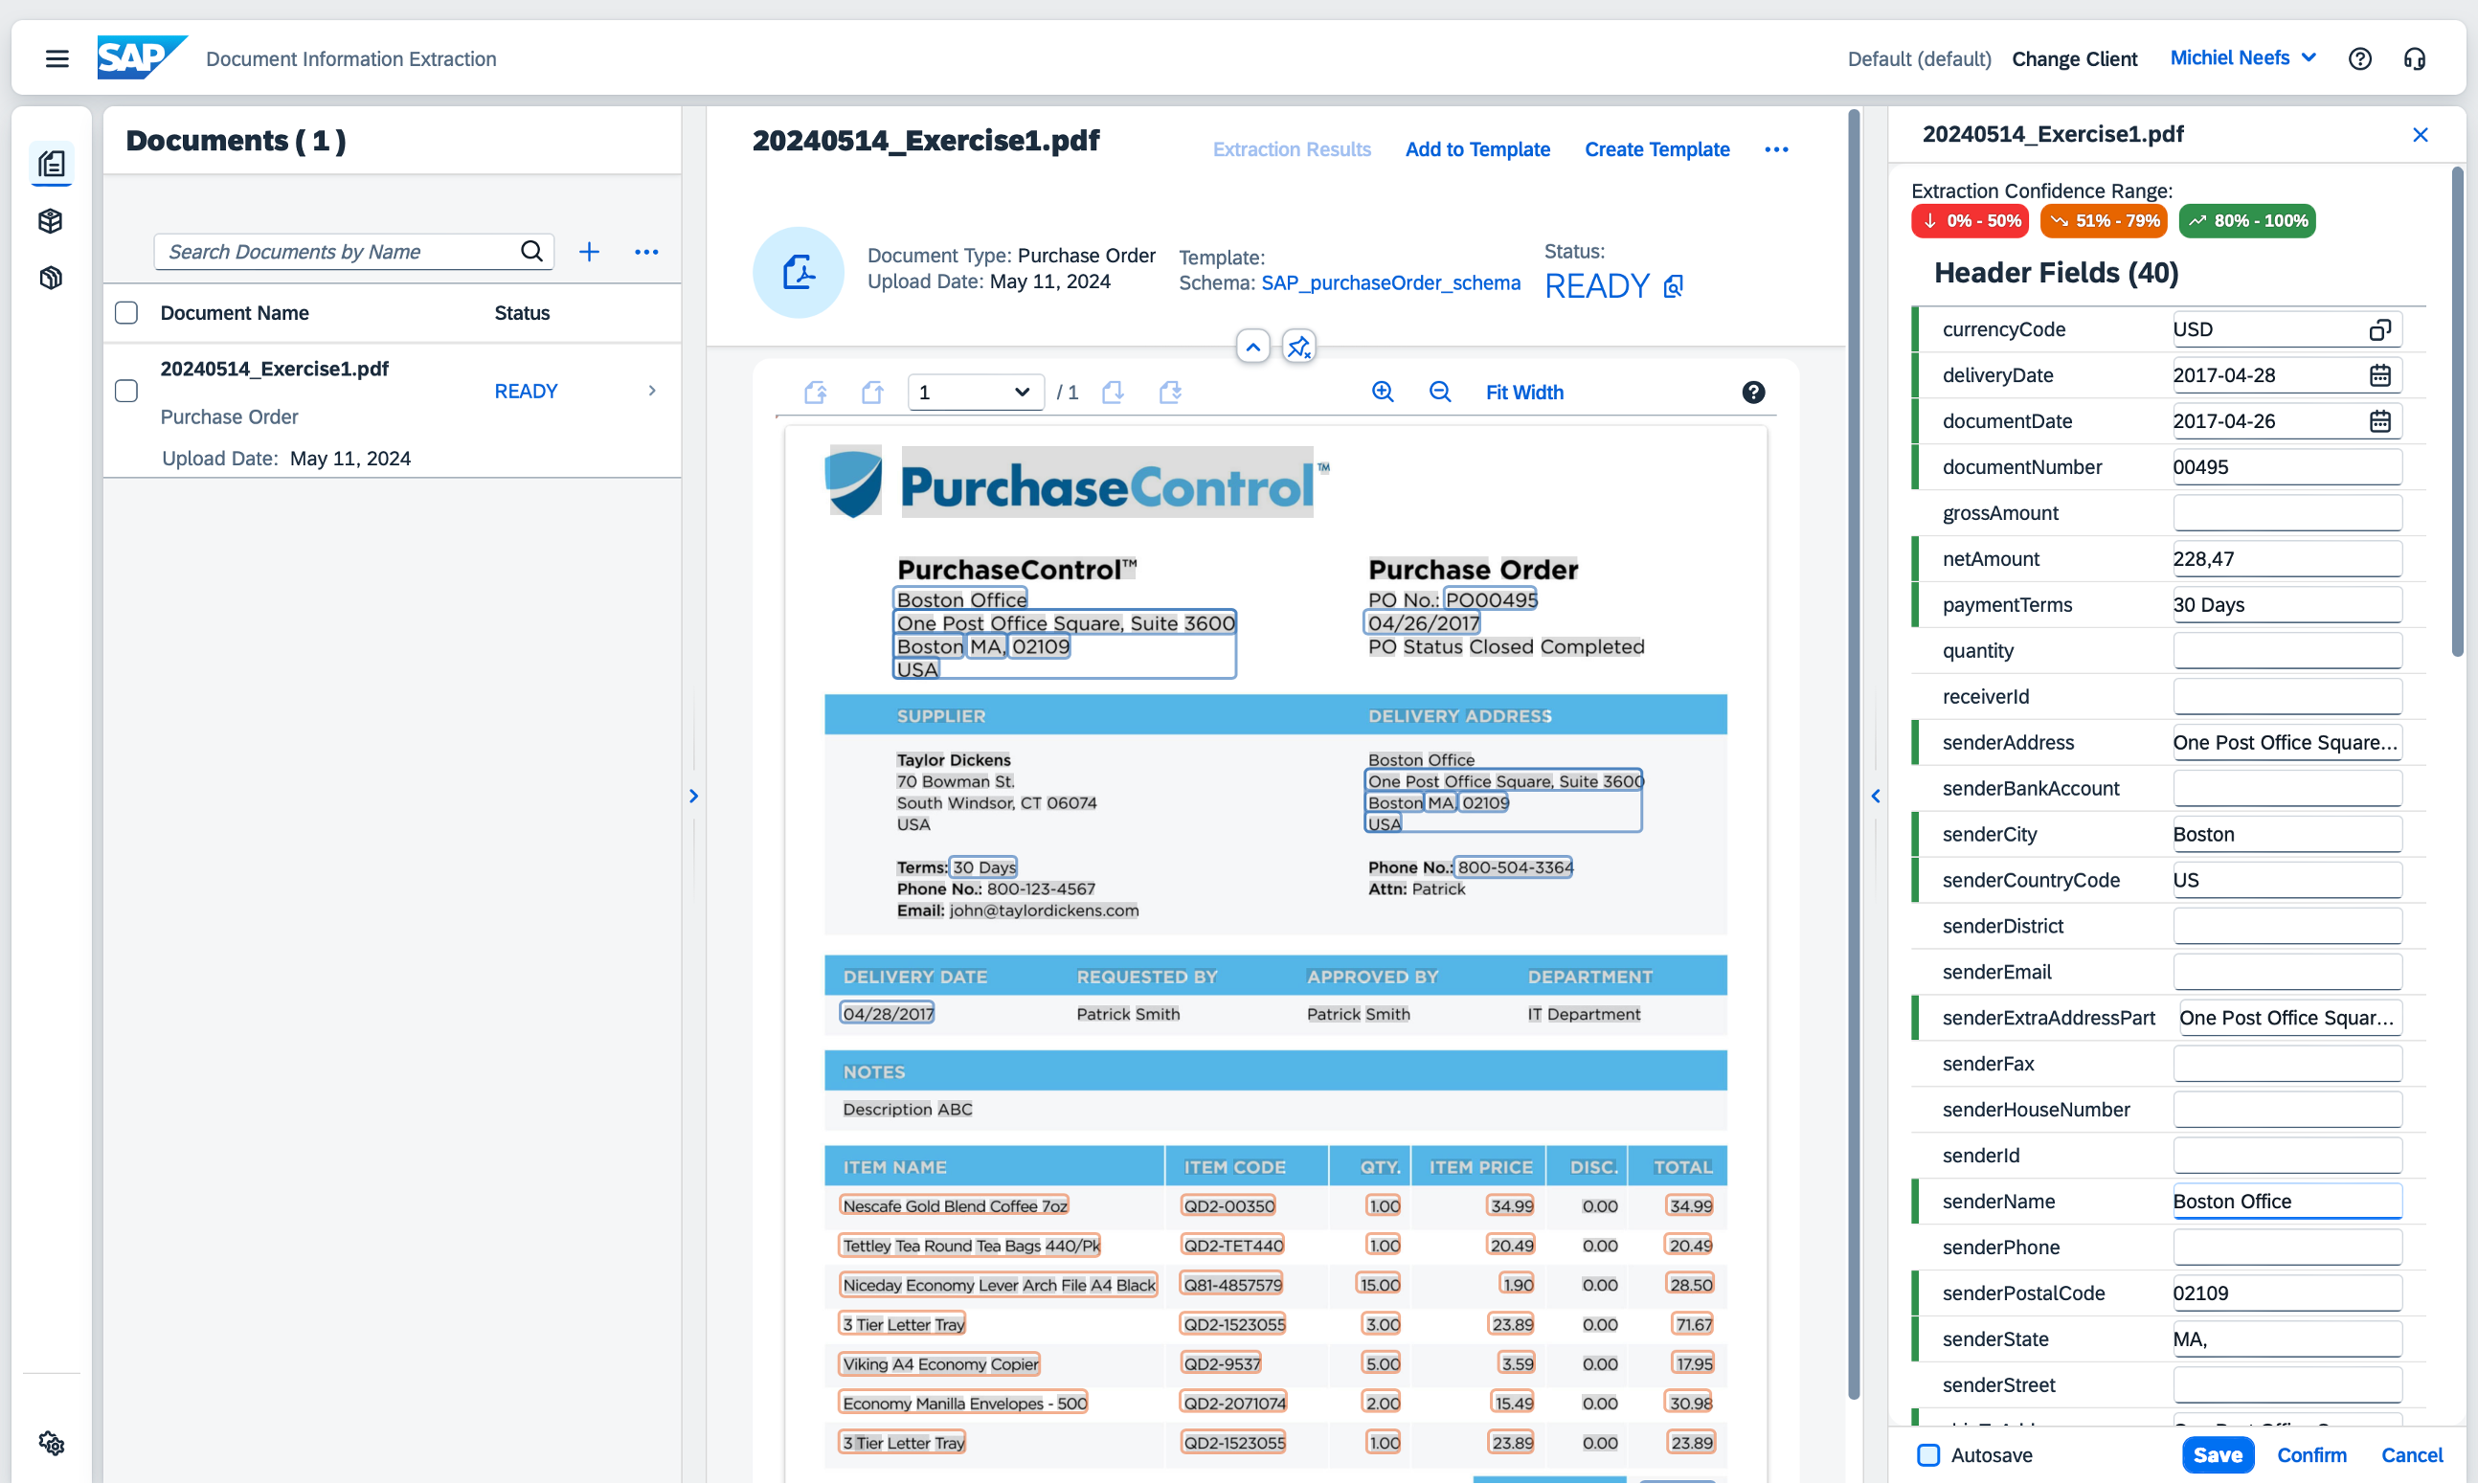
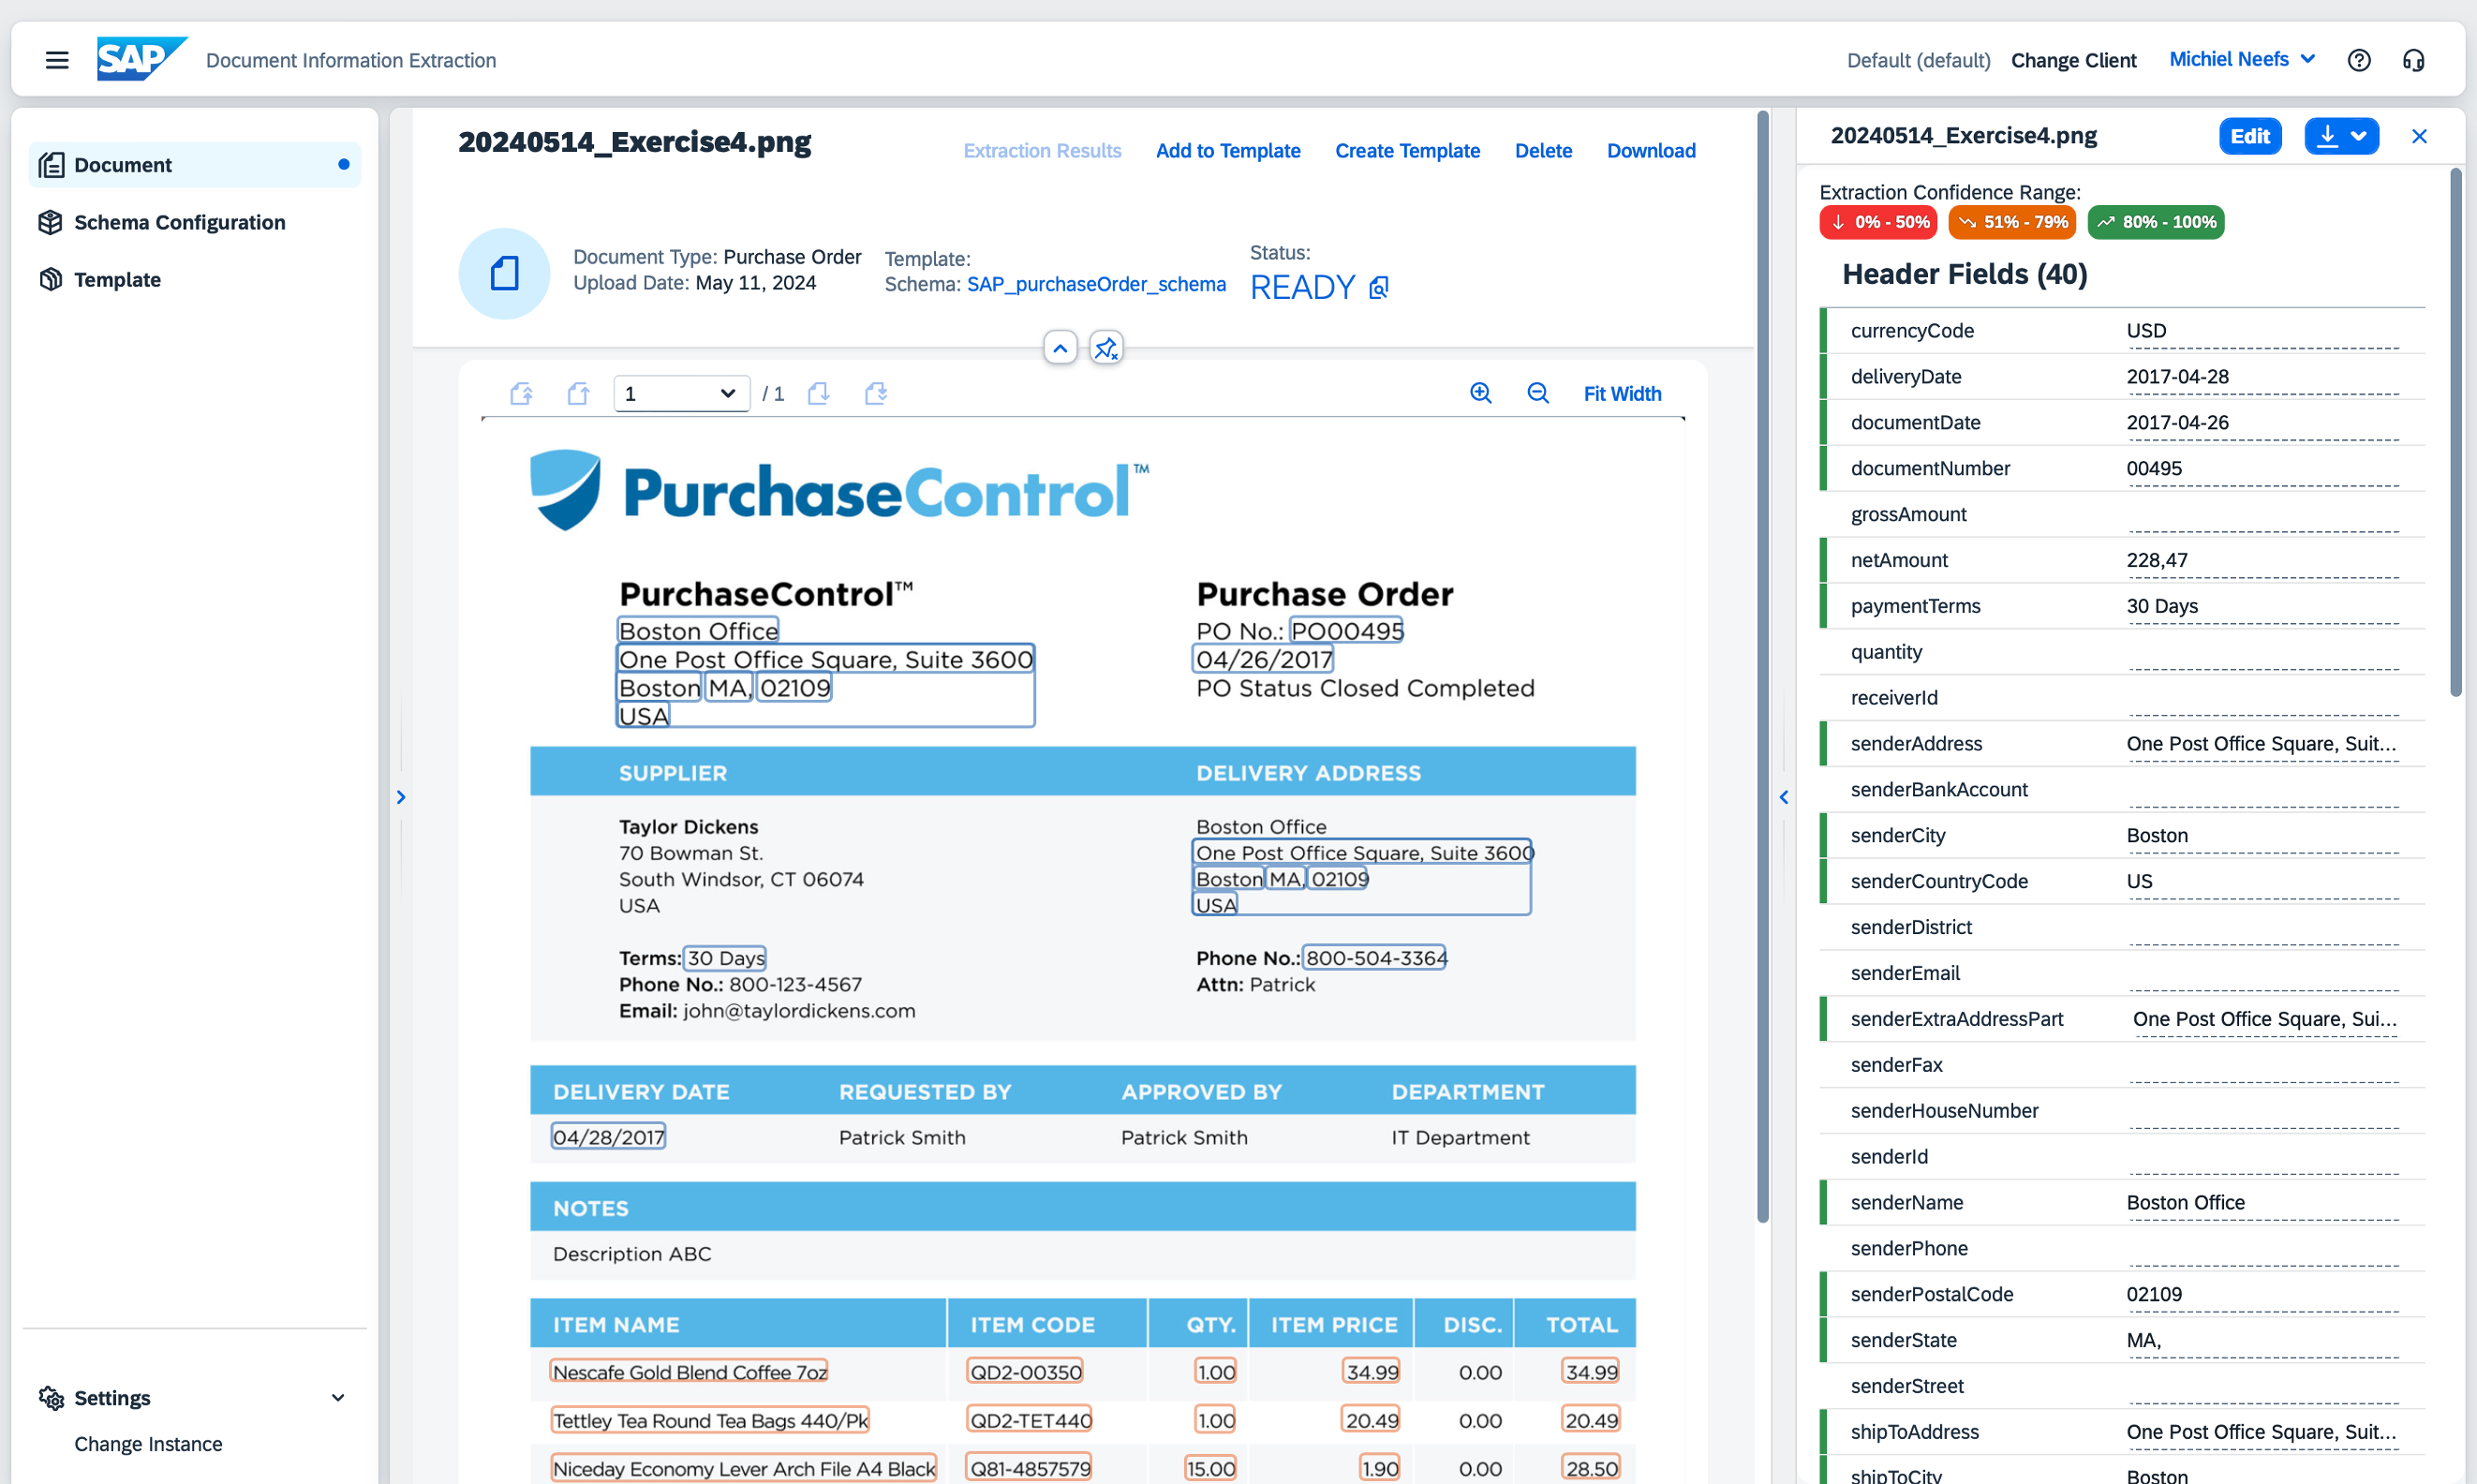
On the top right, click on Extraction Results.
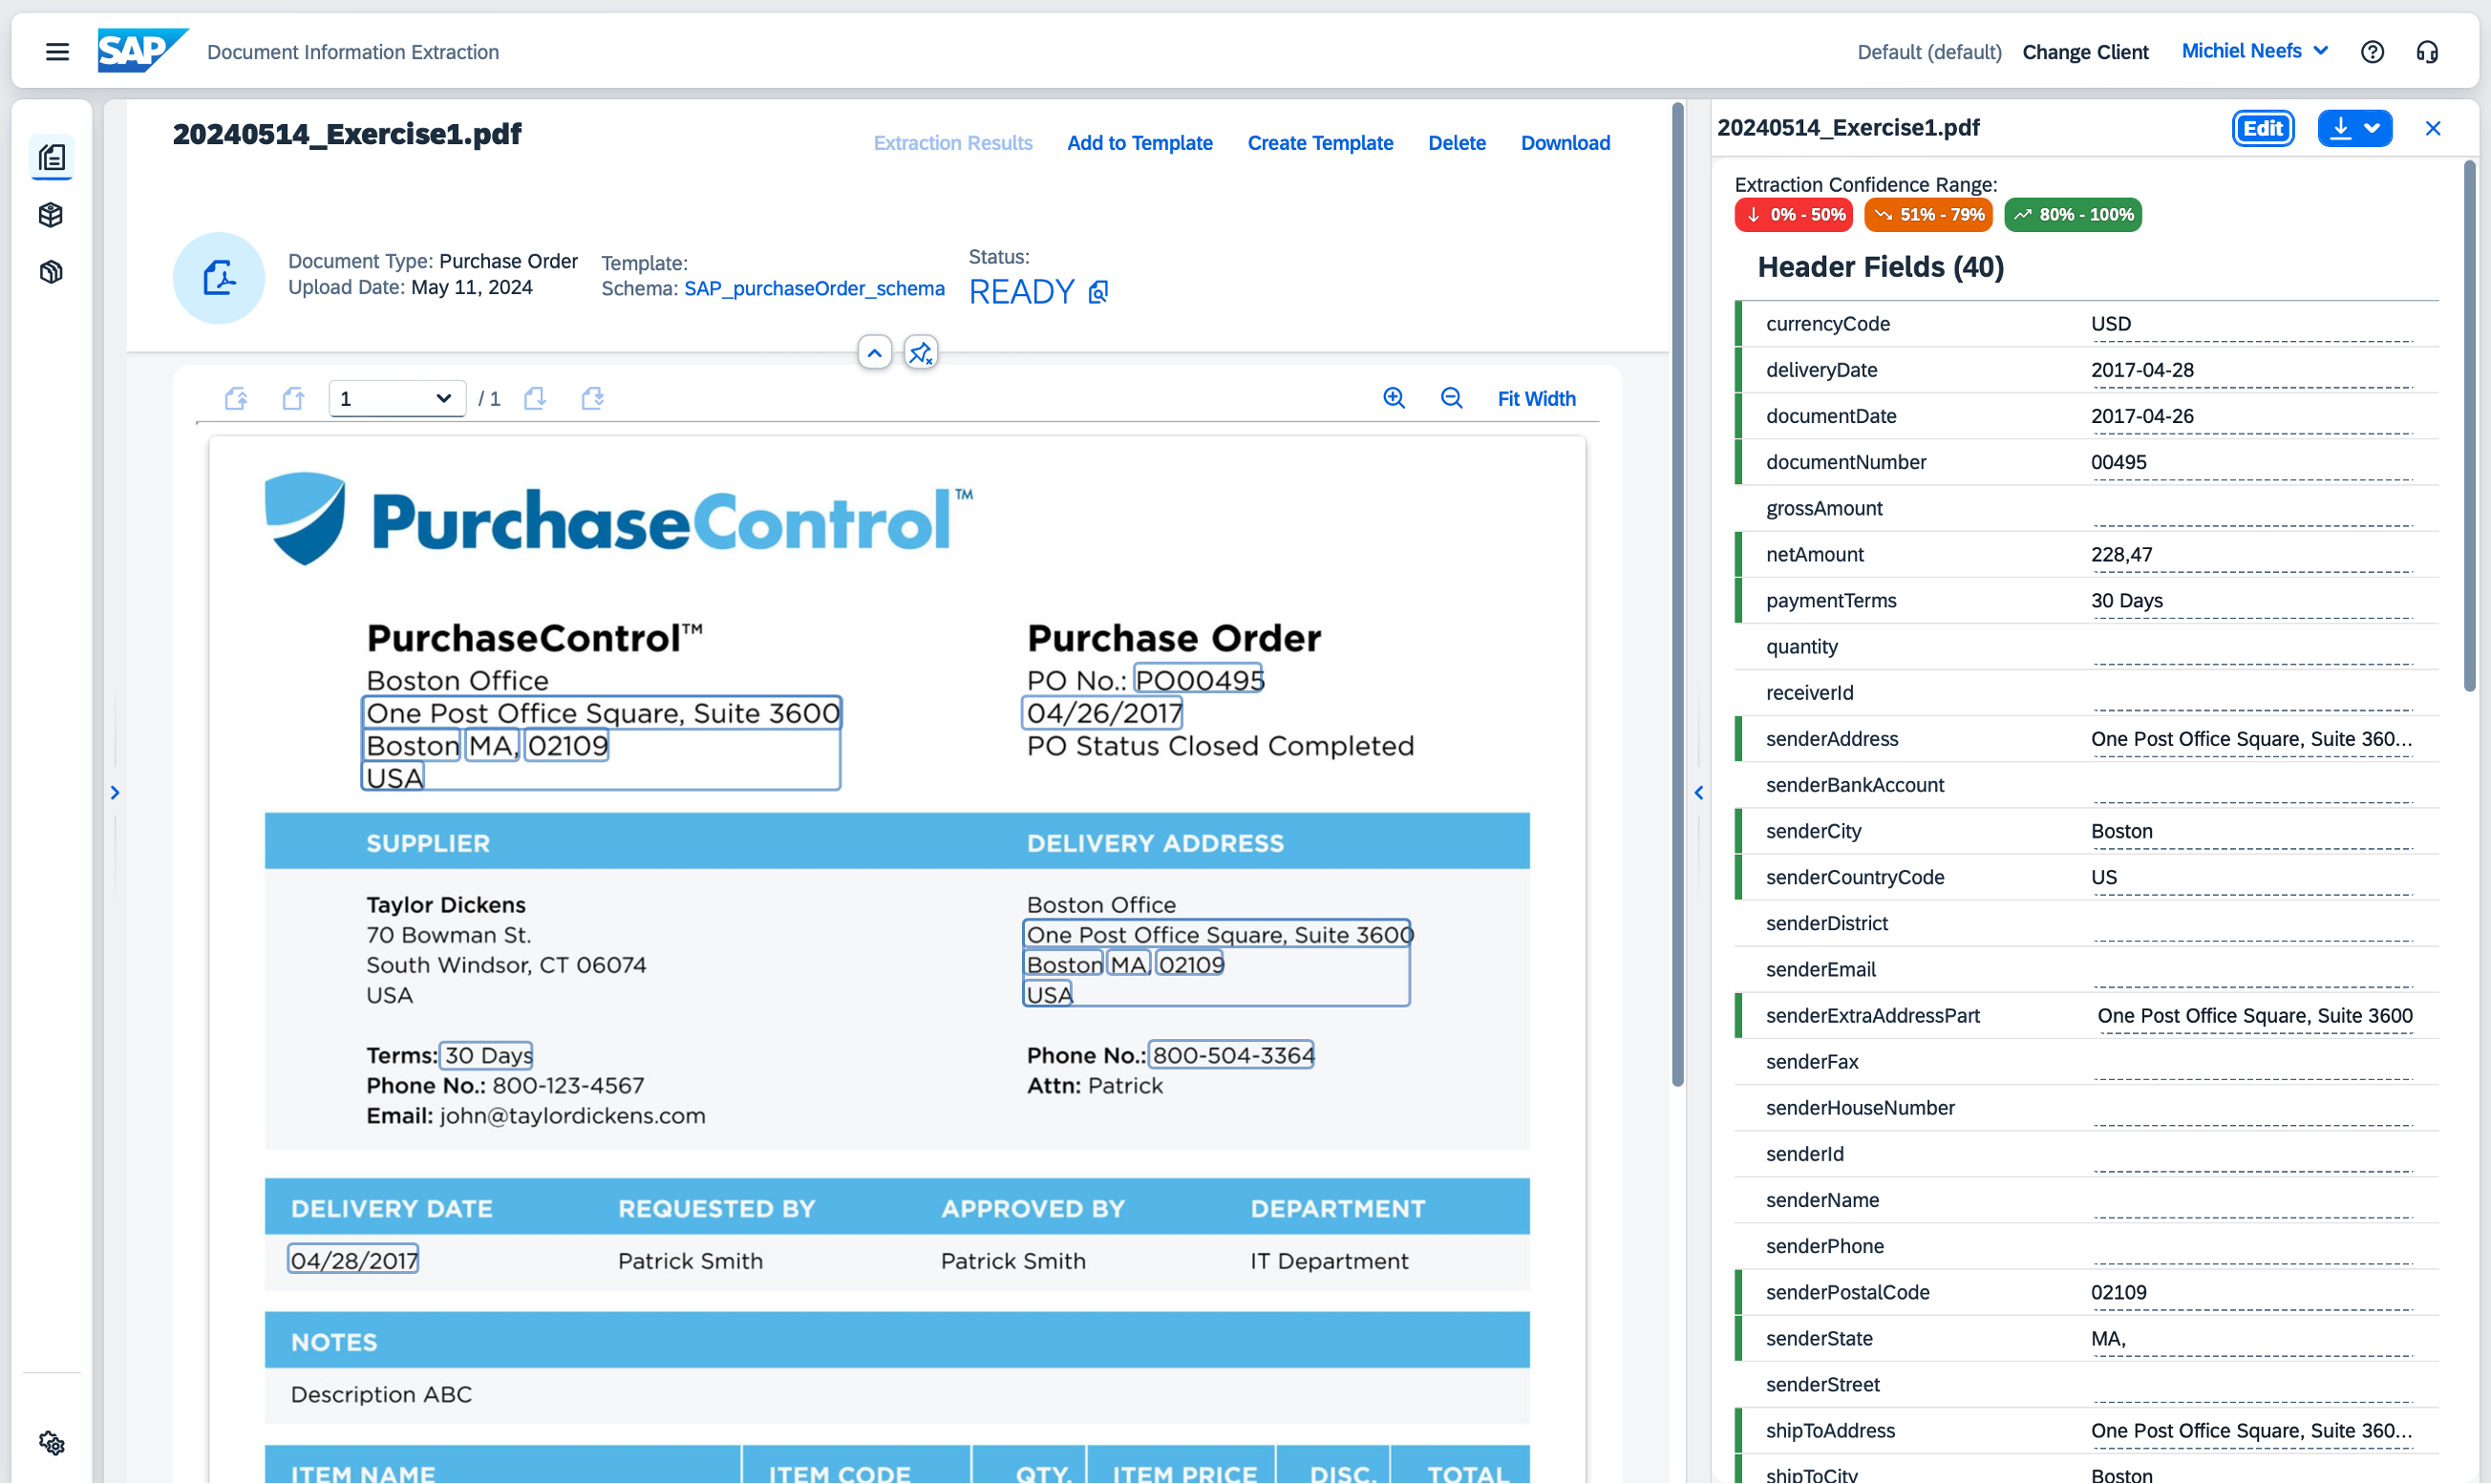
On the left, a document preview is shown with the recognized fields. On the right, all header and line item fields are shown with their respective value and confidence range. A confidence range indicates the probable accuracy of results returned by the default extractors of the Document Information Extraction service.
Exercise 2 – Annotating a processed document
In some cases, not all fields are recognized correctly. In the previous exercise, the service was unable to recognize the field senderName.
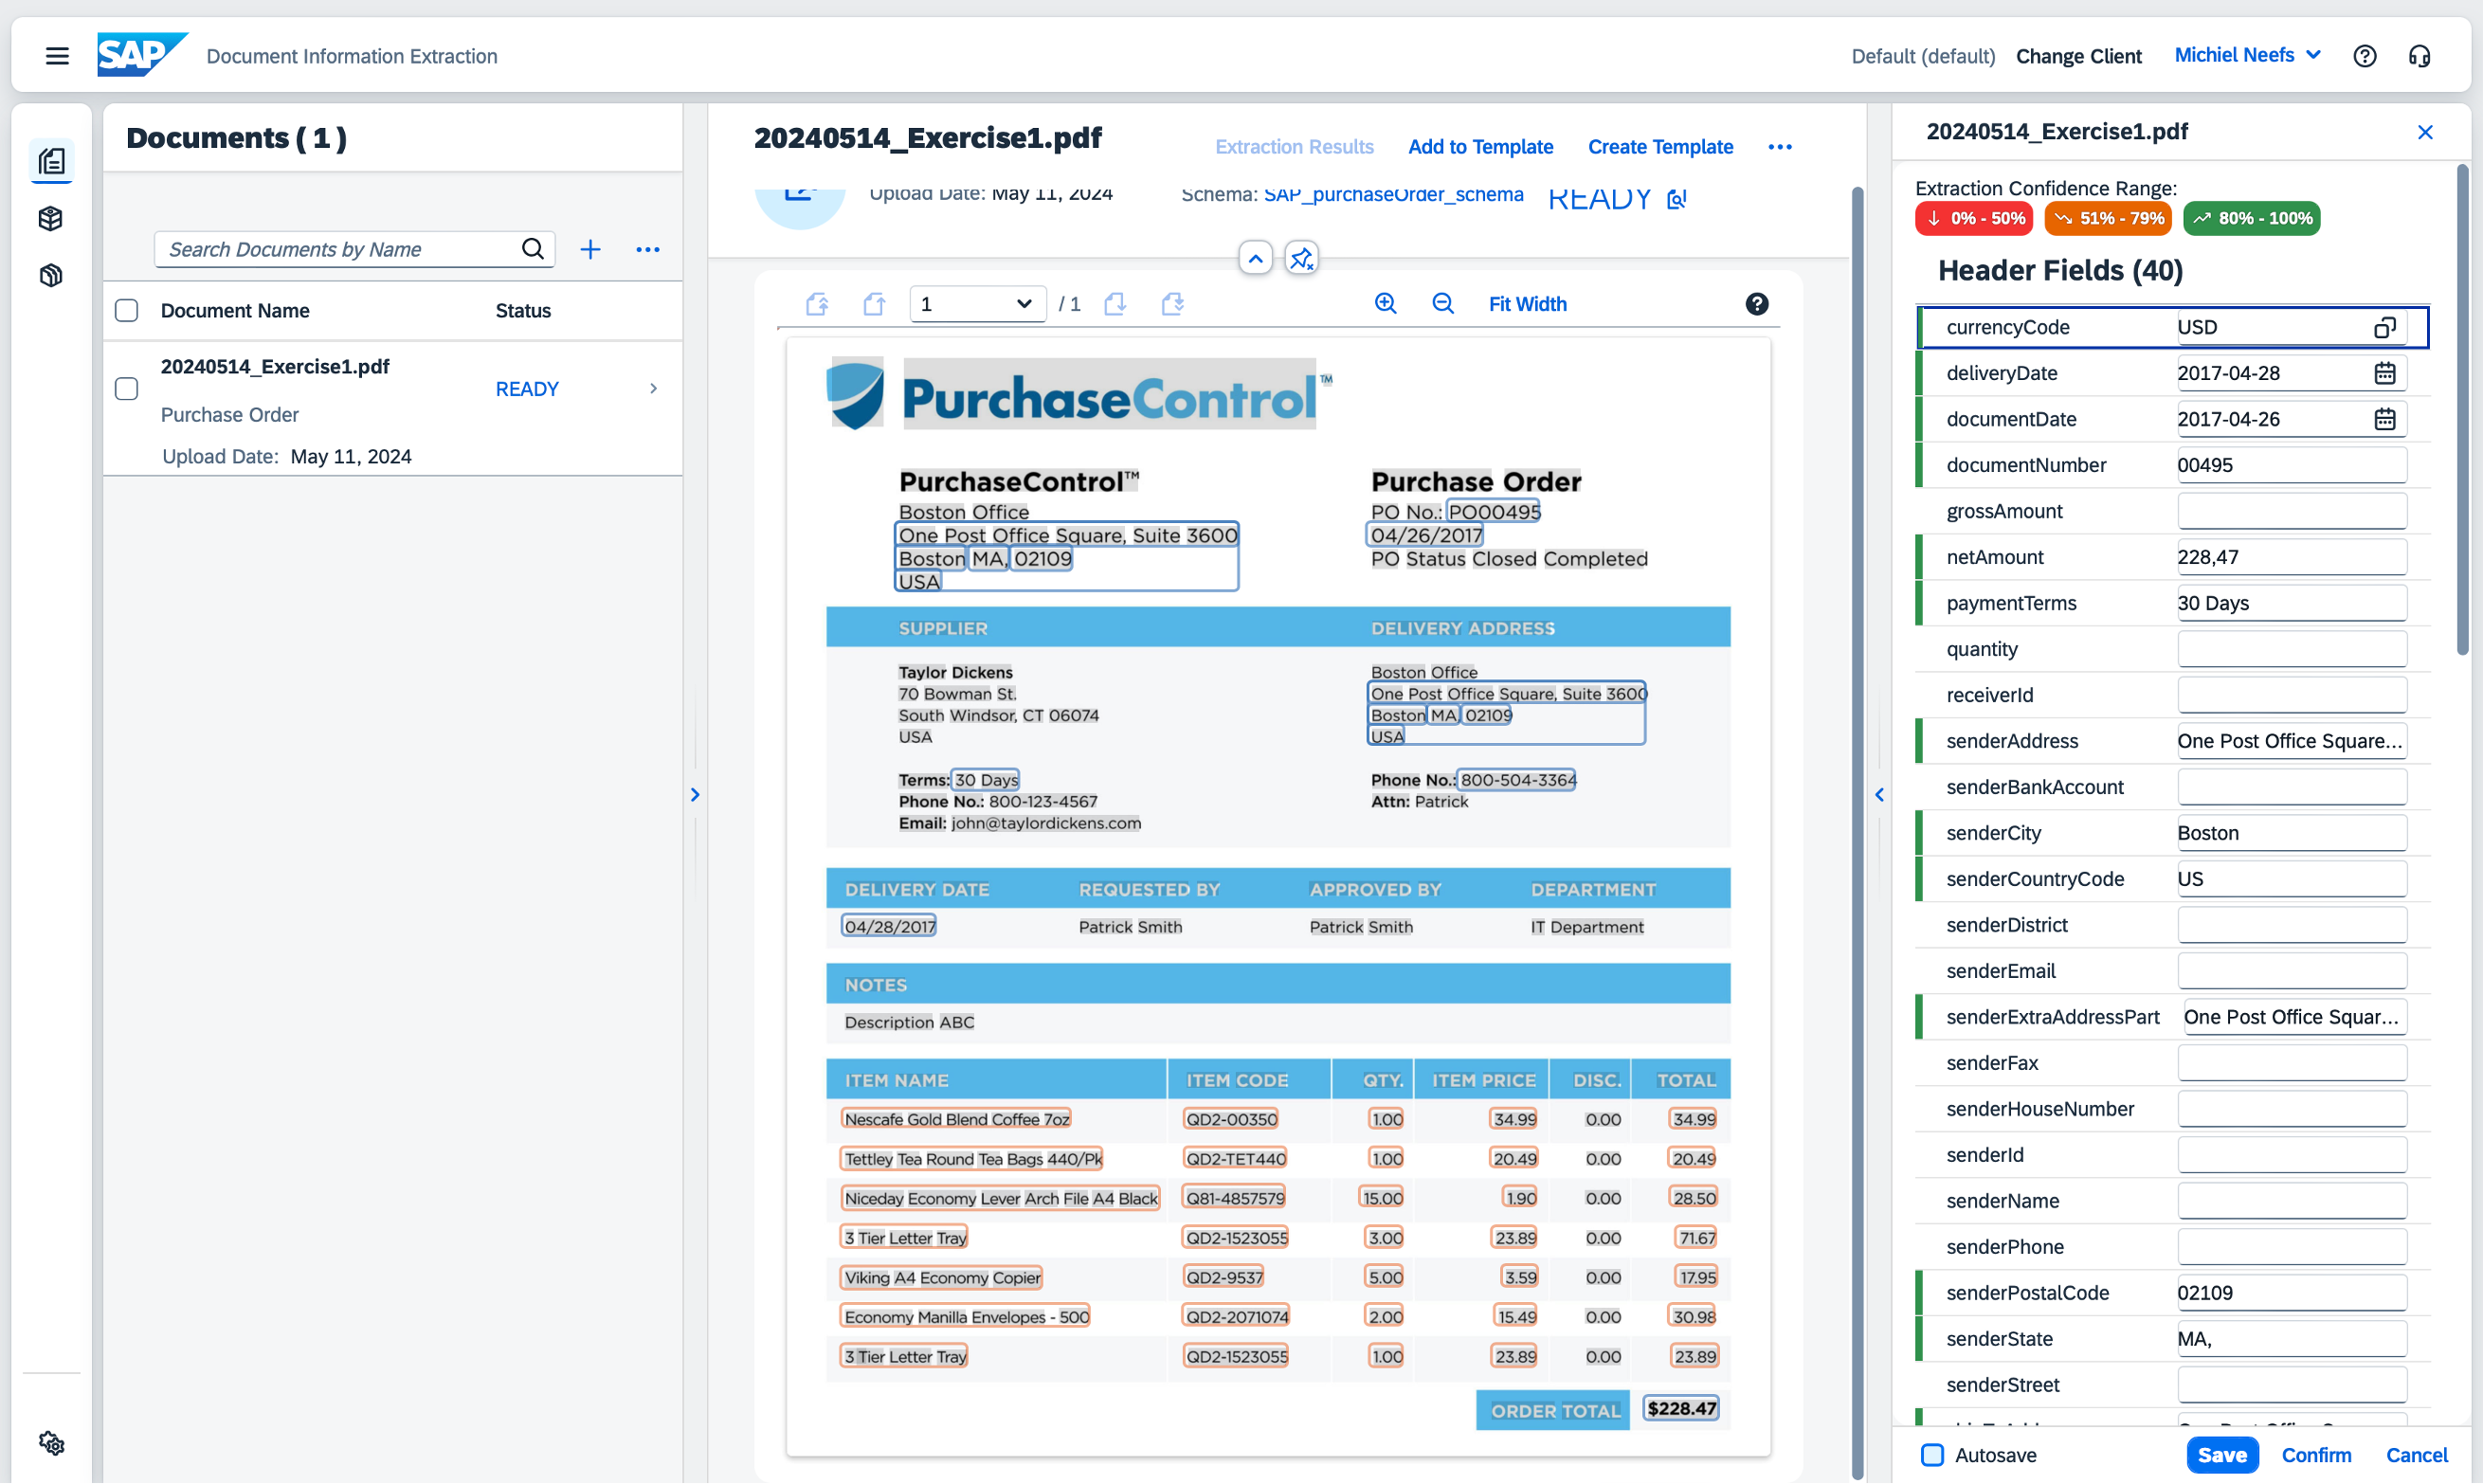
On the top, click on Edit.
On the document preview, start dragging on the word Boston and release the mouse on the word Office.
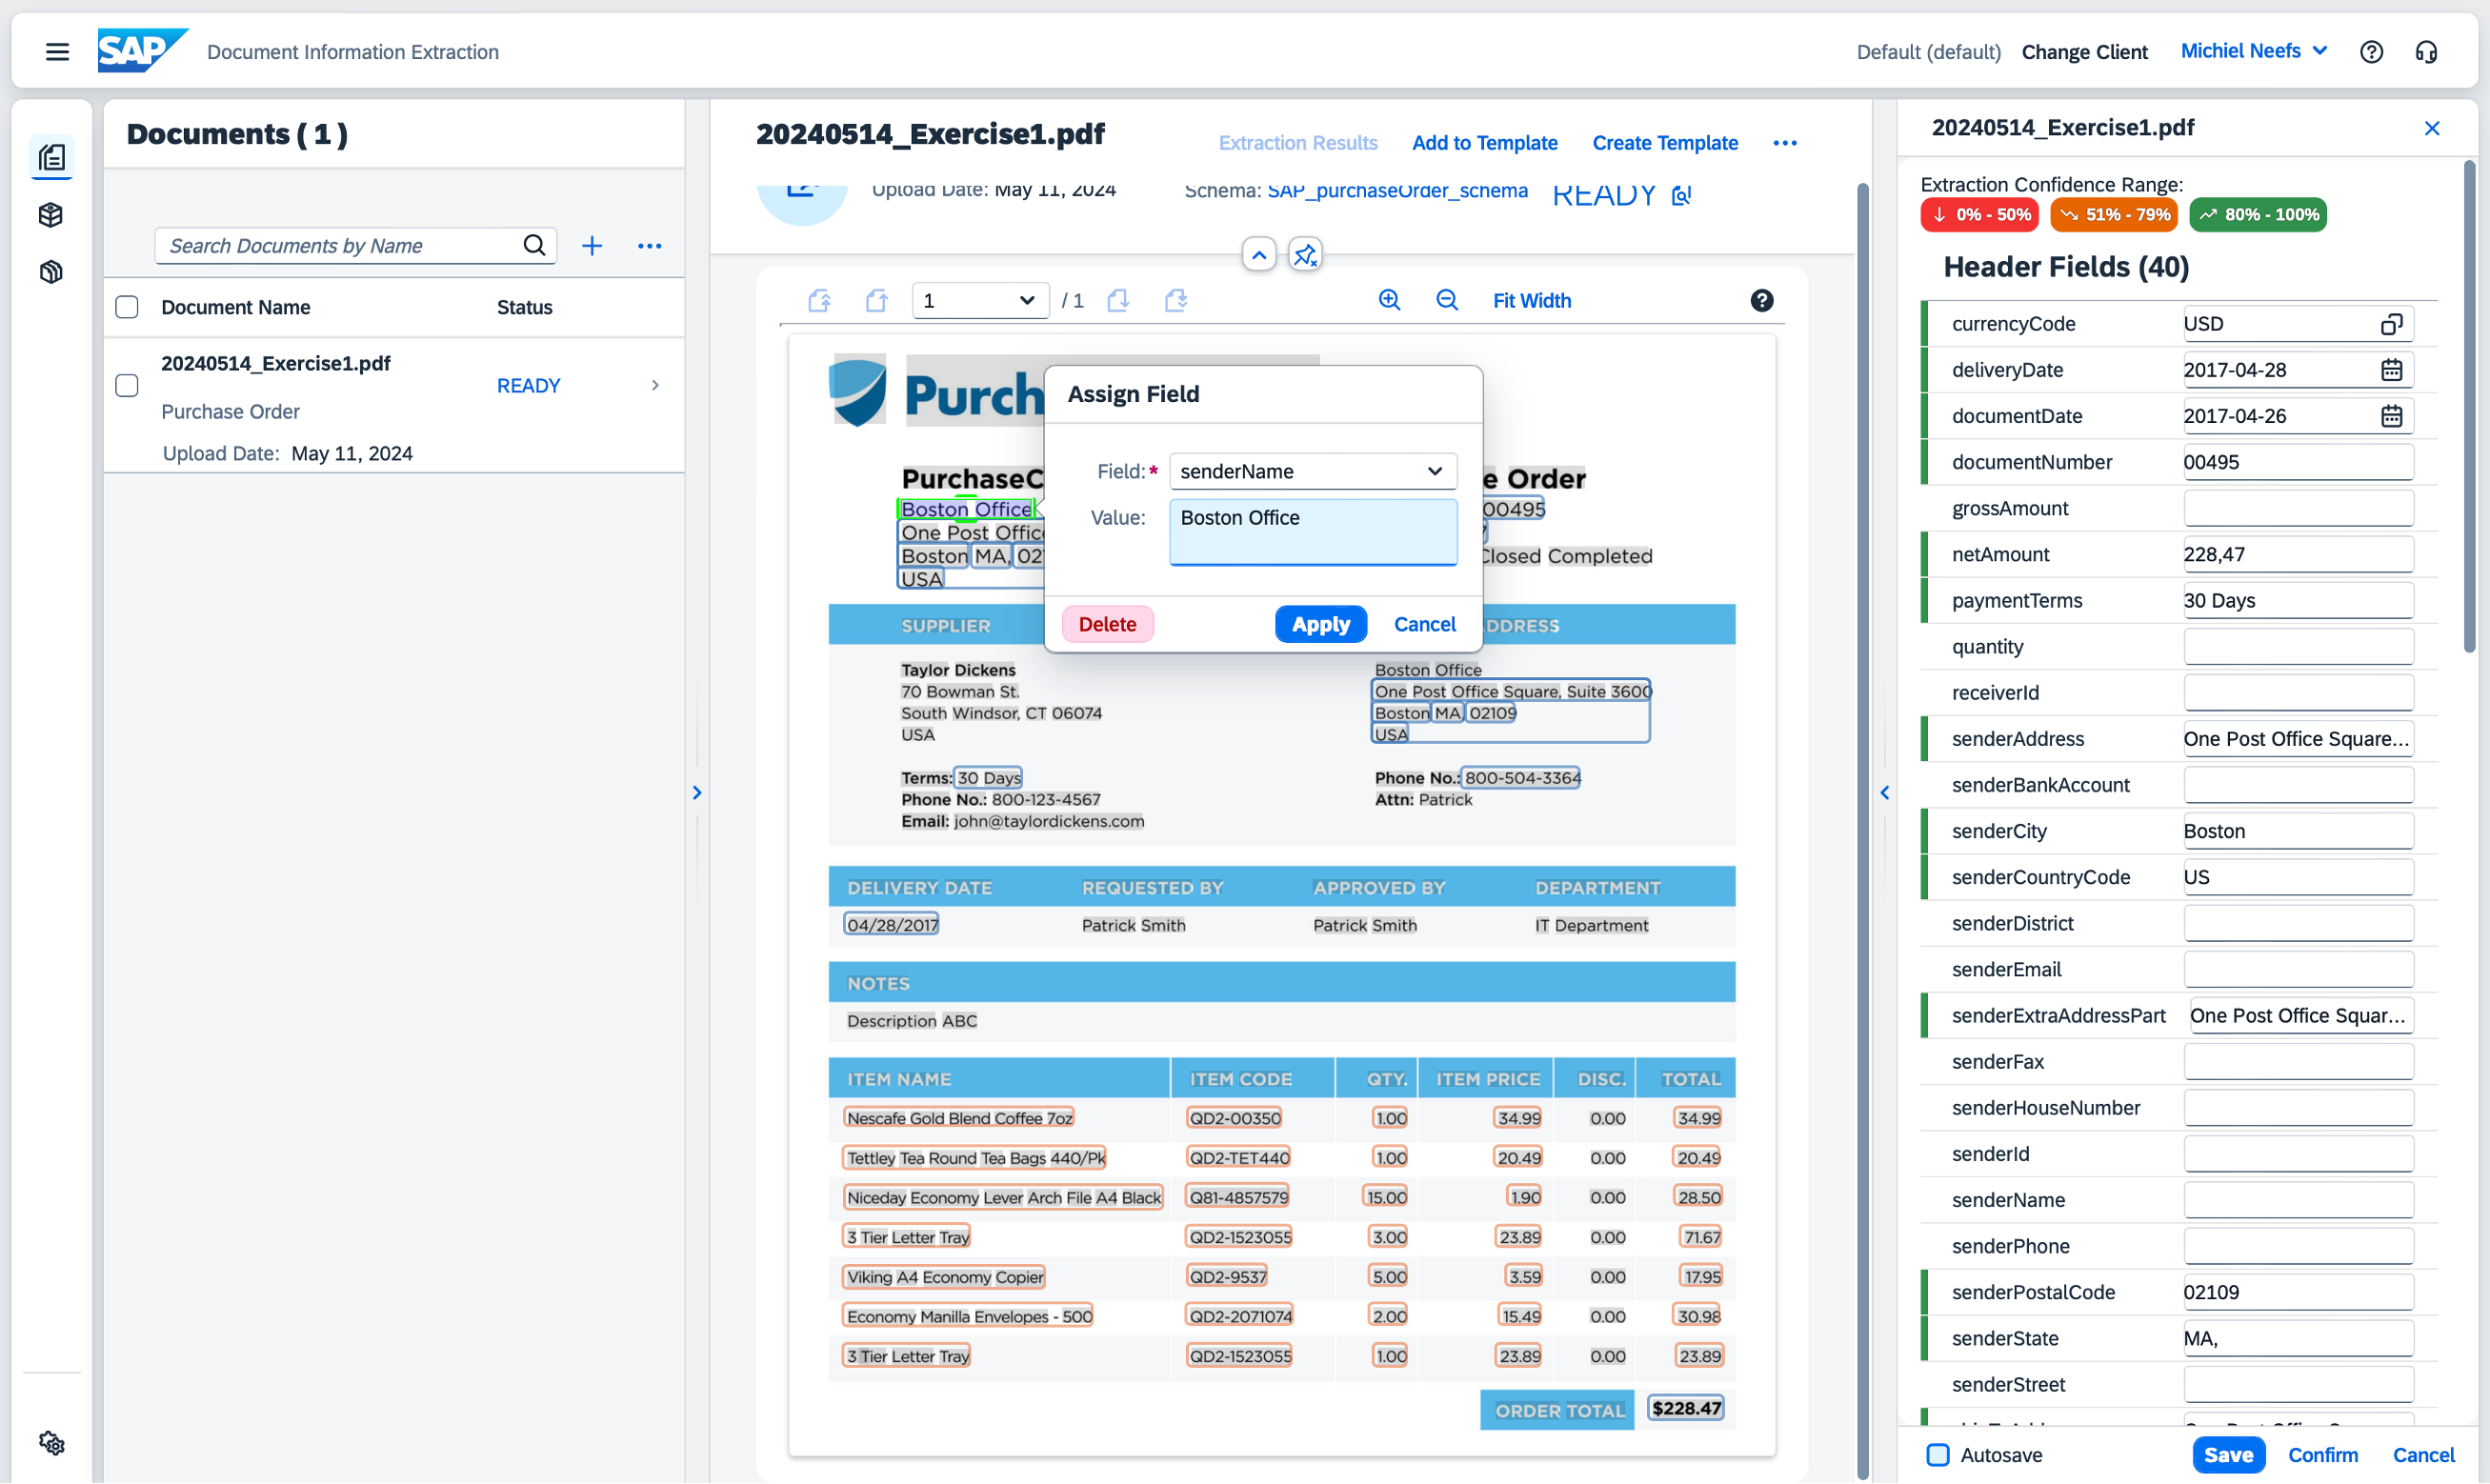
Set Field to senderName. The value should be automatically populated to Boston Office. Click on Apply.
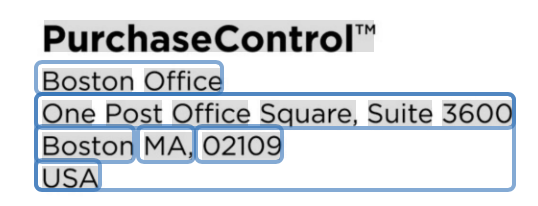
Boston Office is now annotated and has a blue border.

On the bottom right, click on Save.
Exercise 3 – Creating a template
Still on the same screen, click on Create Template.
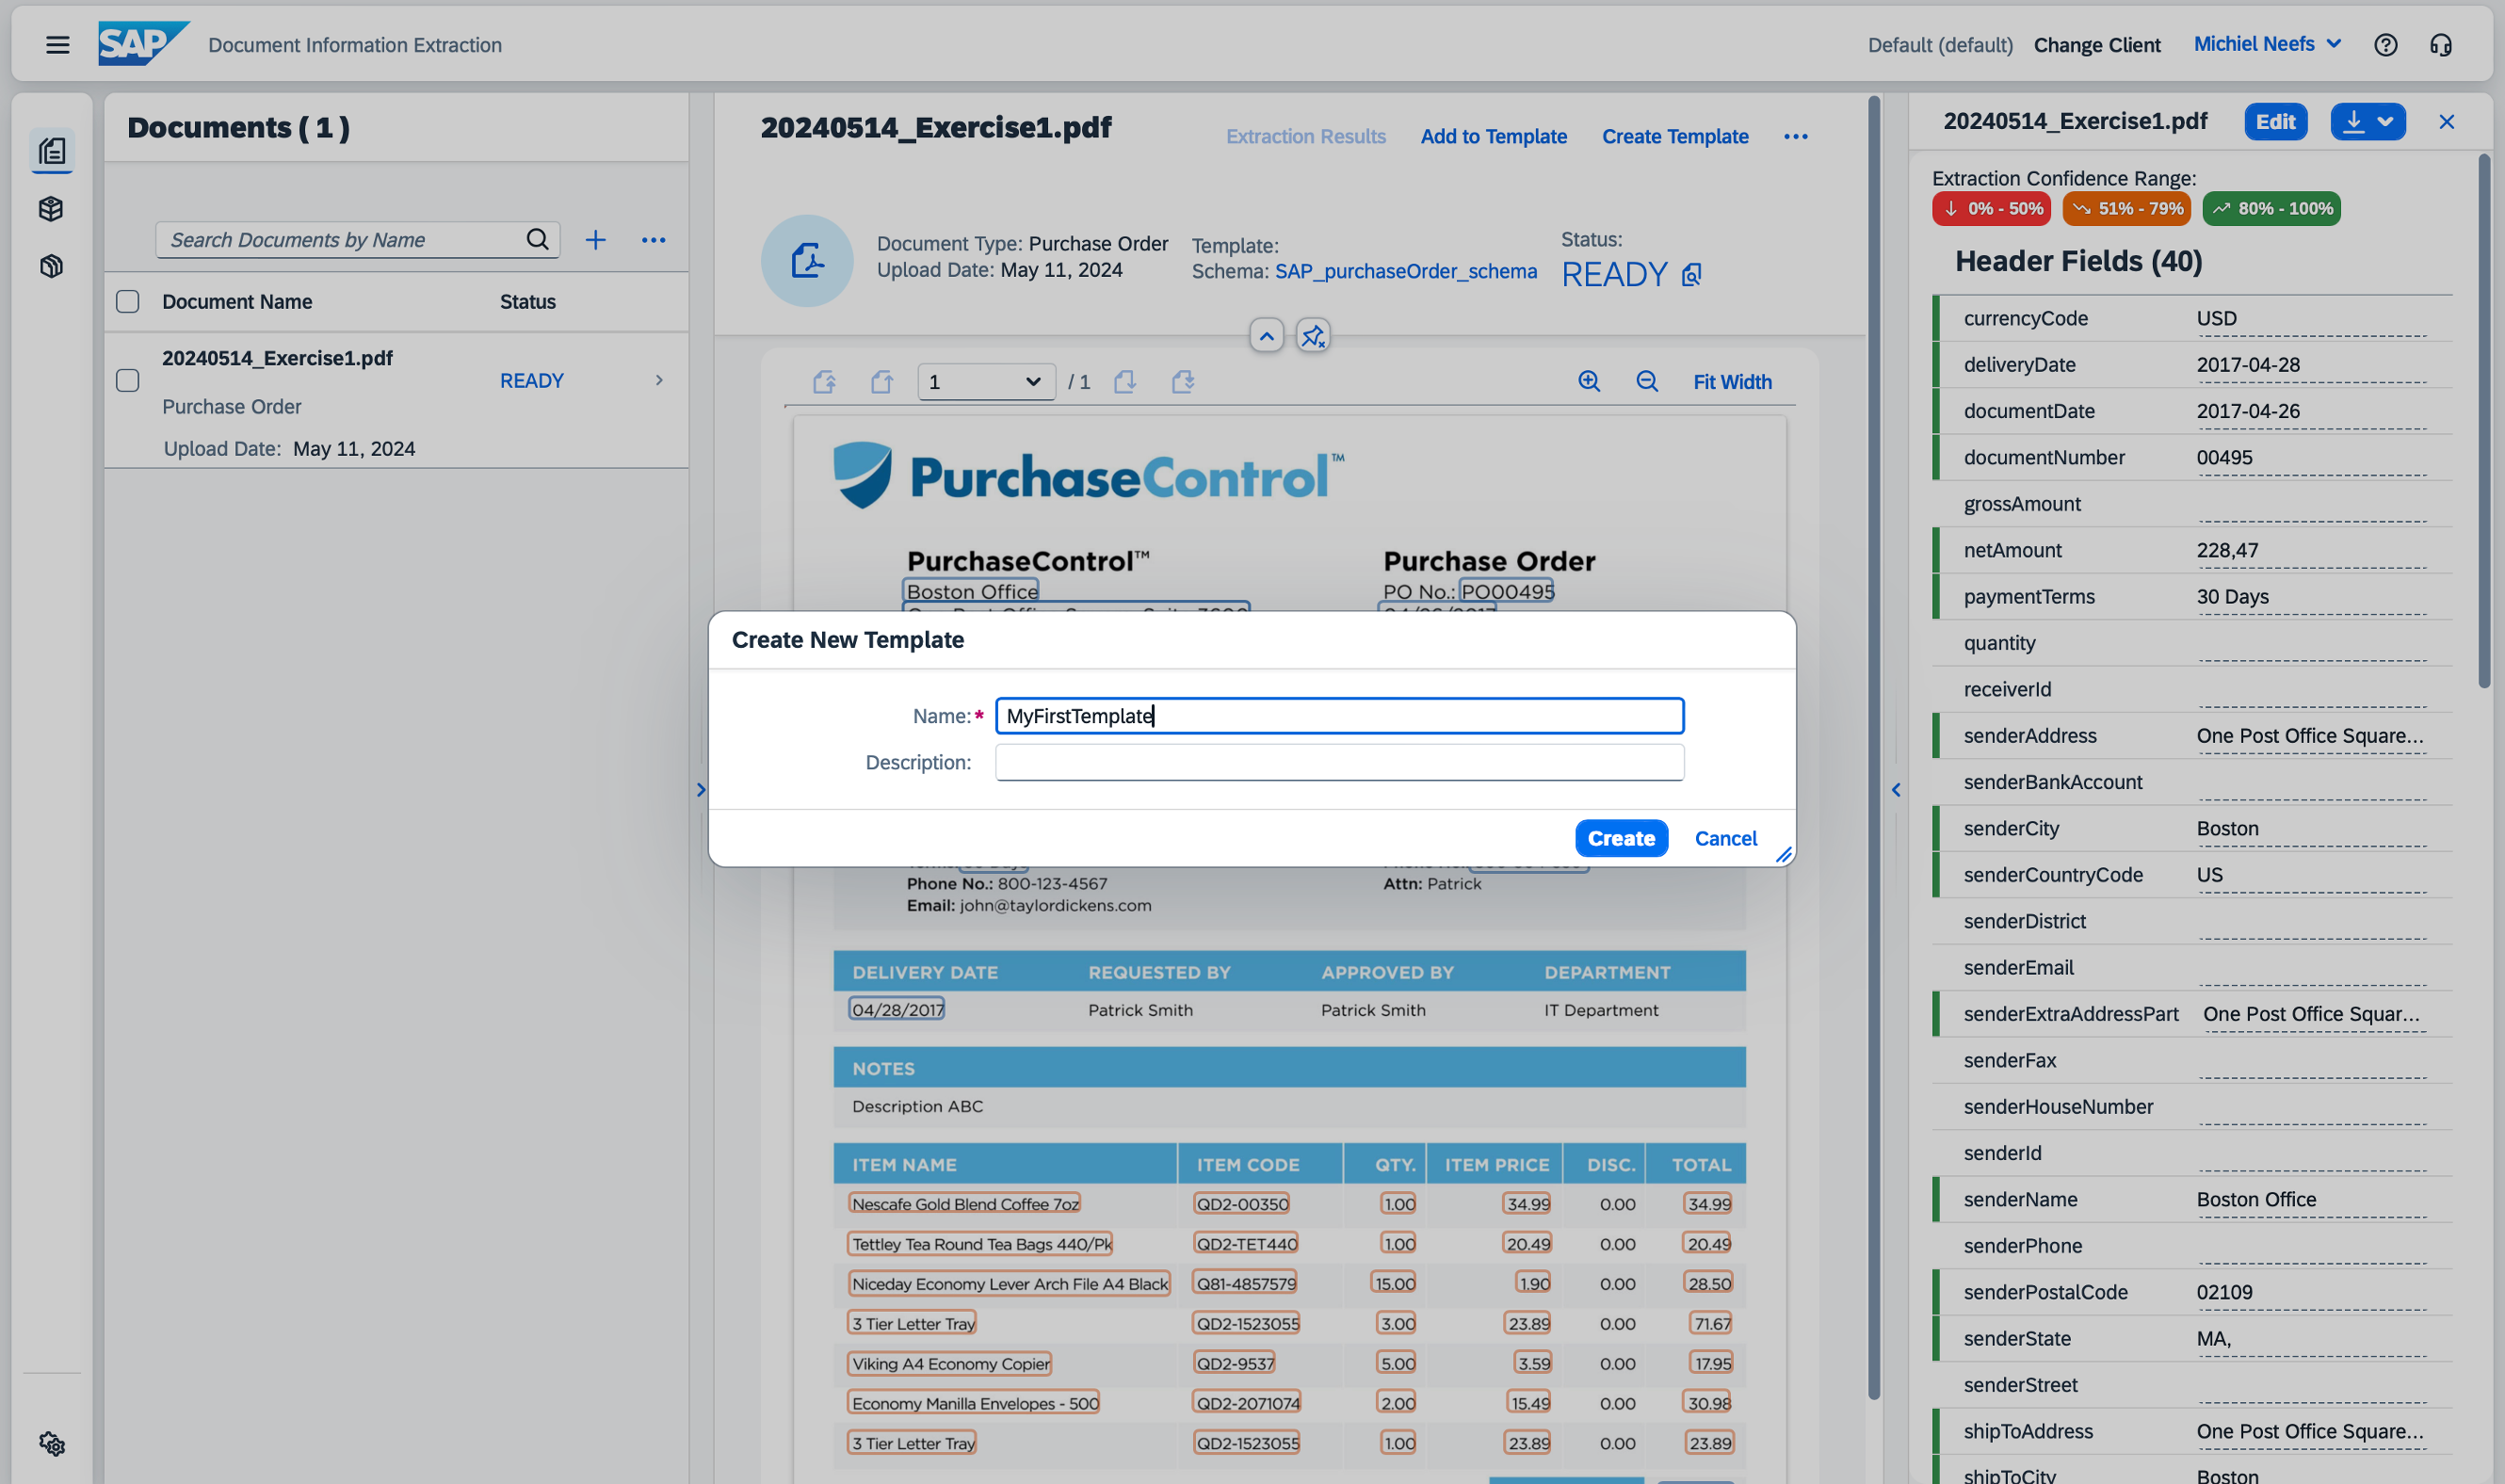
Enter a name for the template and click on Create.
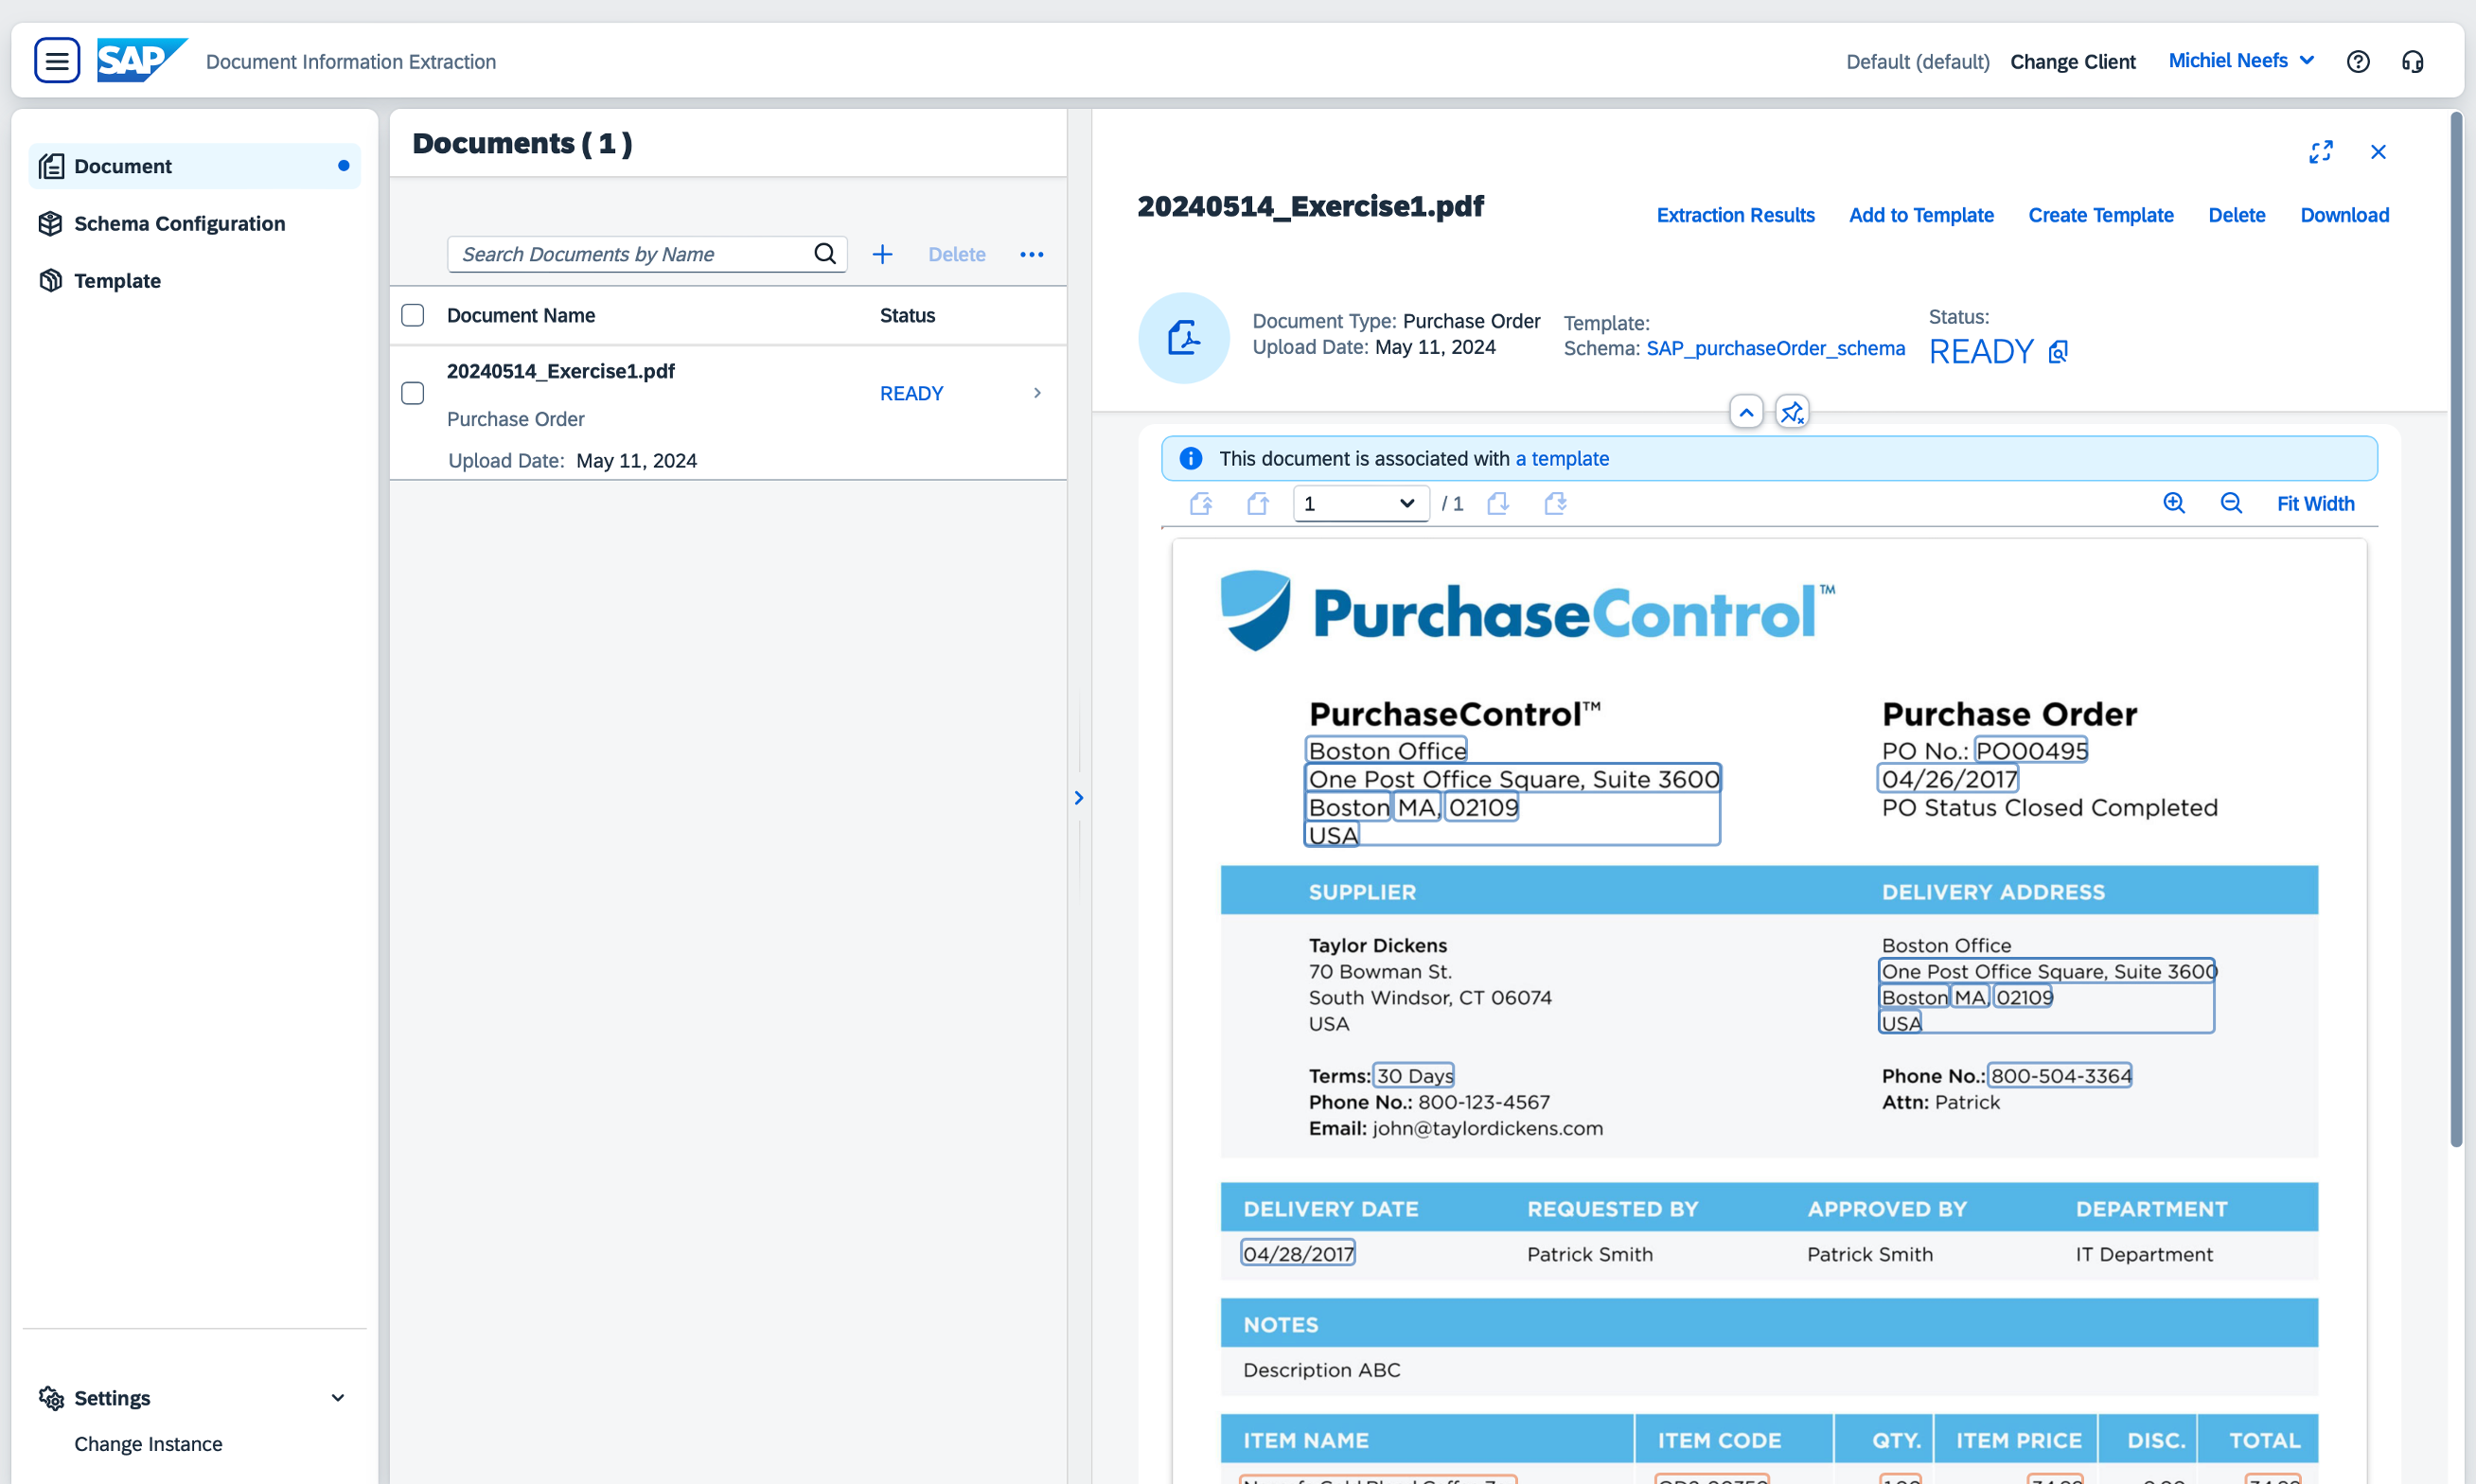
Click on 20240514_Exercise1.pdf.
Click on Add to Template to associate this document to the newly created template.
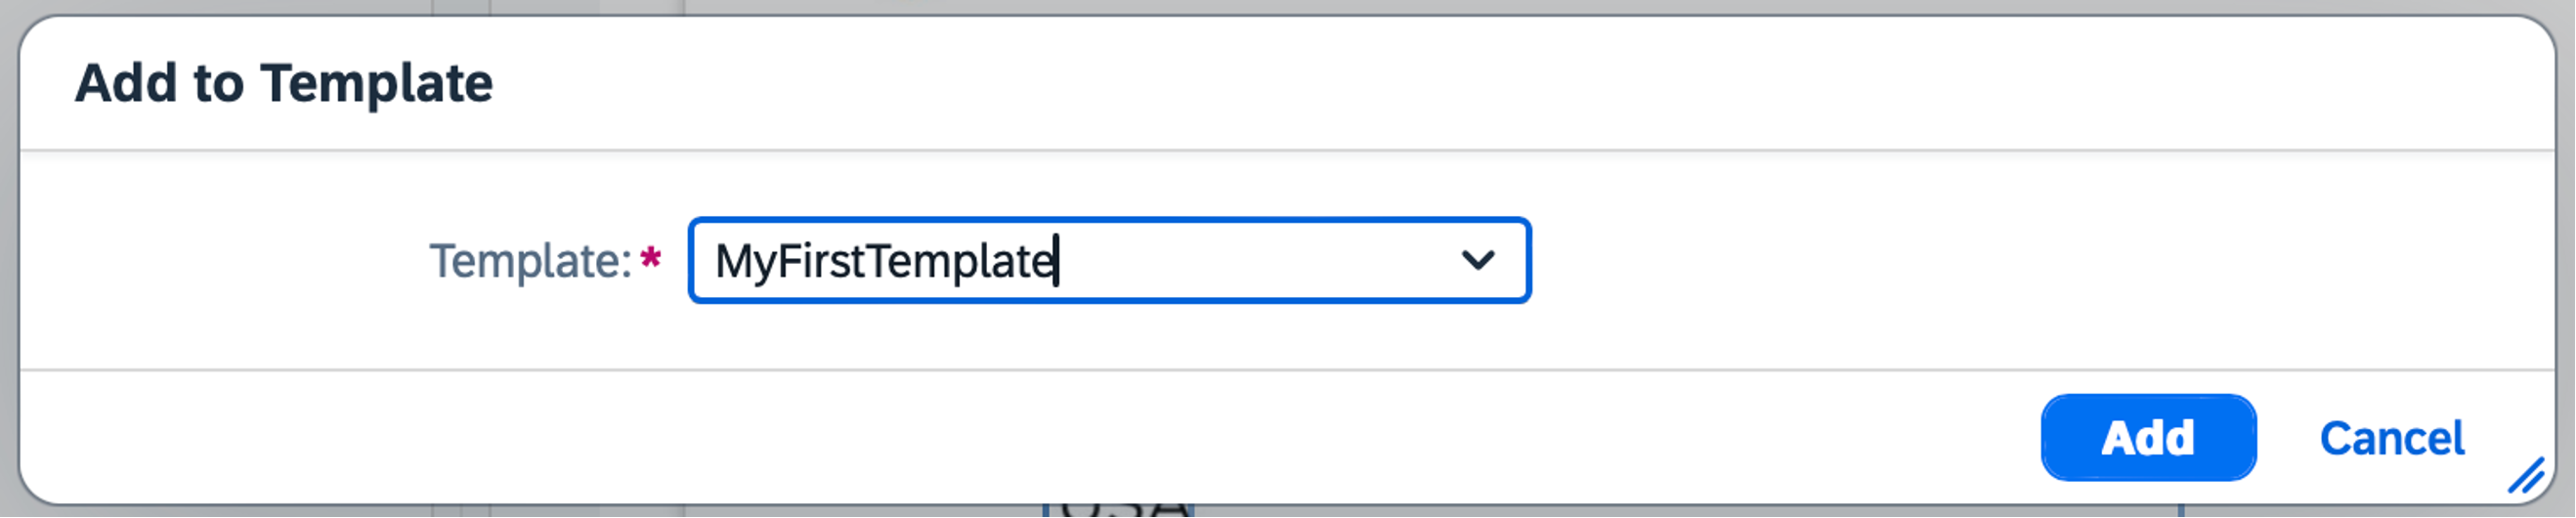
Select your newly created template and click on Add.
Click on OK.
On the left, click on Template.
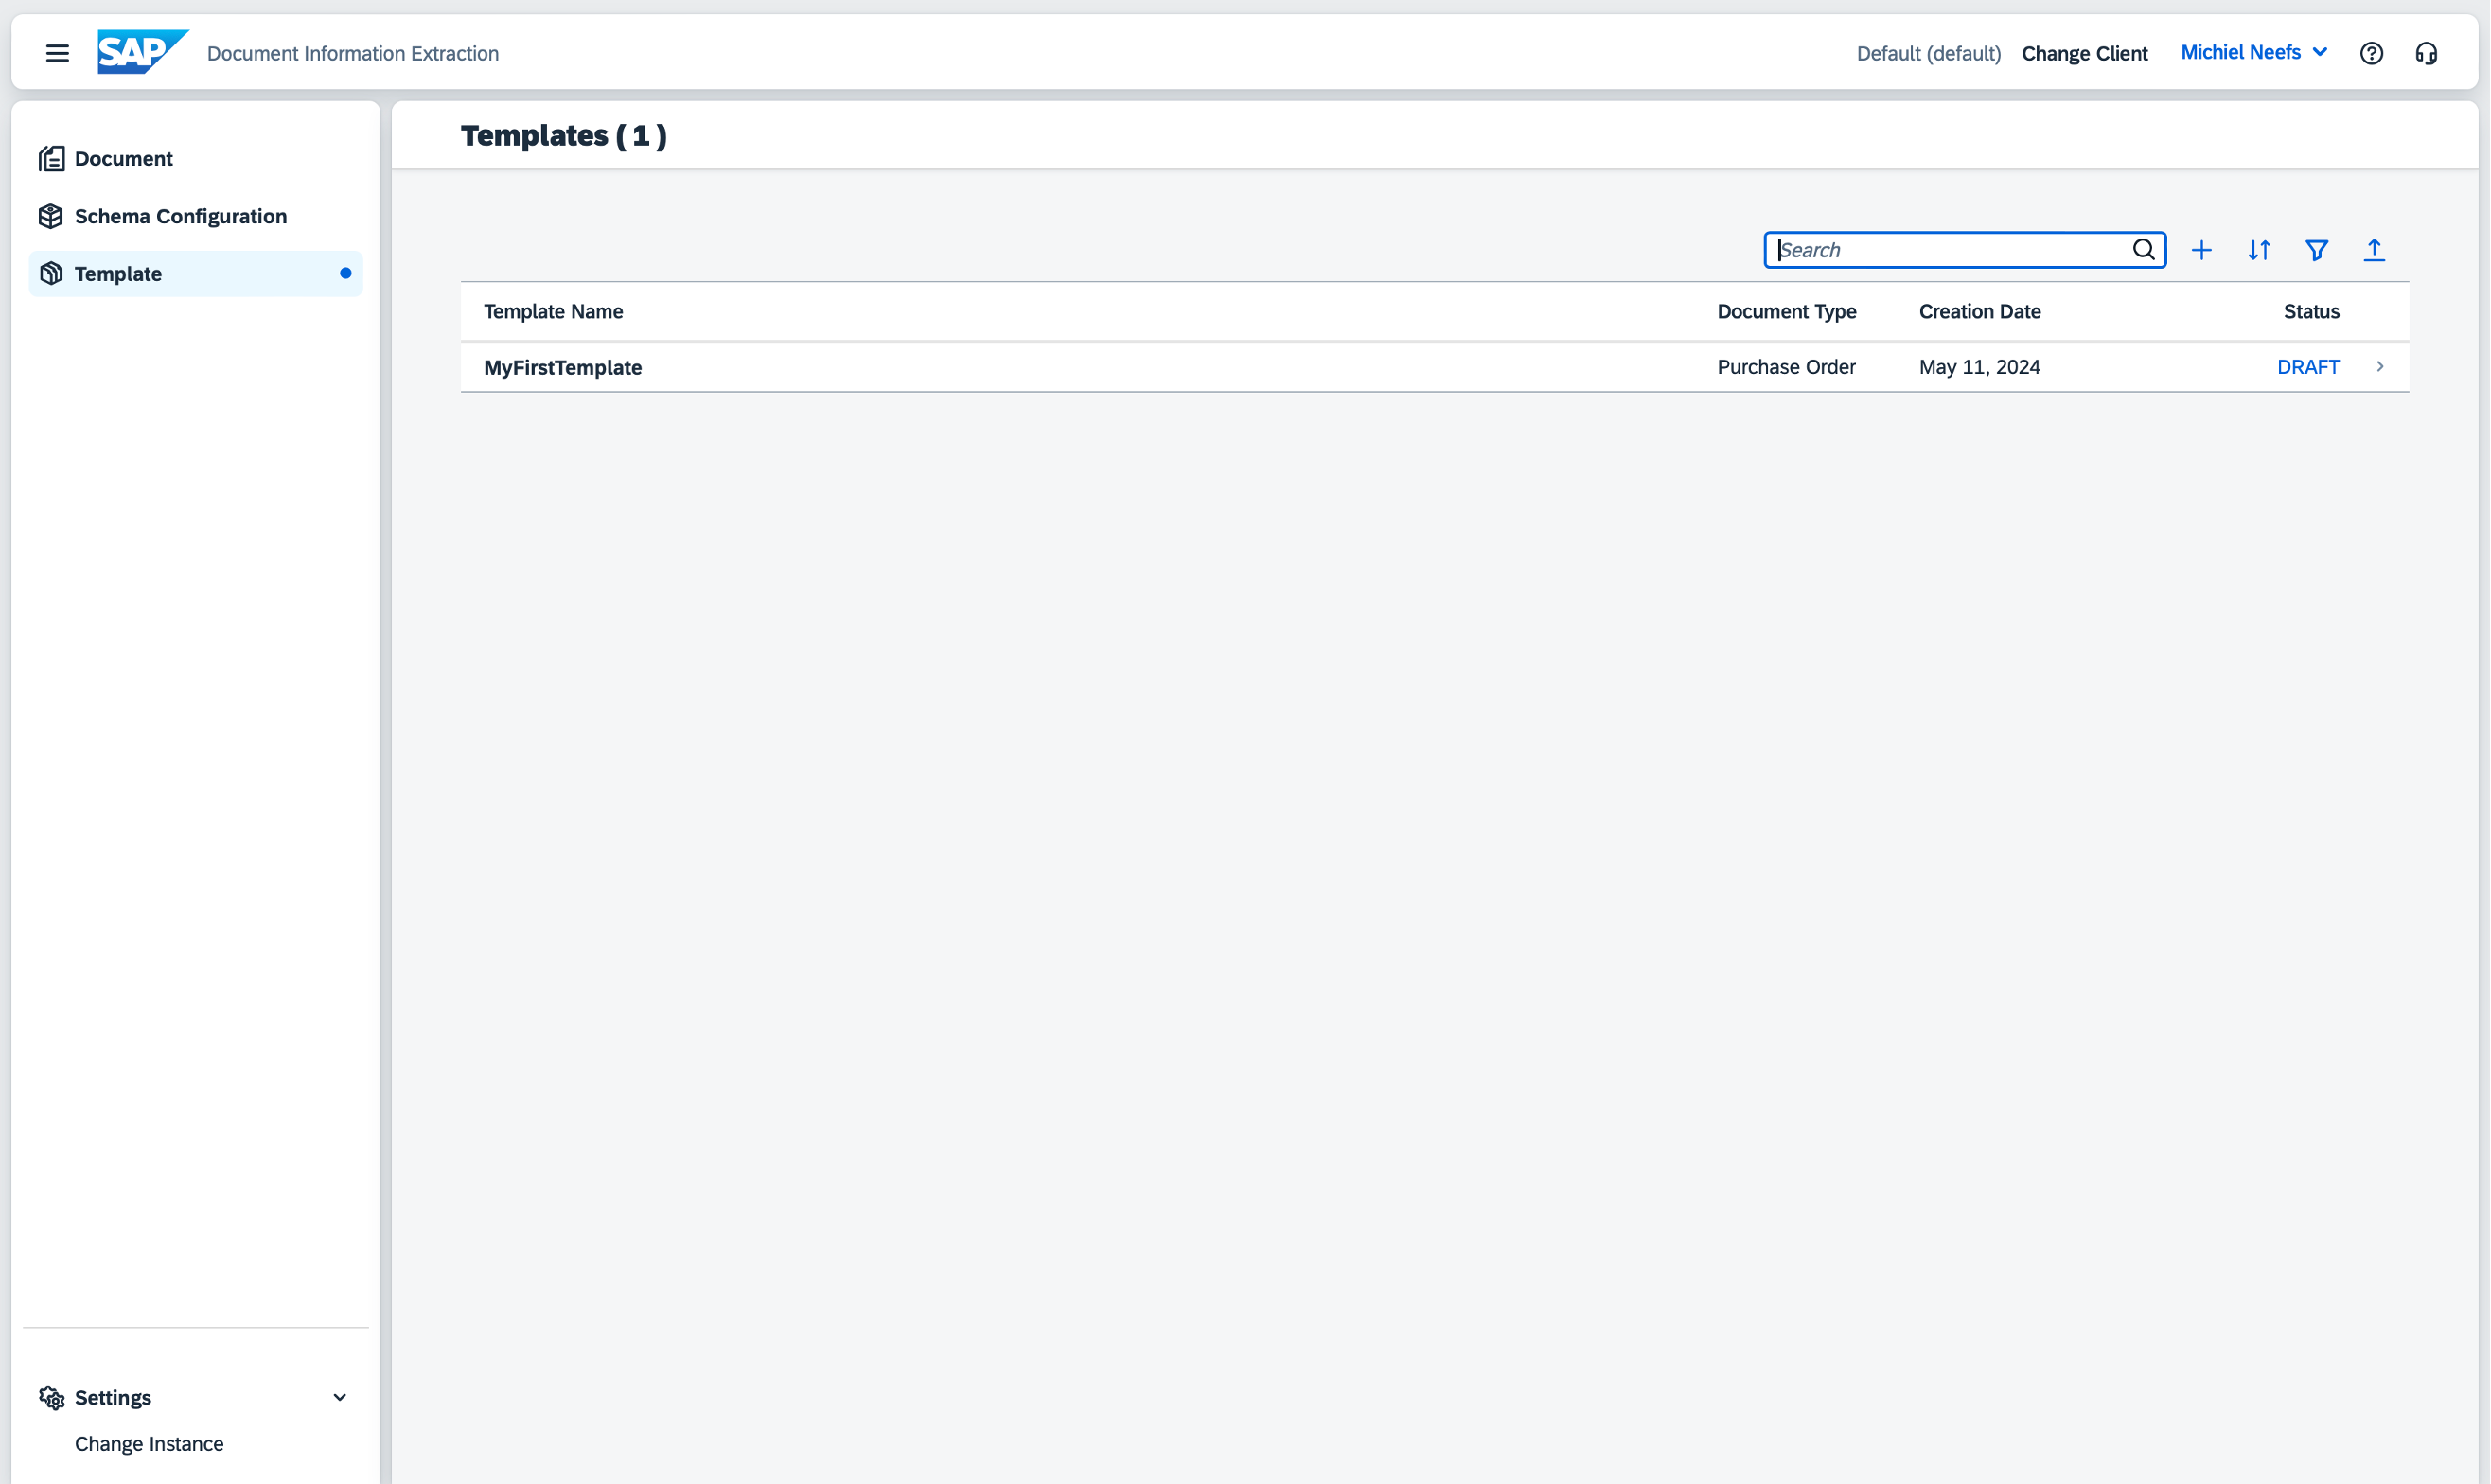
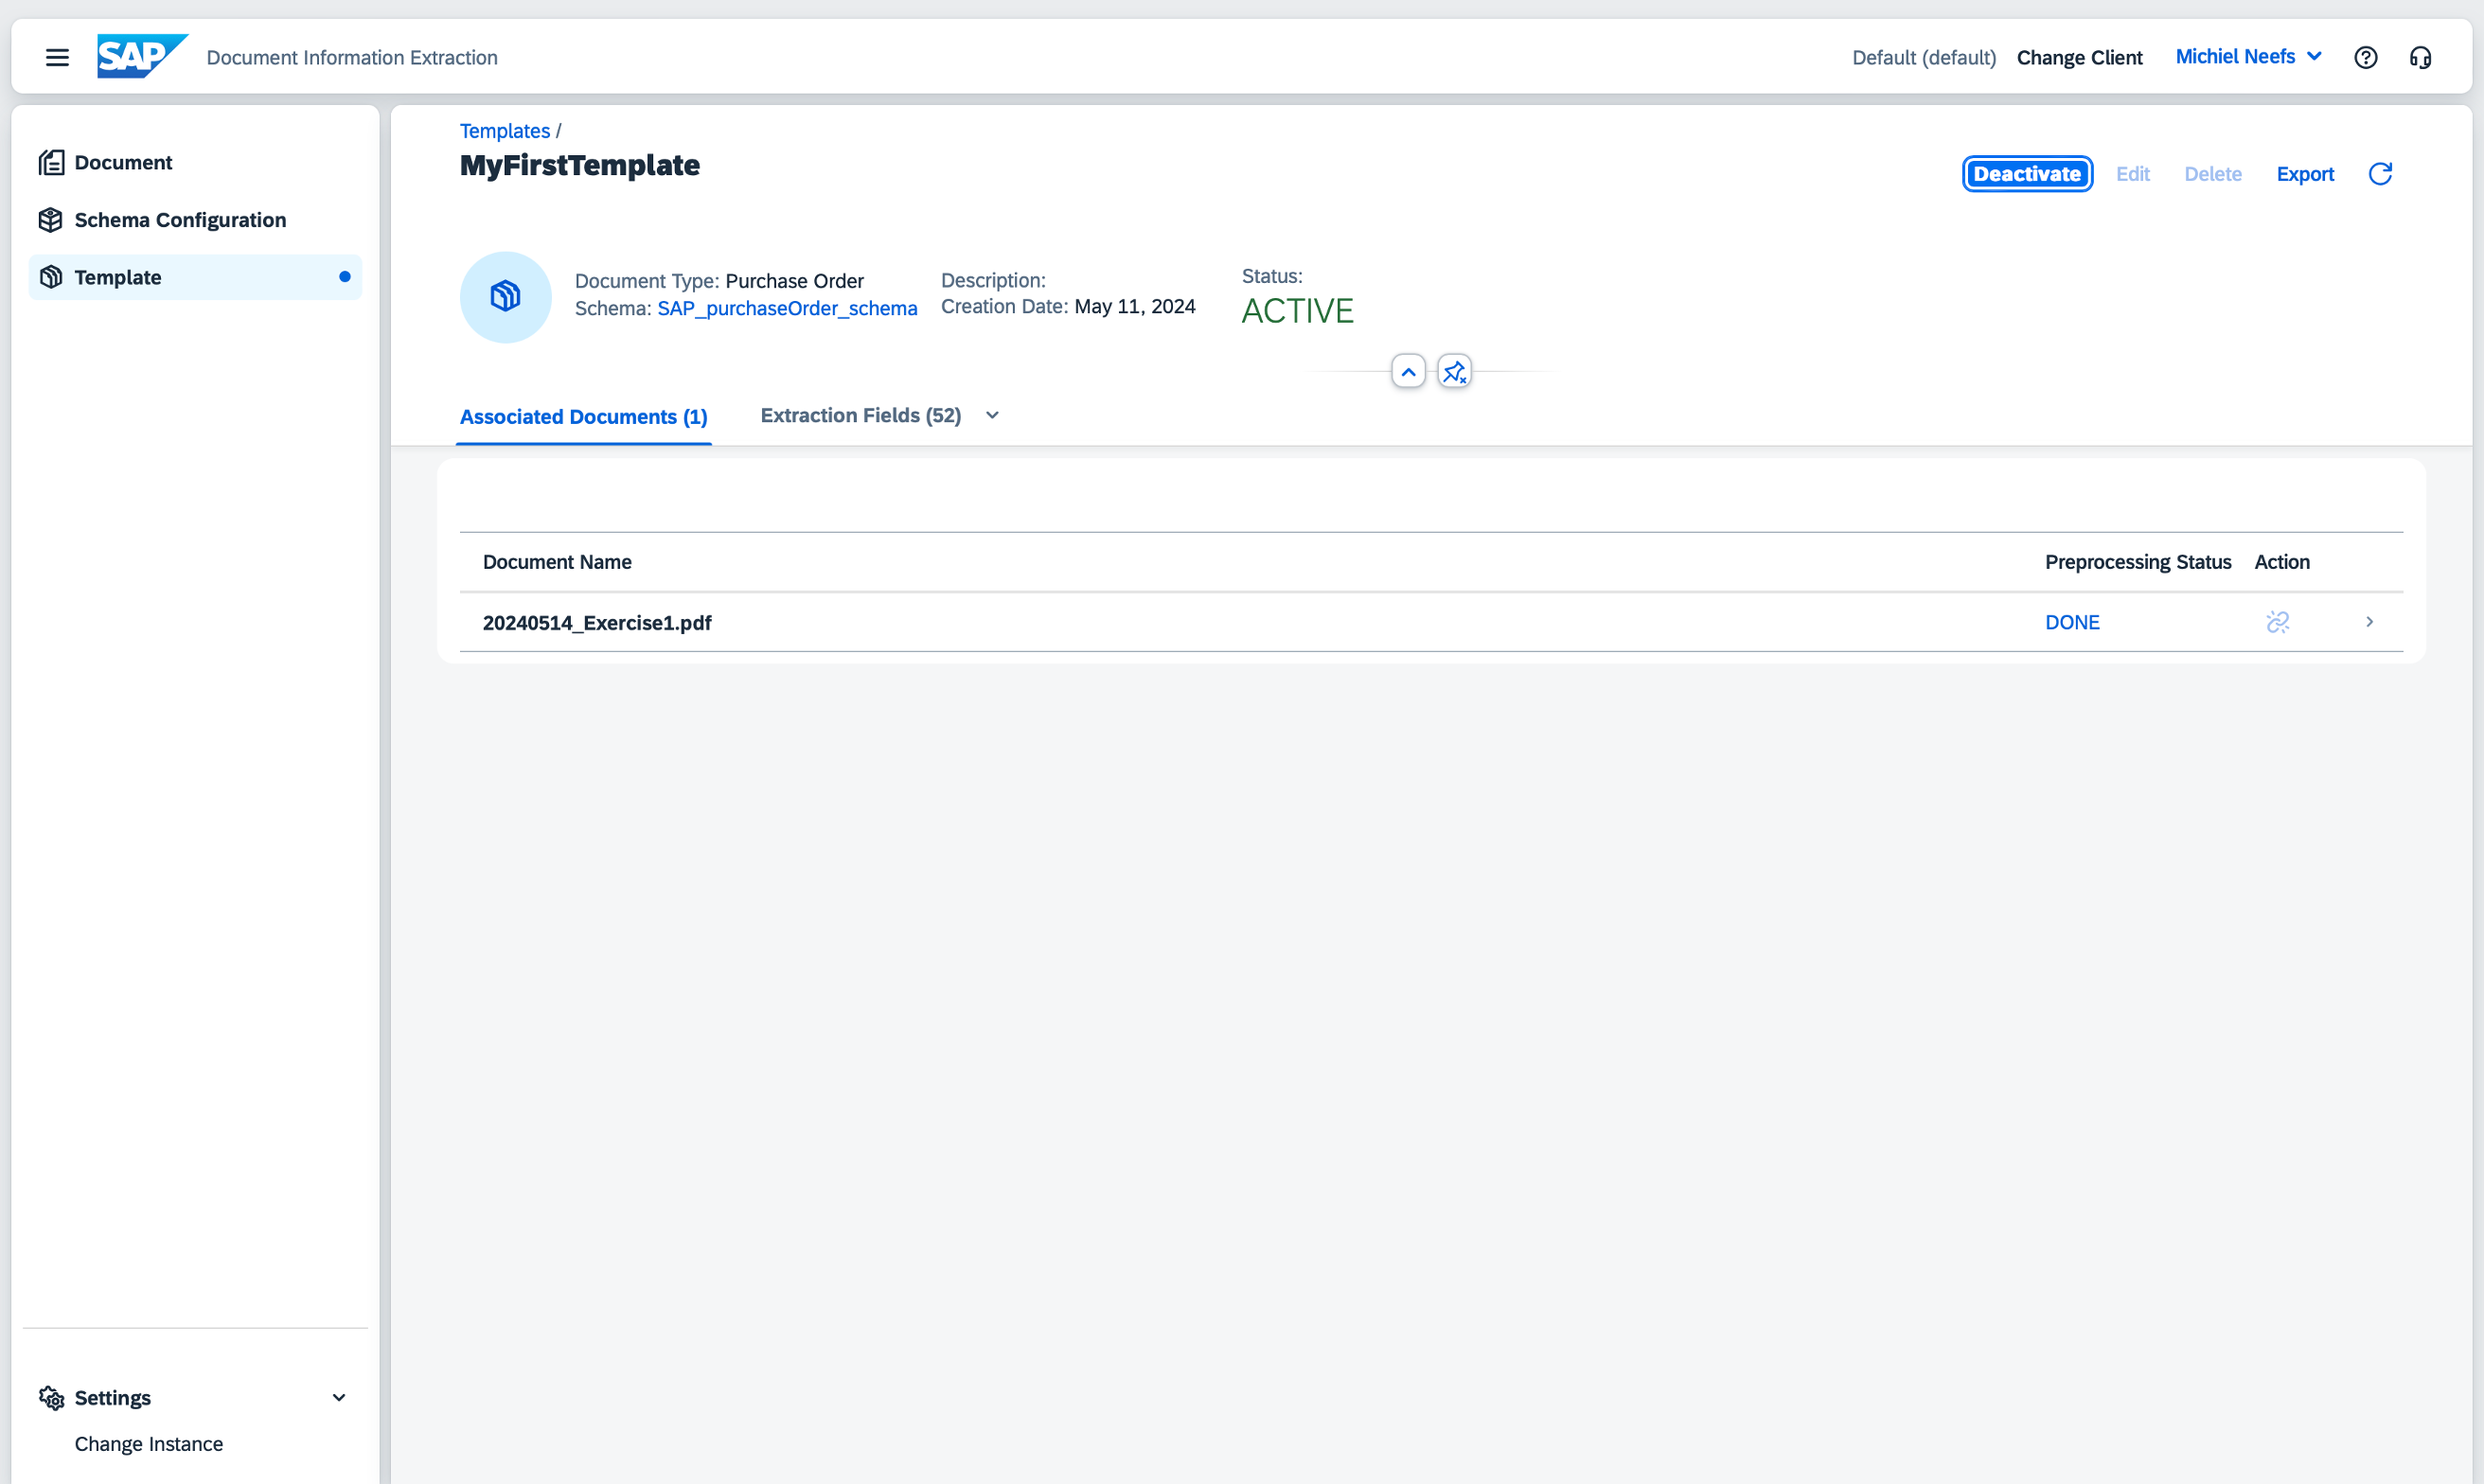
Click on your newly created template.

On the top, click on Activate.

The template status has now changed from DRAFT to ACTIVE and is ready to be used.
Exercise 4 – Processing documents using templates
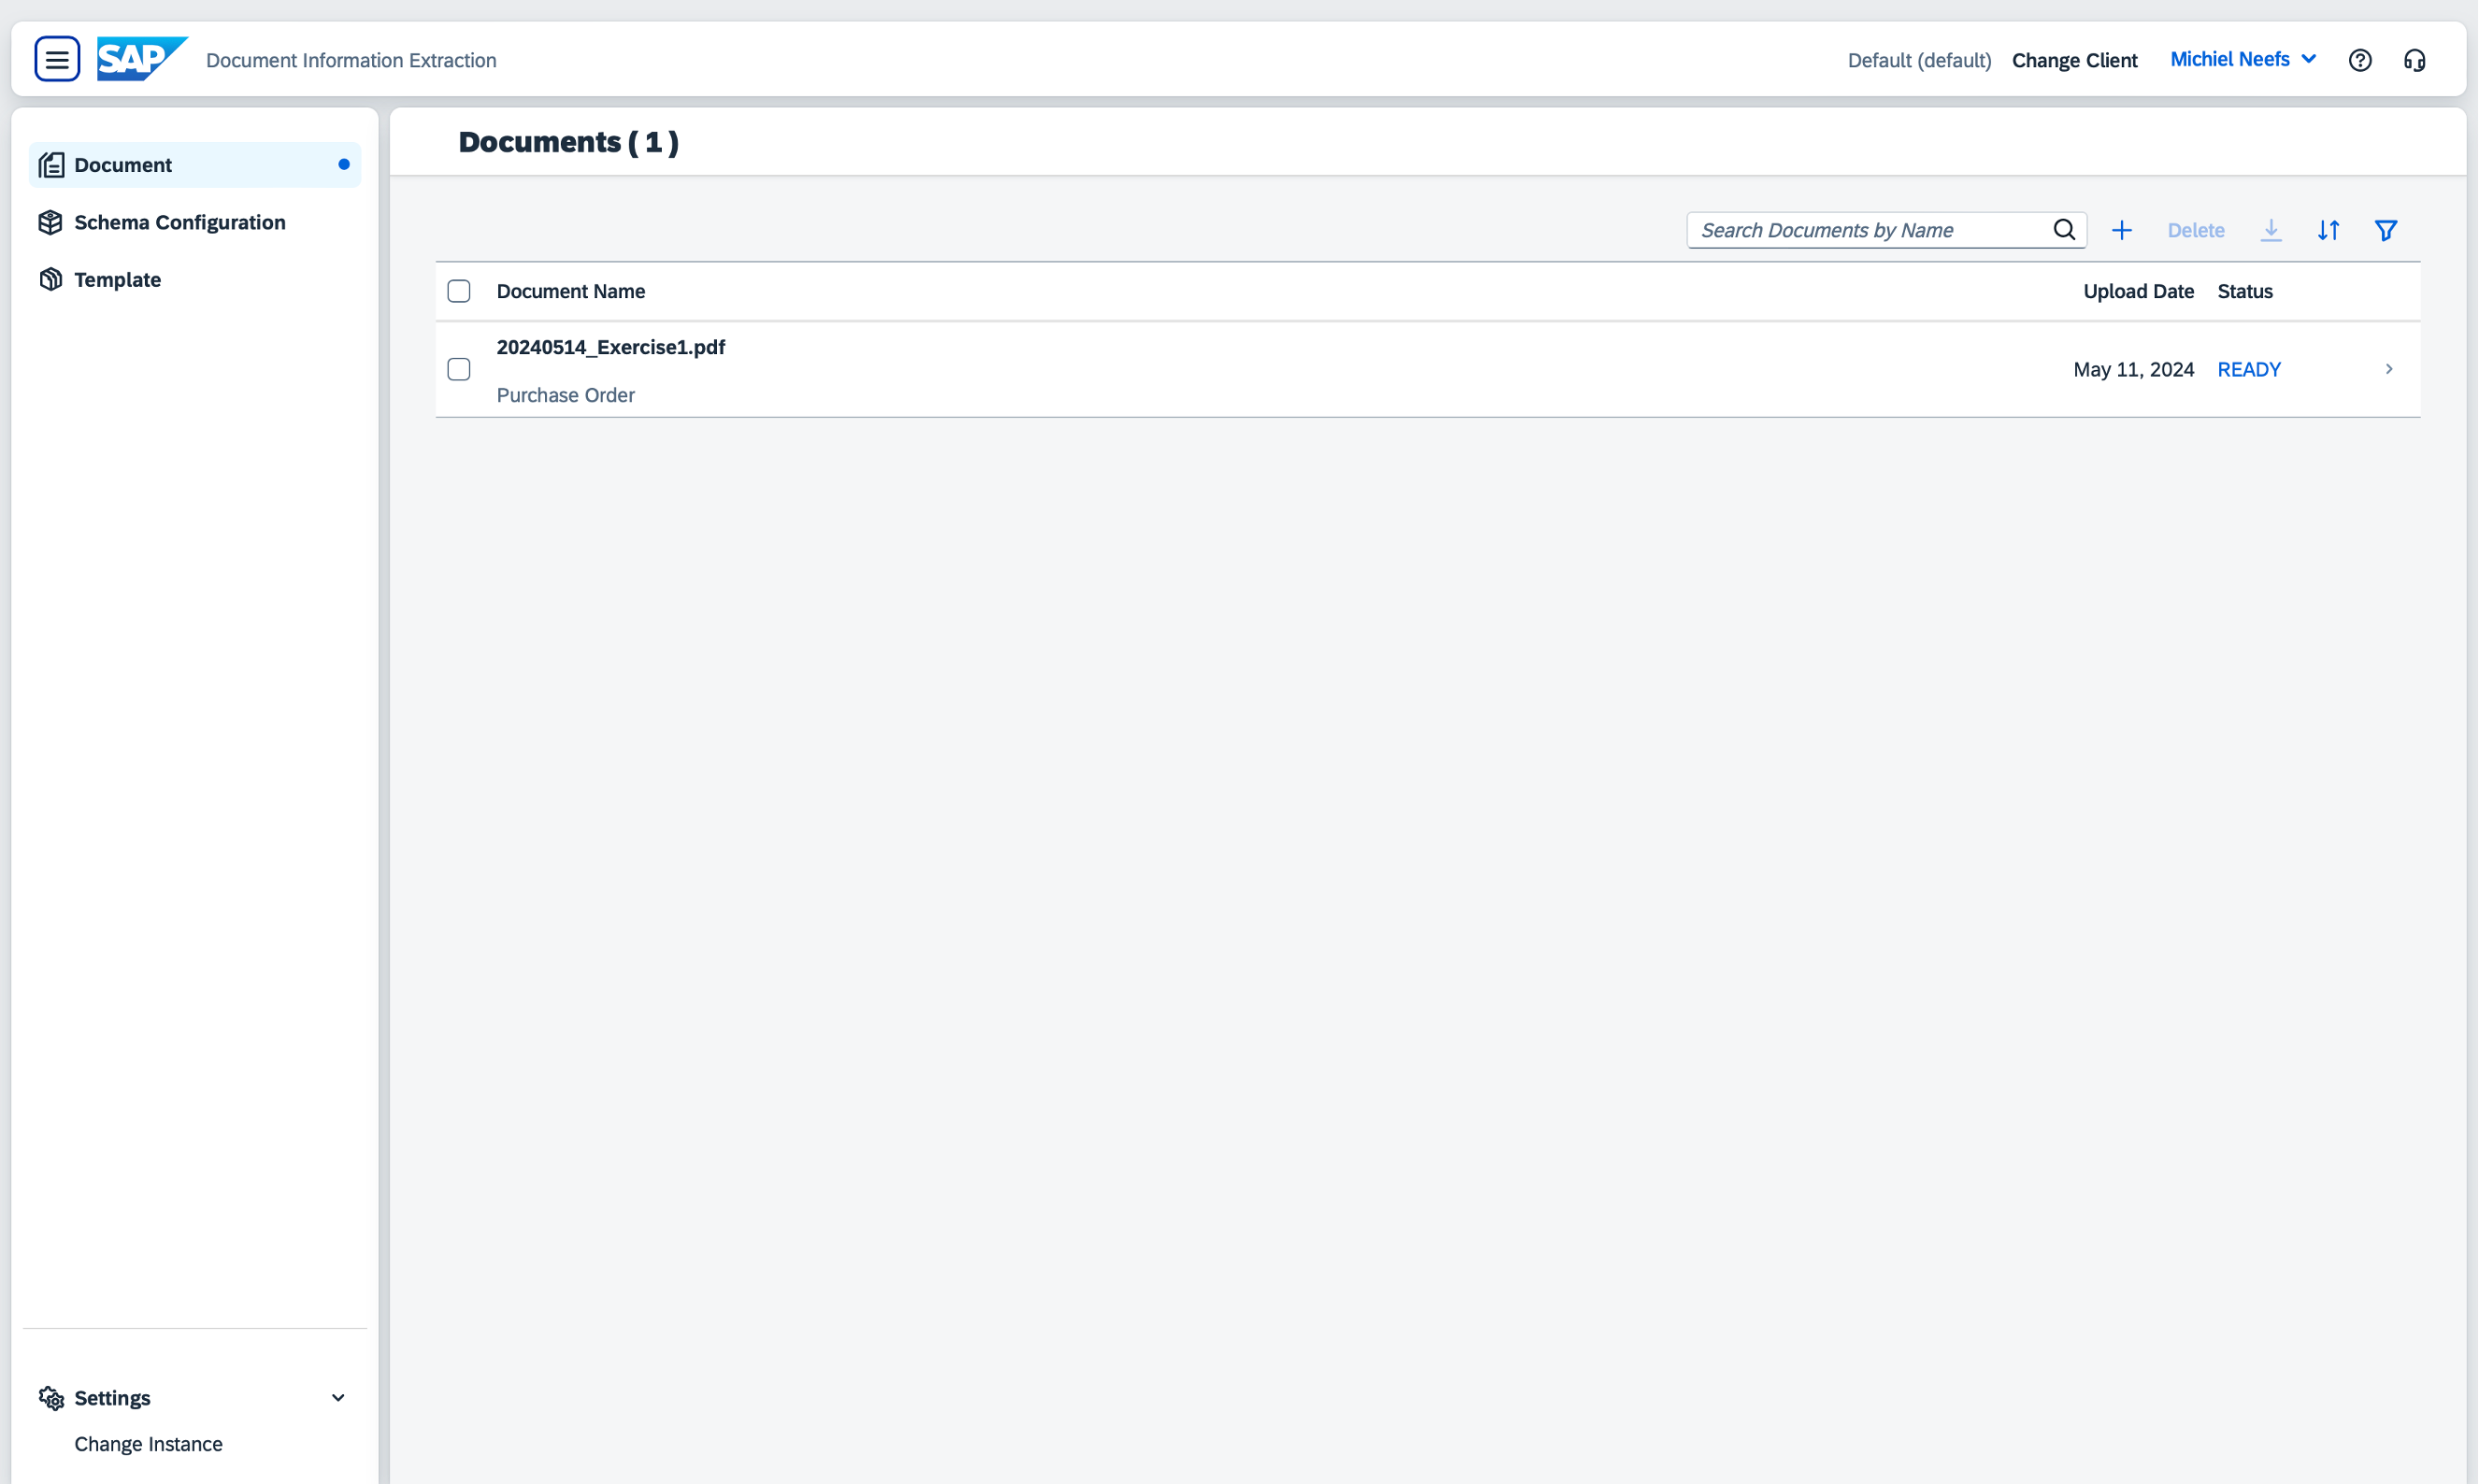
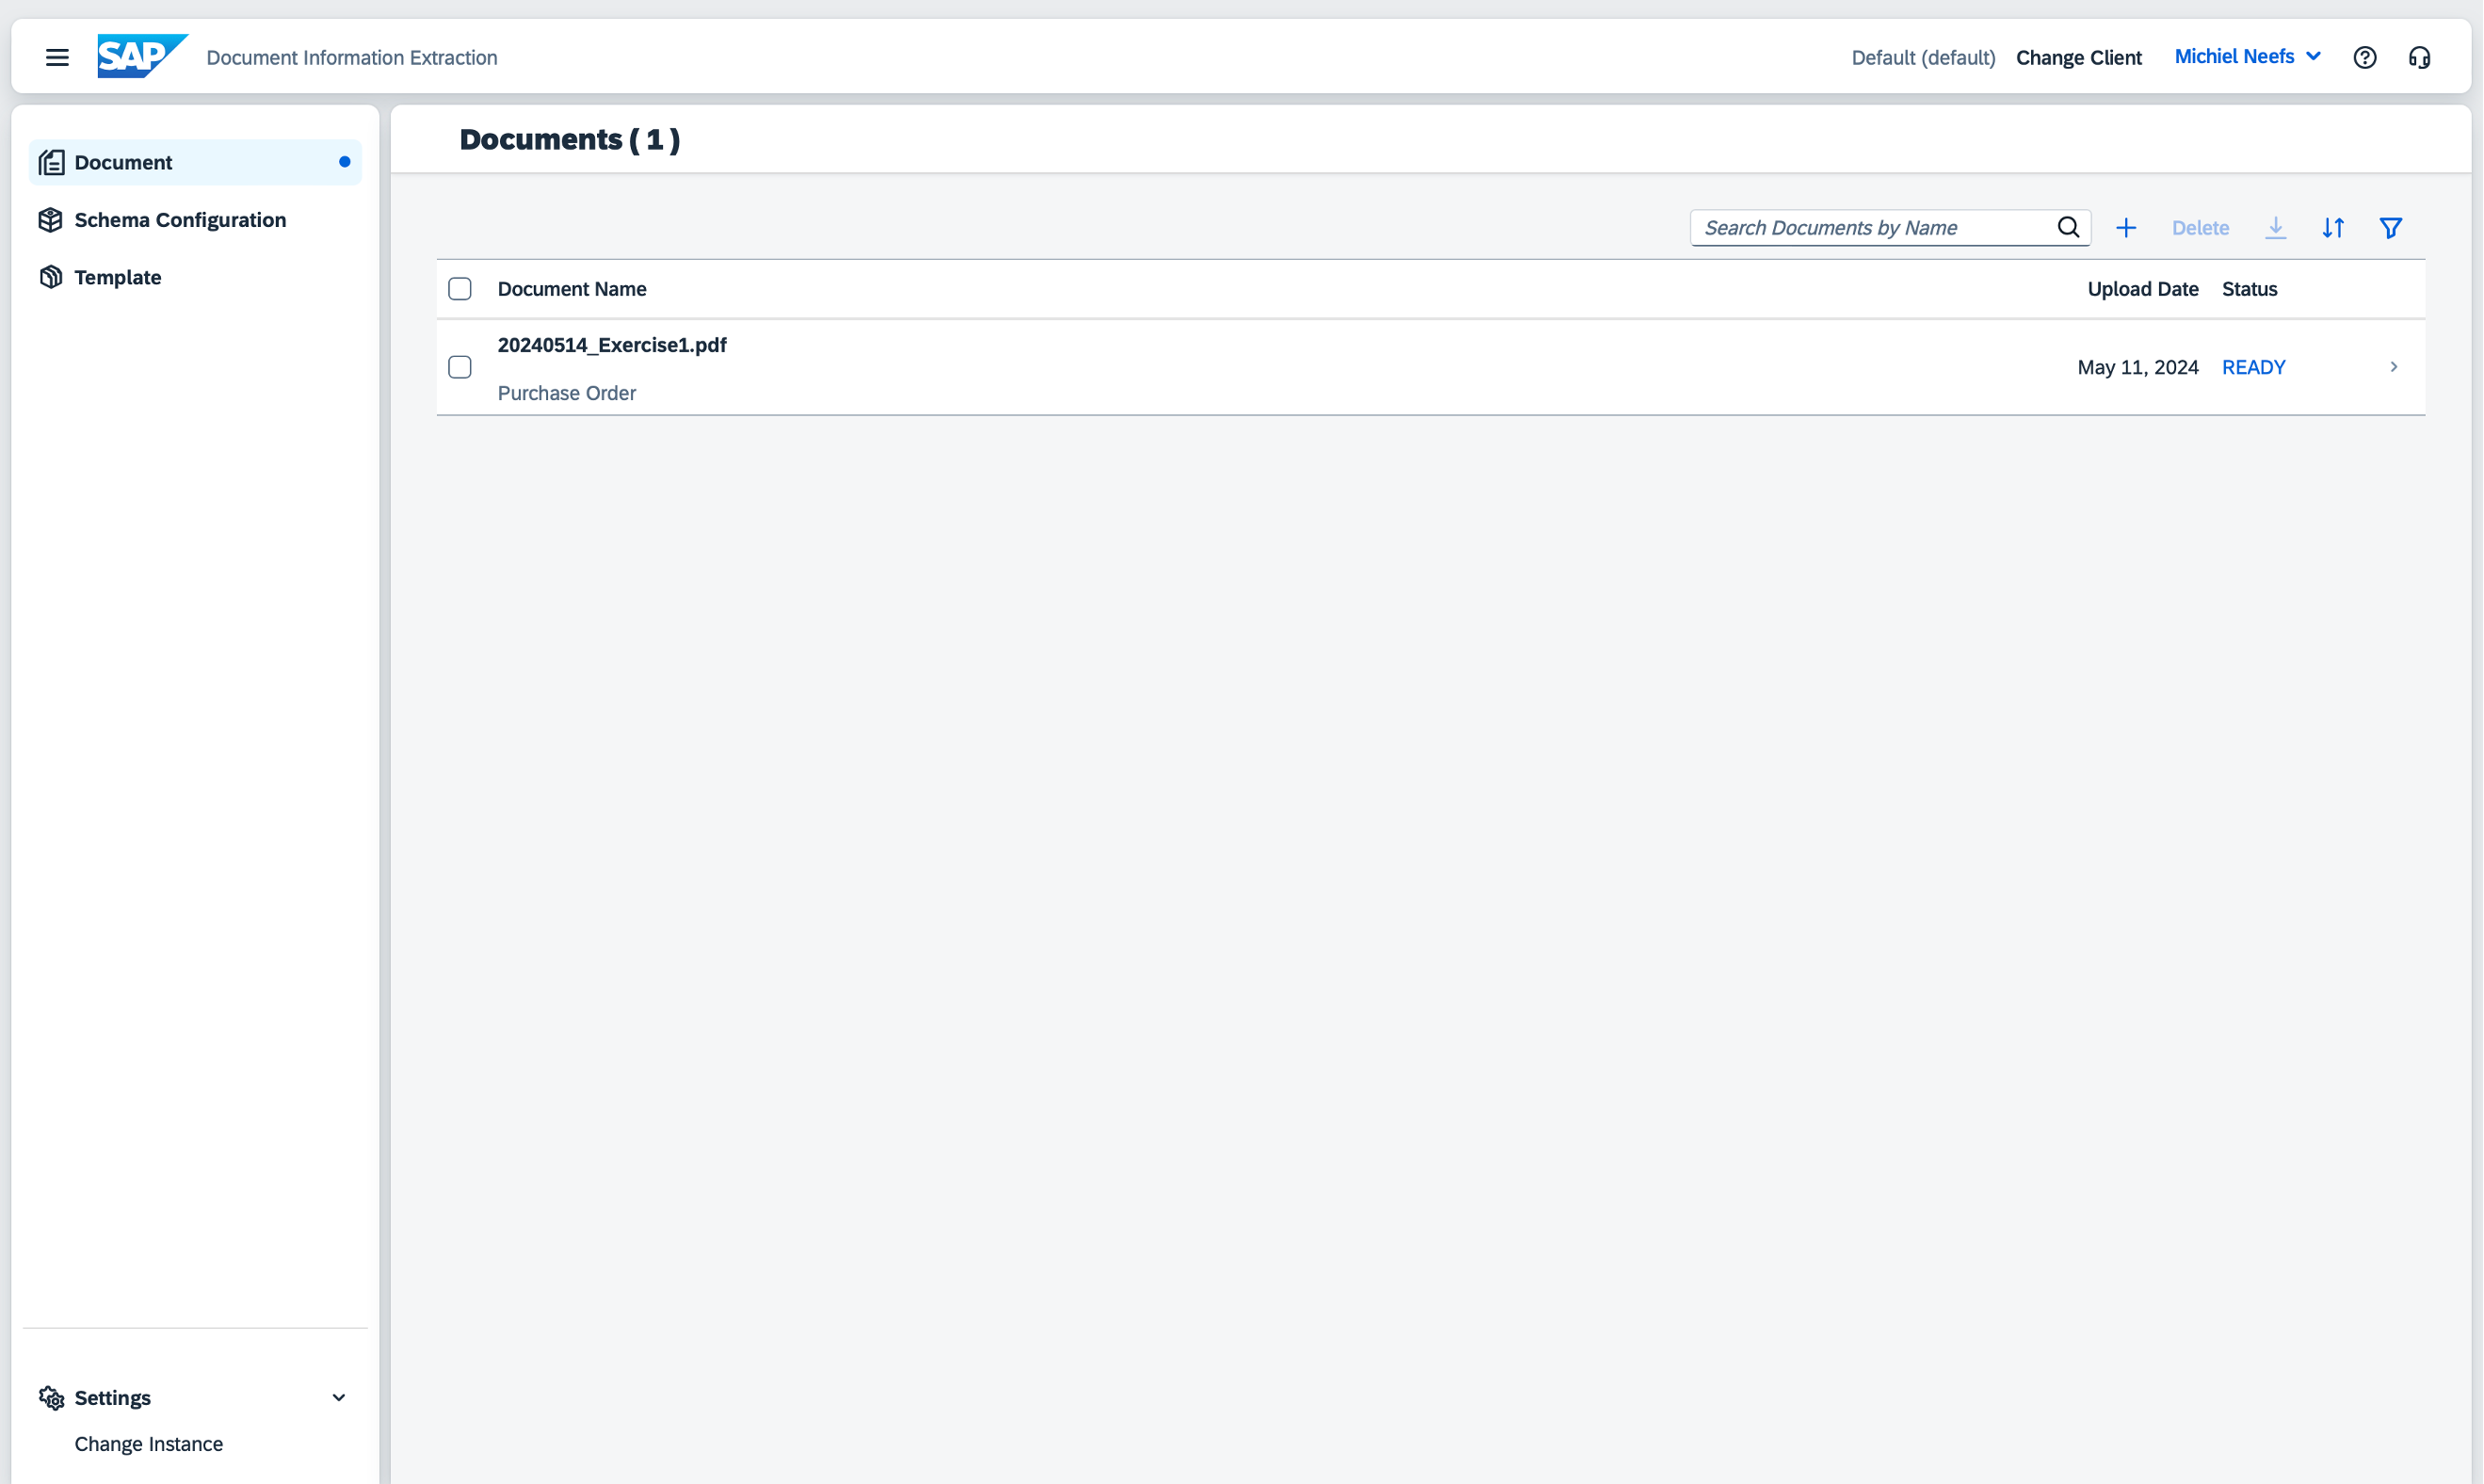
On the left, click on Document.
On the top, click on the plus icon.
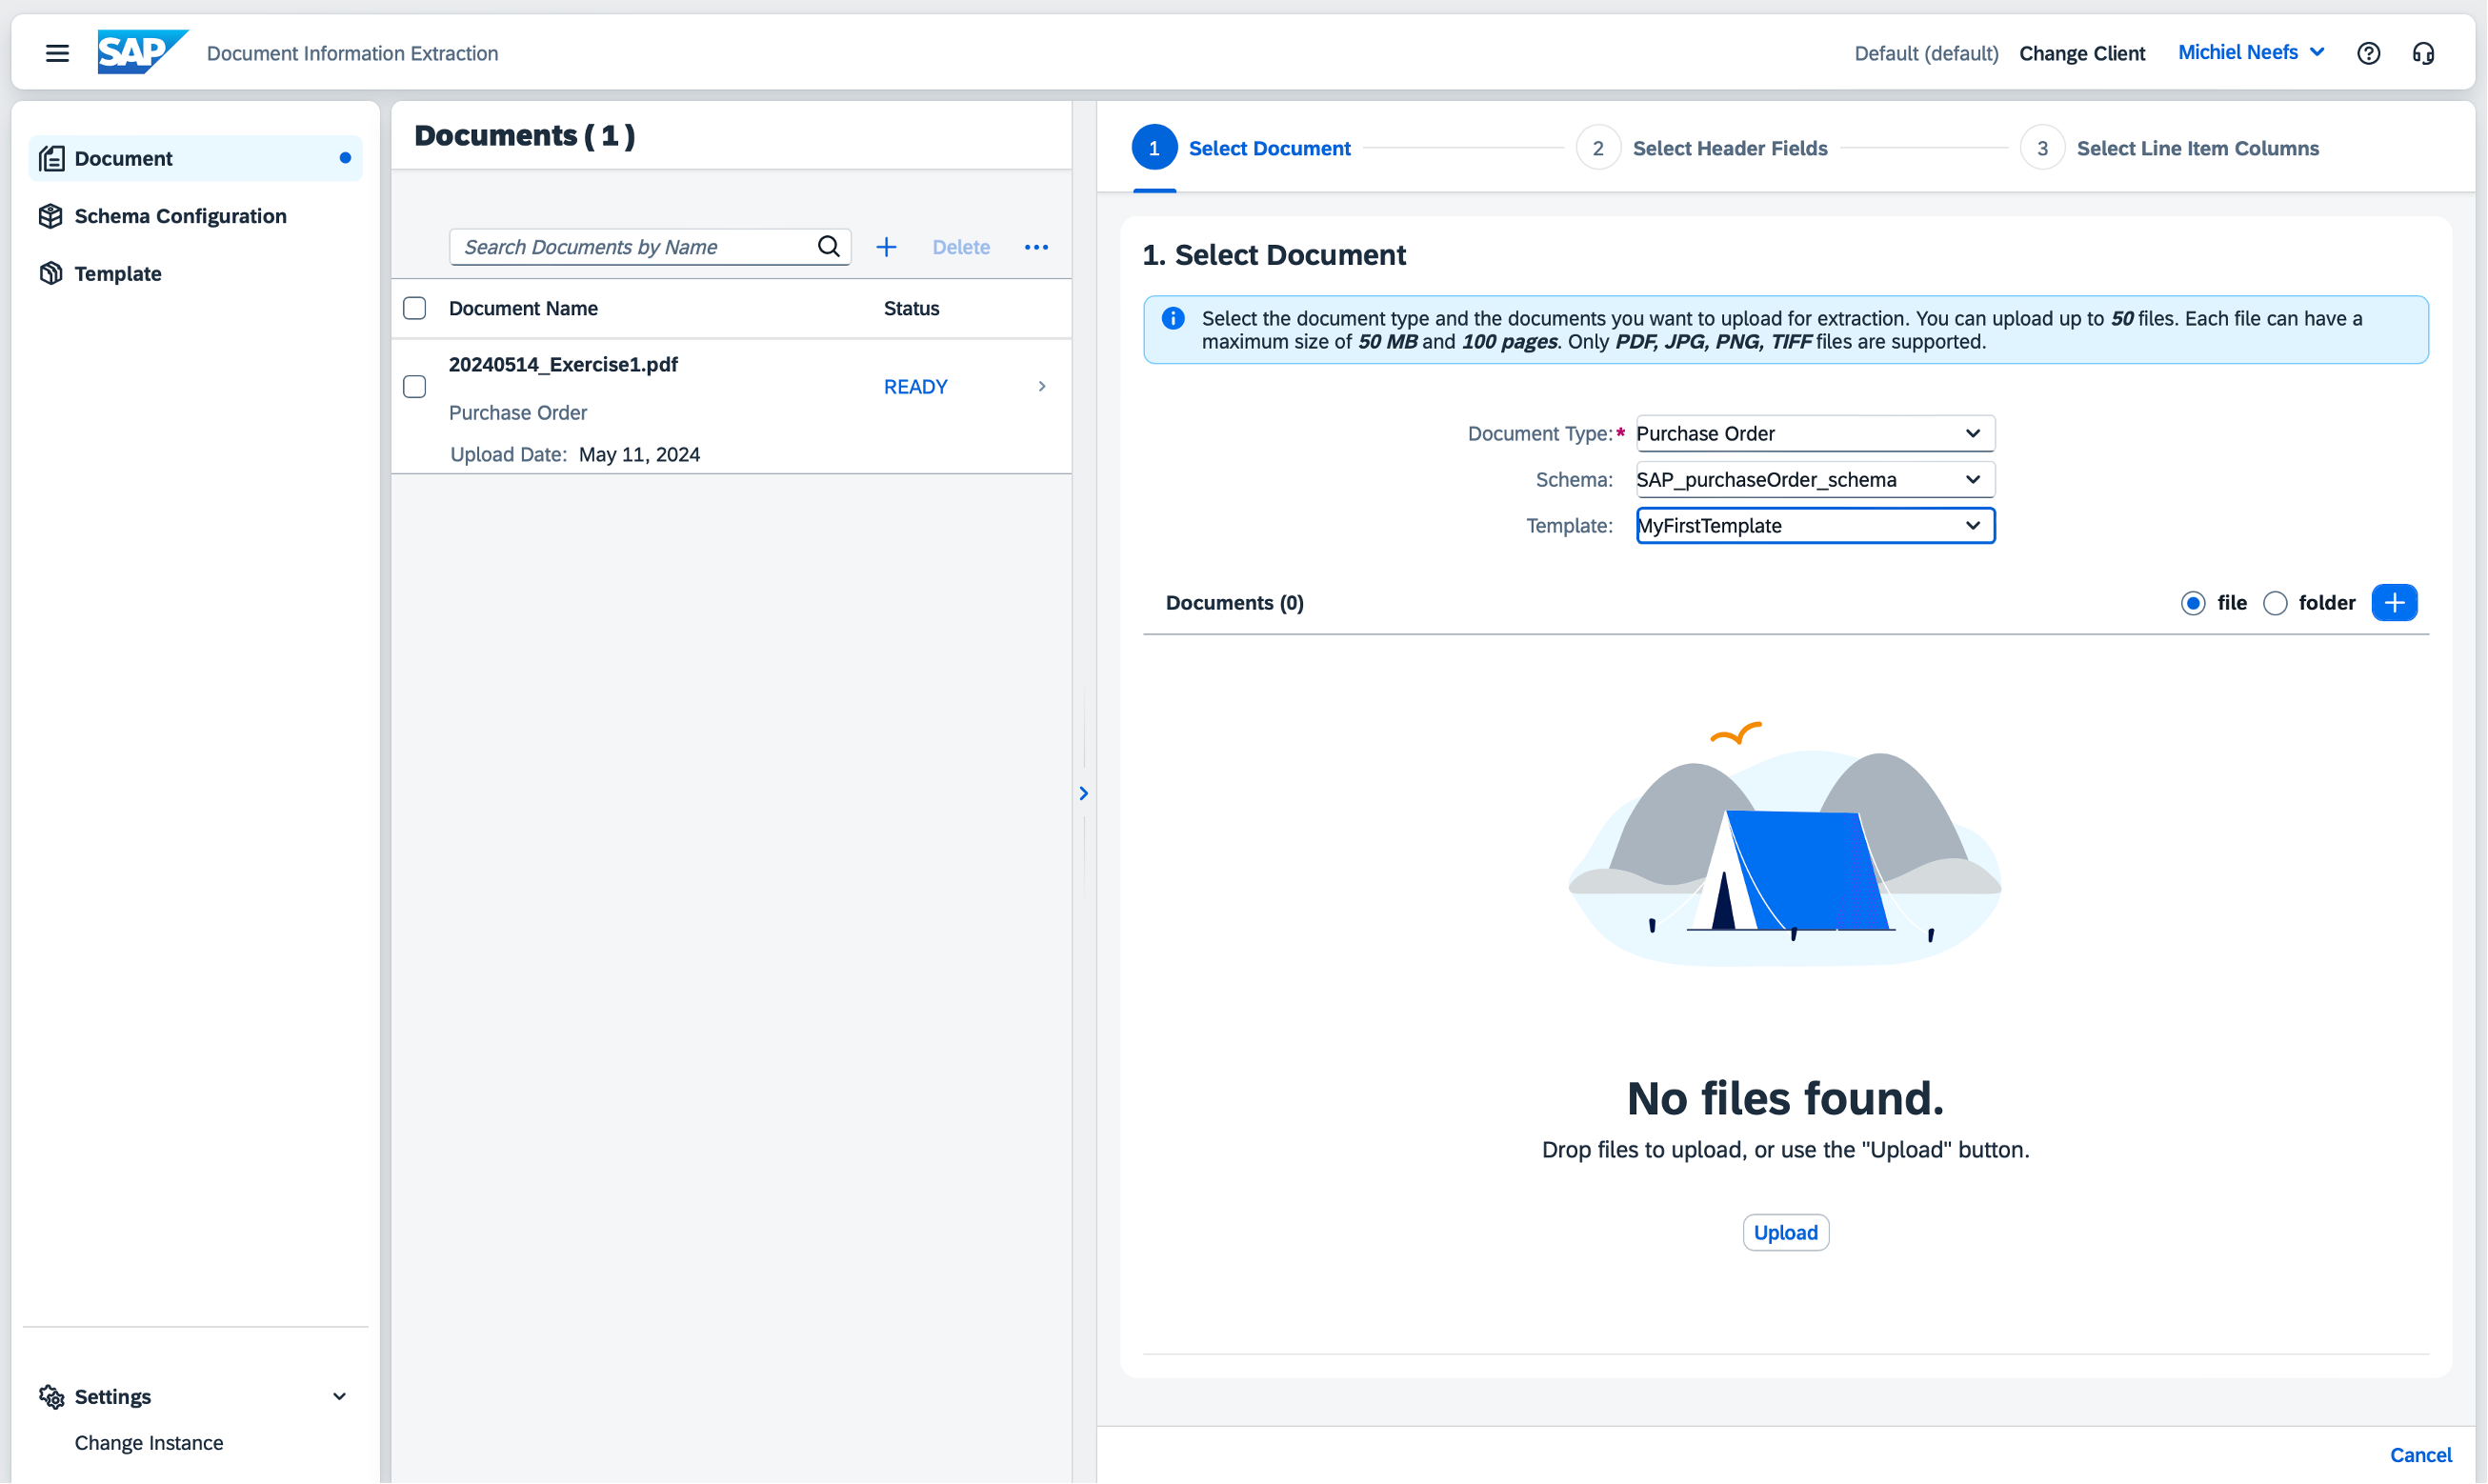
Select Purchase Order as Document Type, SAP_purchaseOrder_schema as Schema and your newly created template as Template. Click on Upload to select a file and choose 20240514_Exercise4.png.
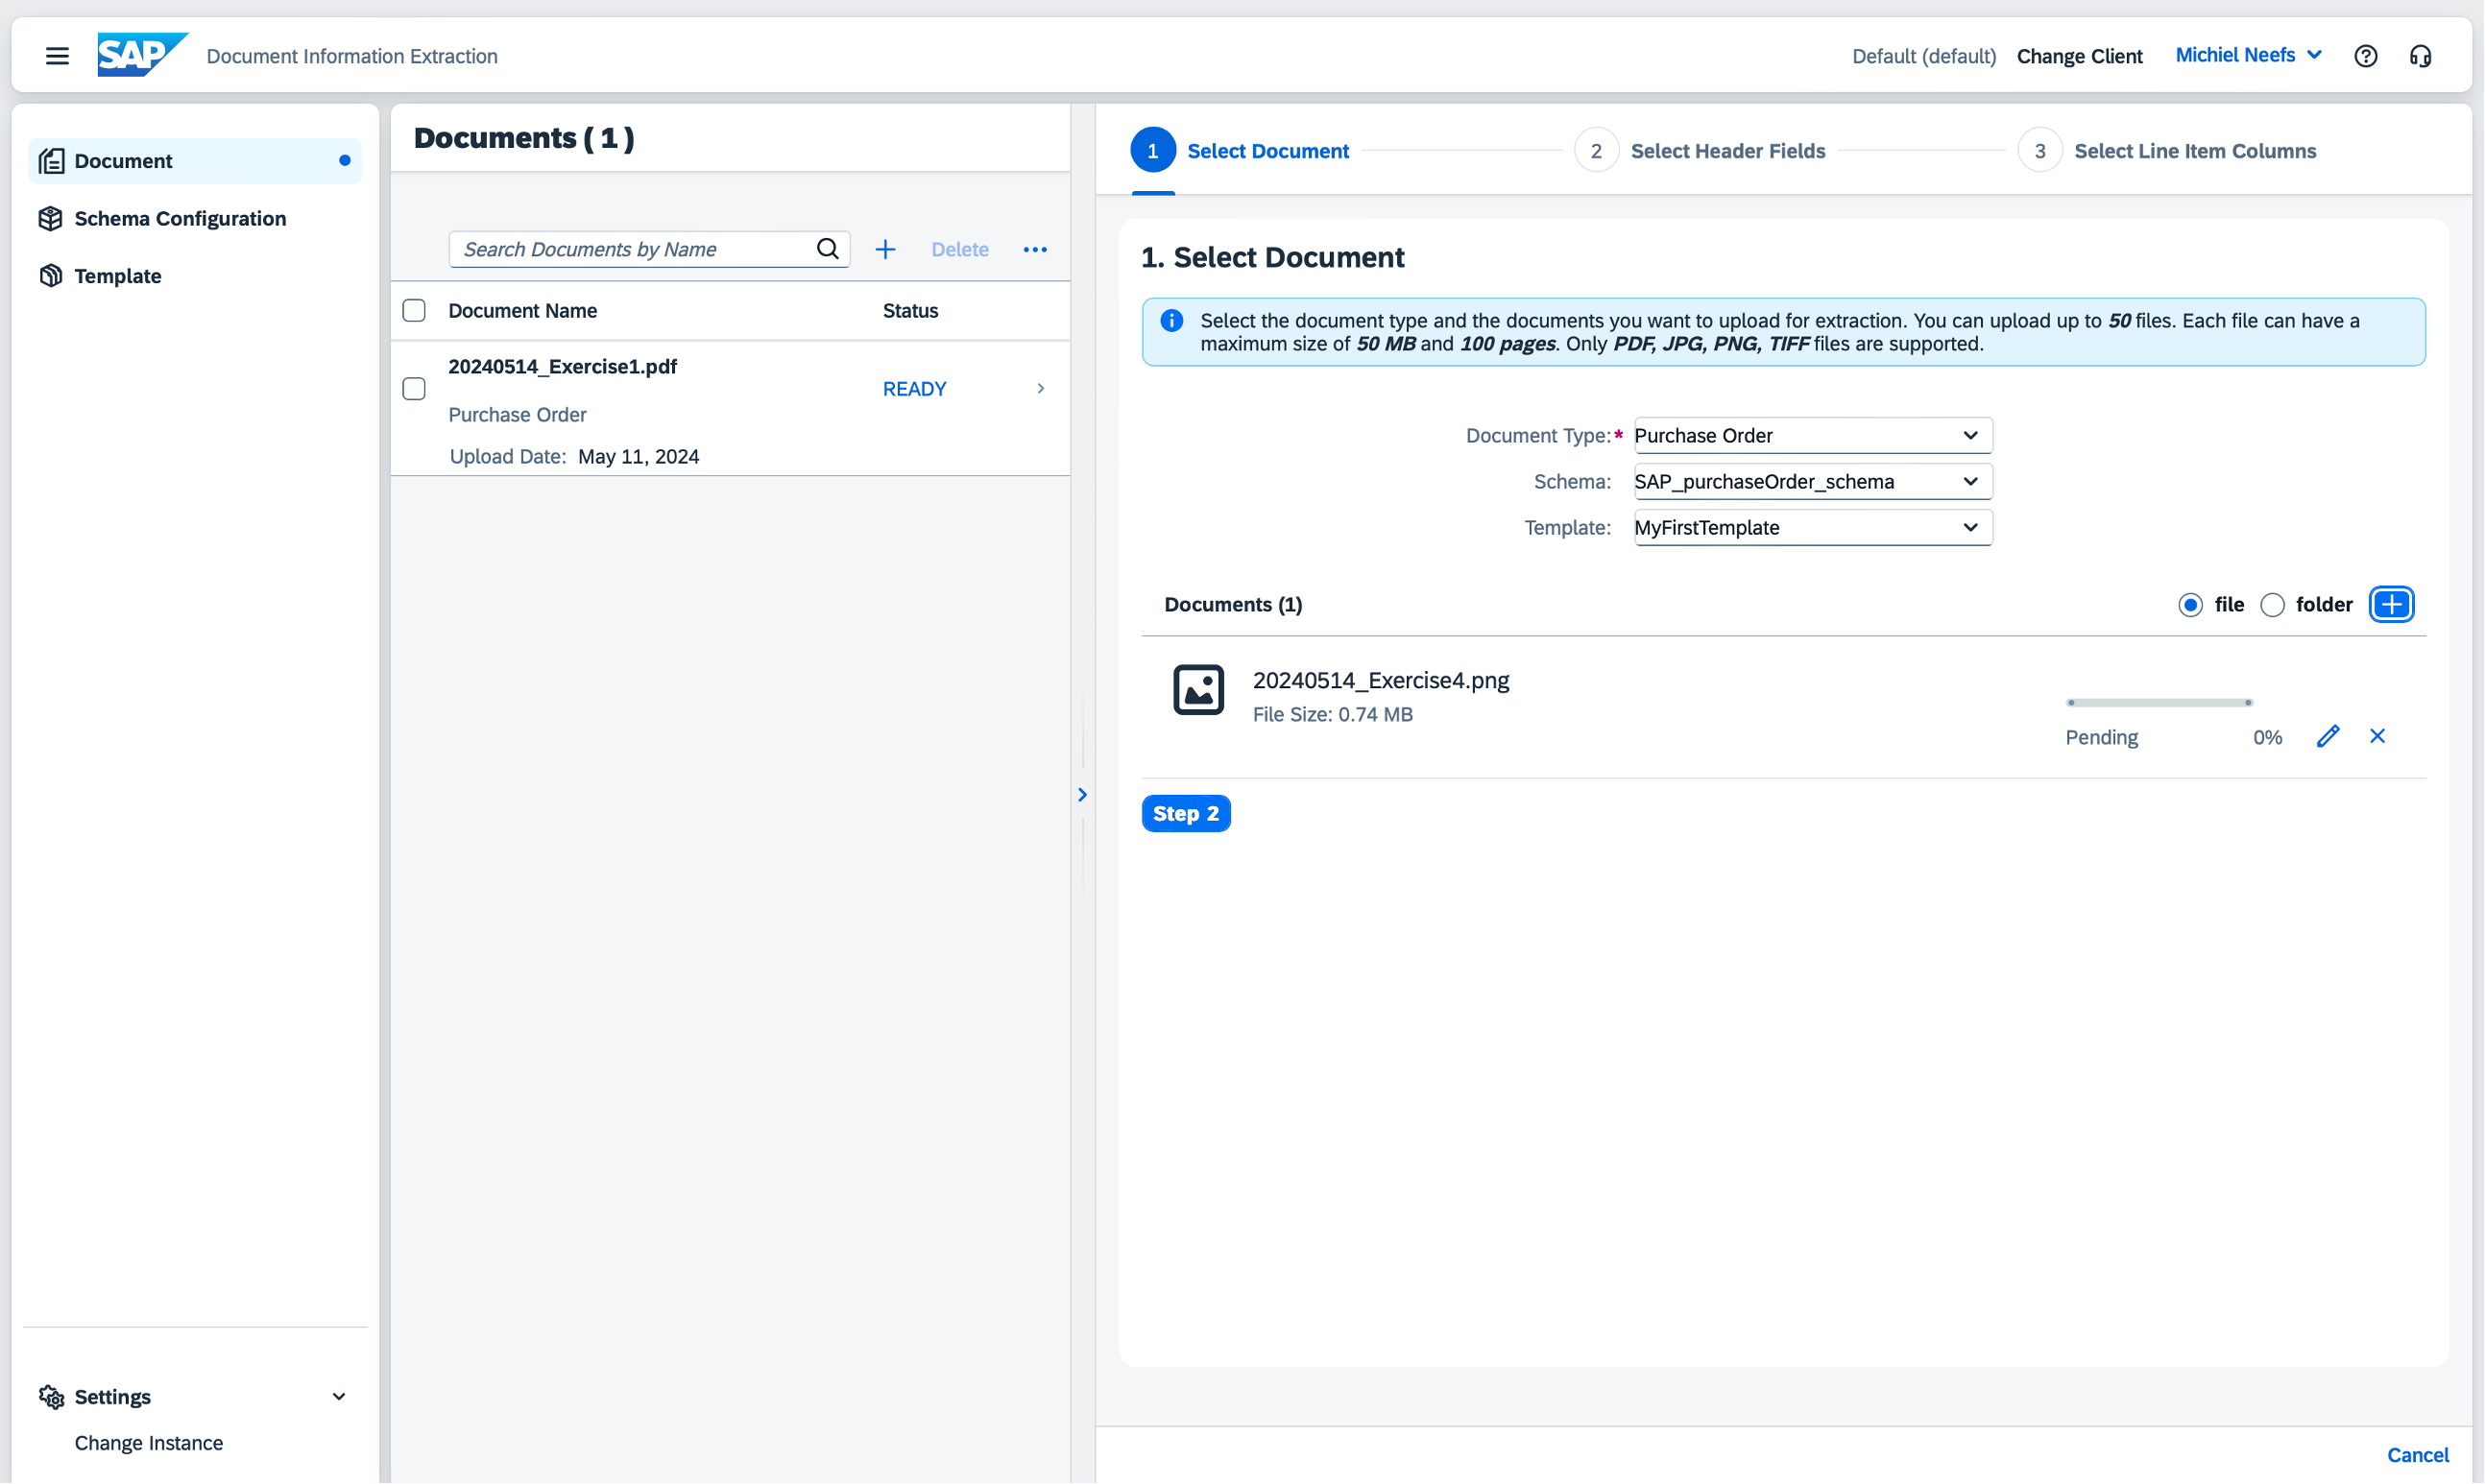
Click on Step 2.
Click on Step 3.
Click on Review.
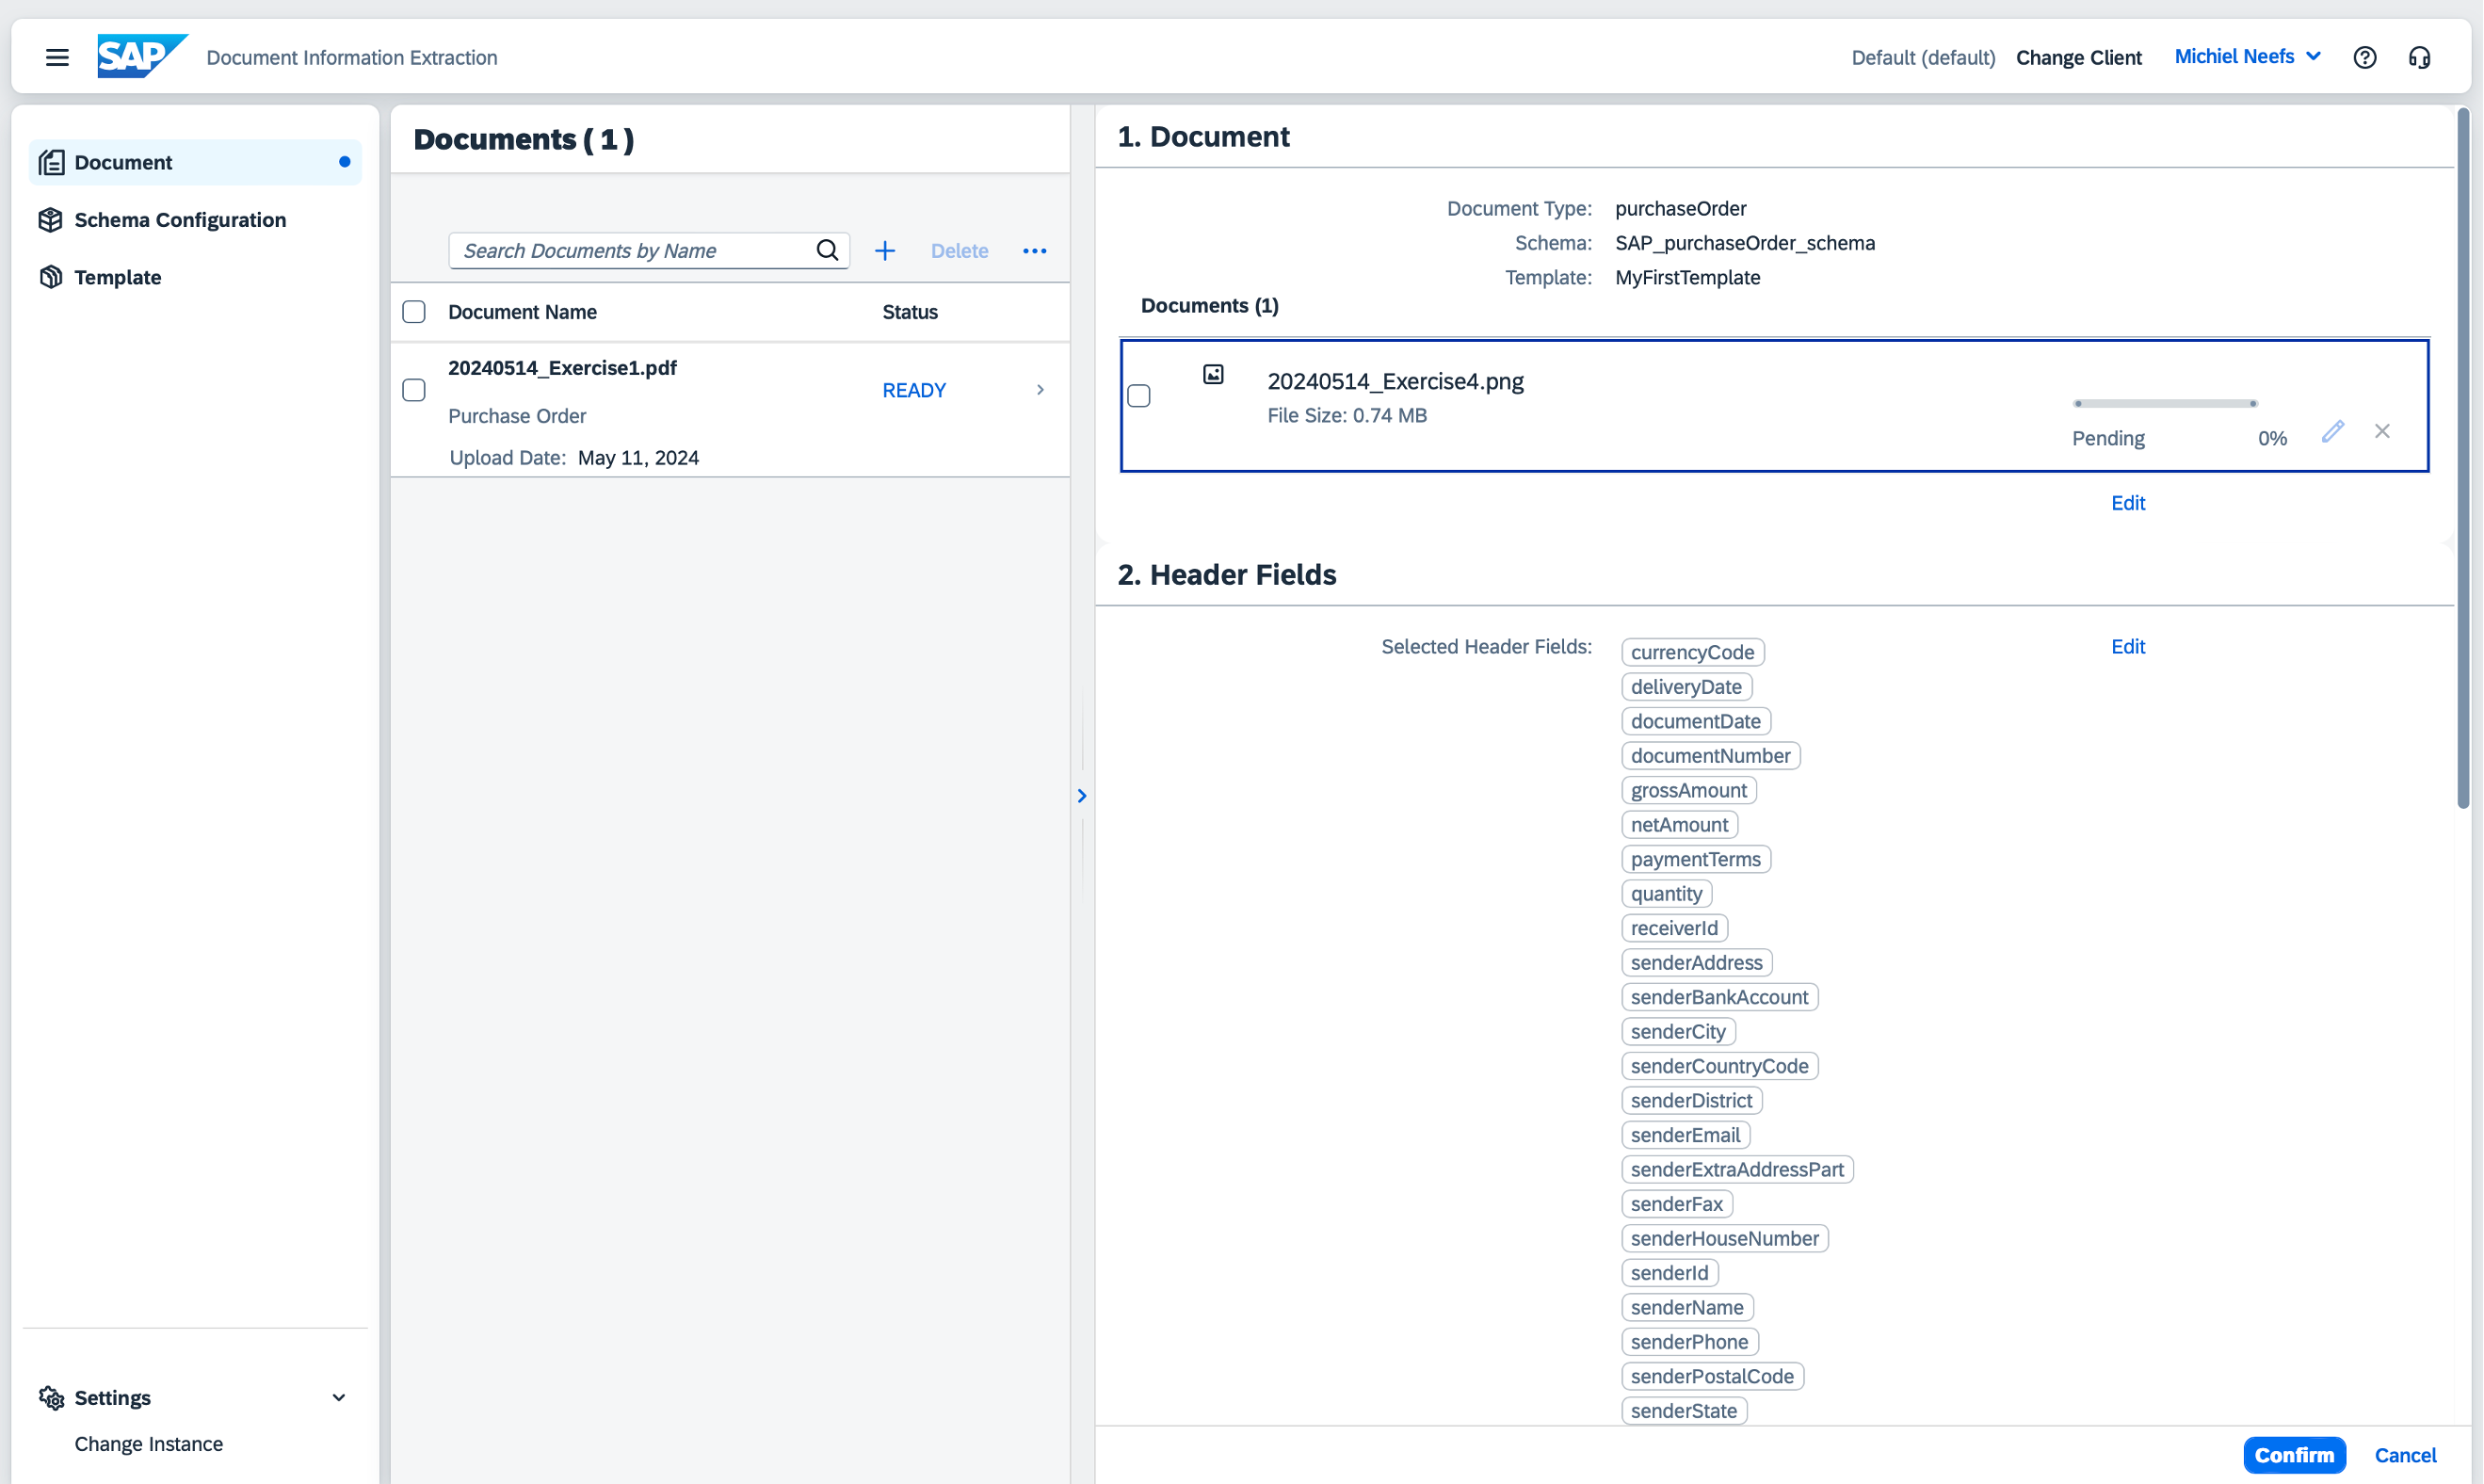
Click on Confirm to process the document.
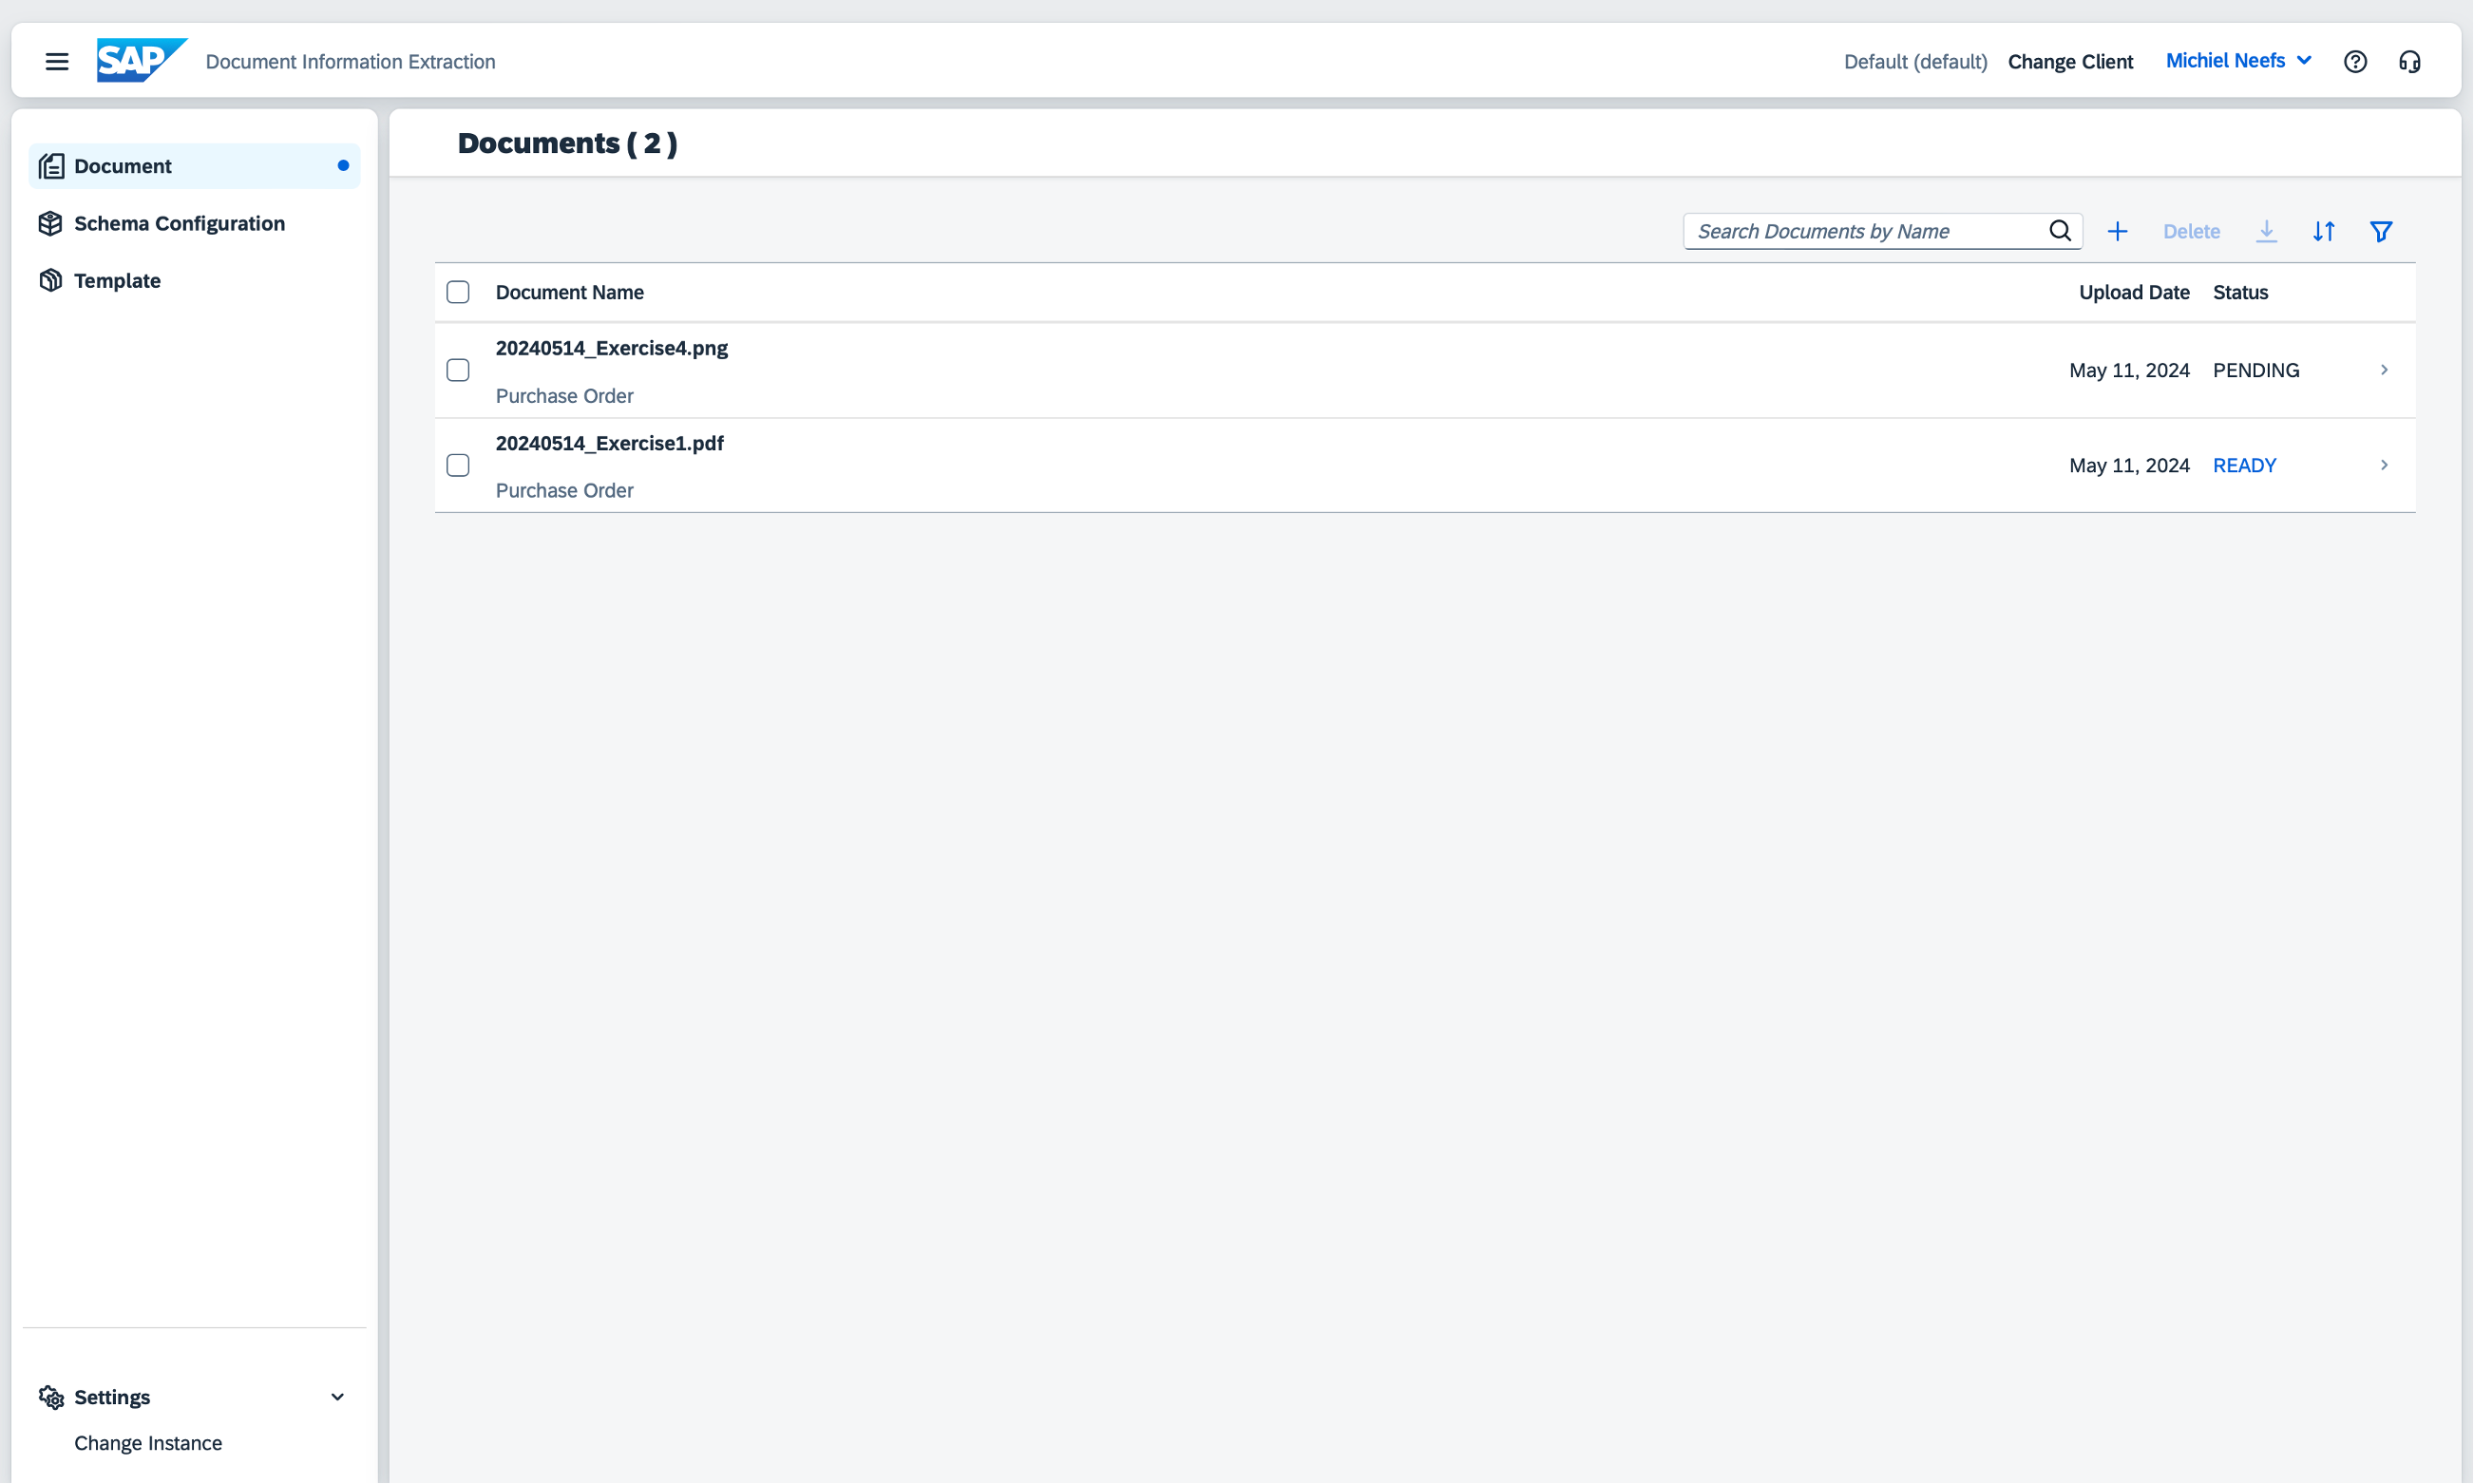
Wait for the document to be fully processed. This process can take up to a minute.
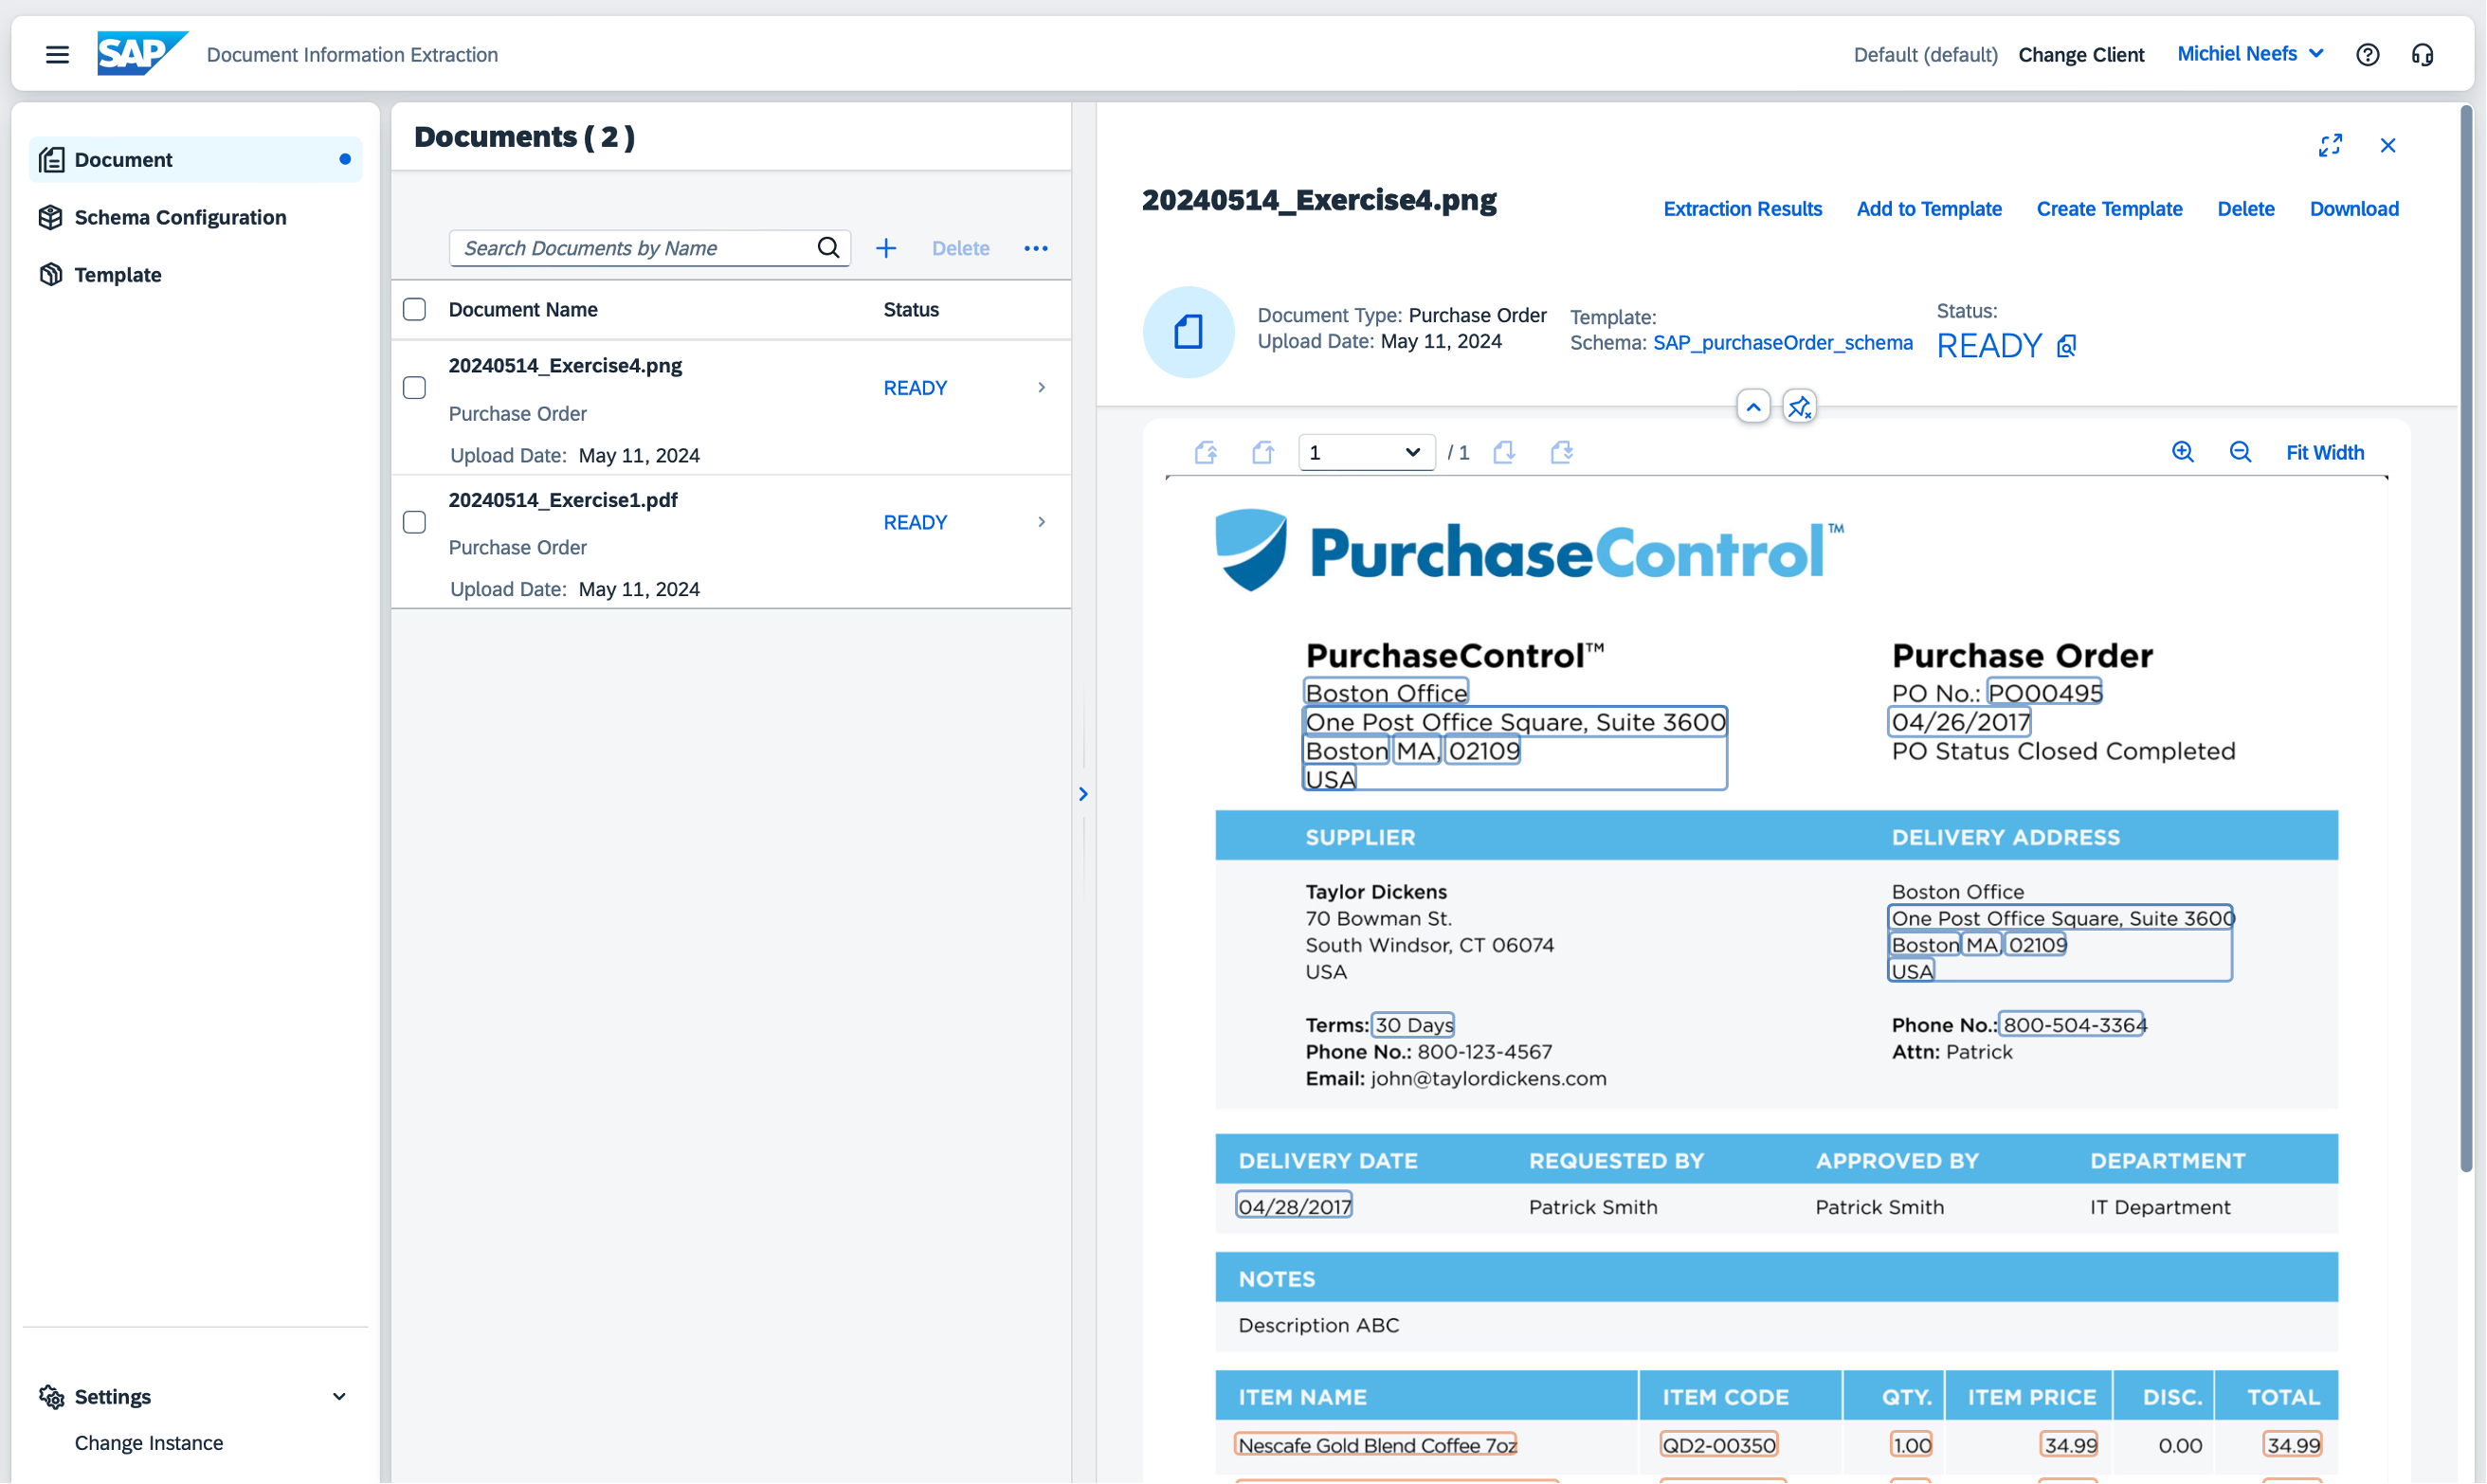
Click on 20240514_Exercise4.png when the status is READY.

Click on Extraction Results.
senderName is recognized successfully by using the newly created template!
Exercise 5 – Processing a business card
On the left, click on Schema Configuration.
Click on Create.
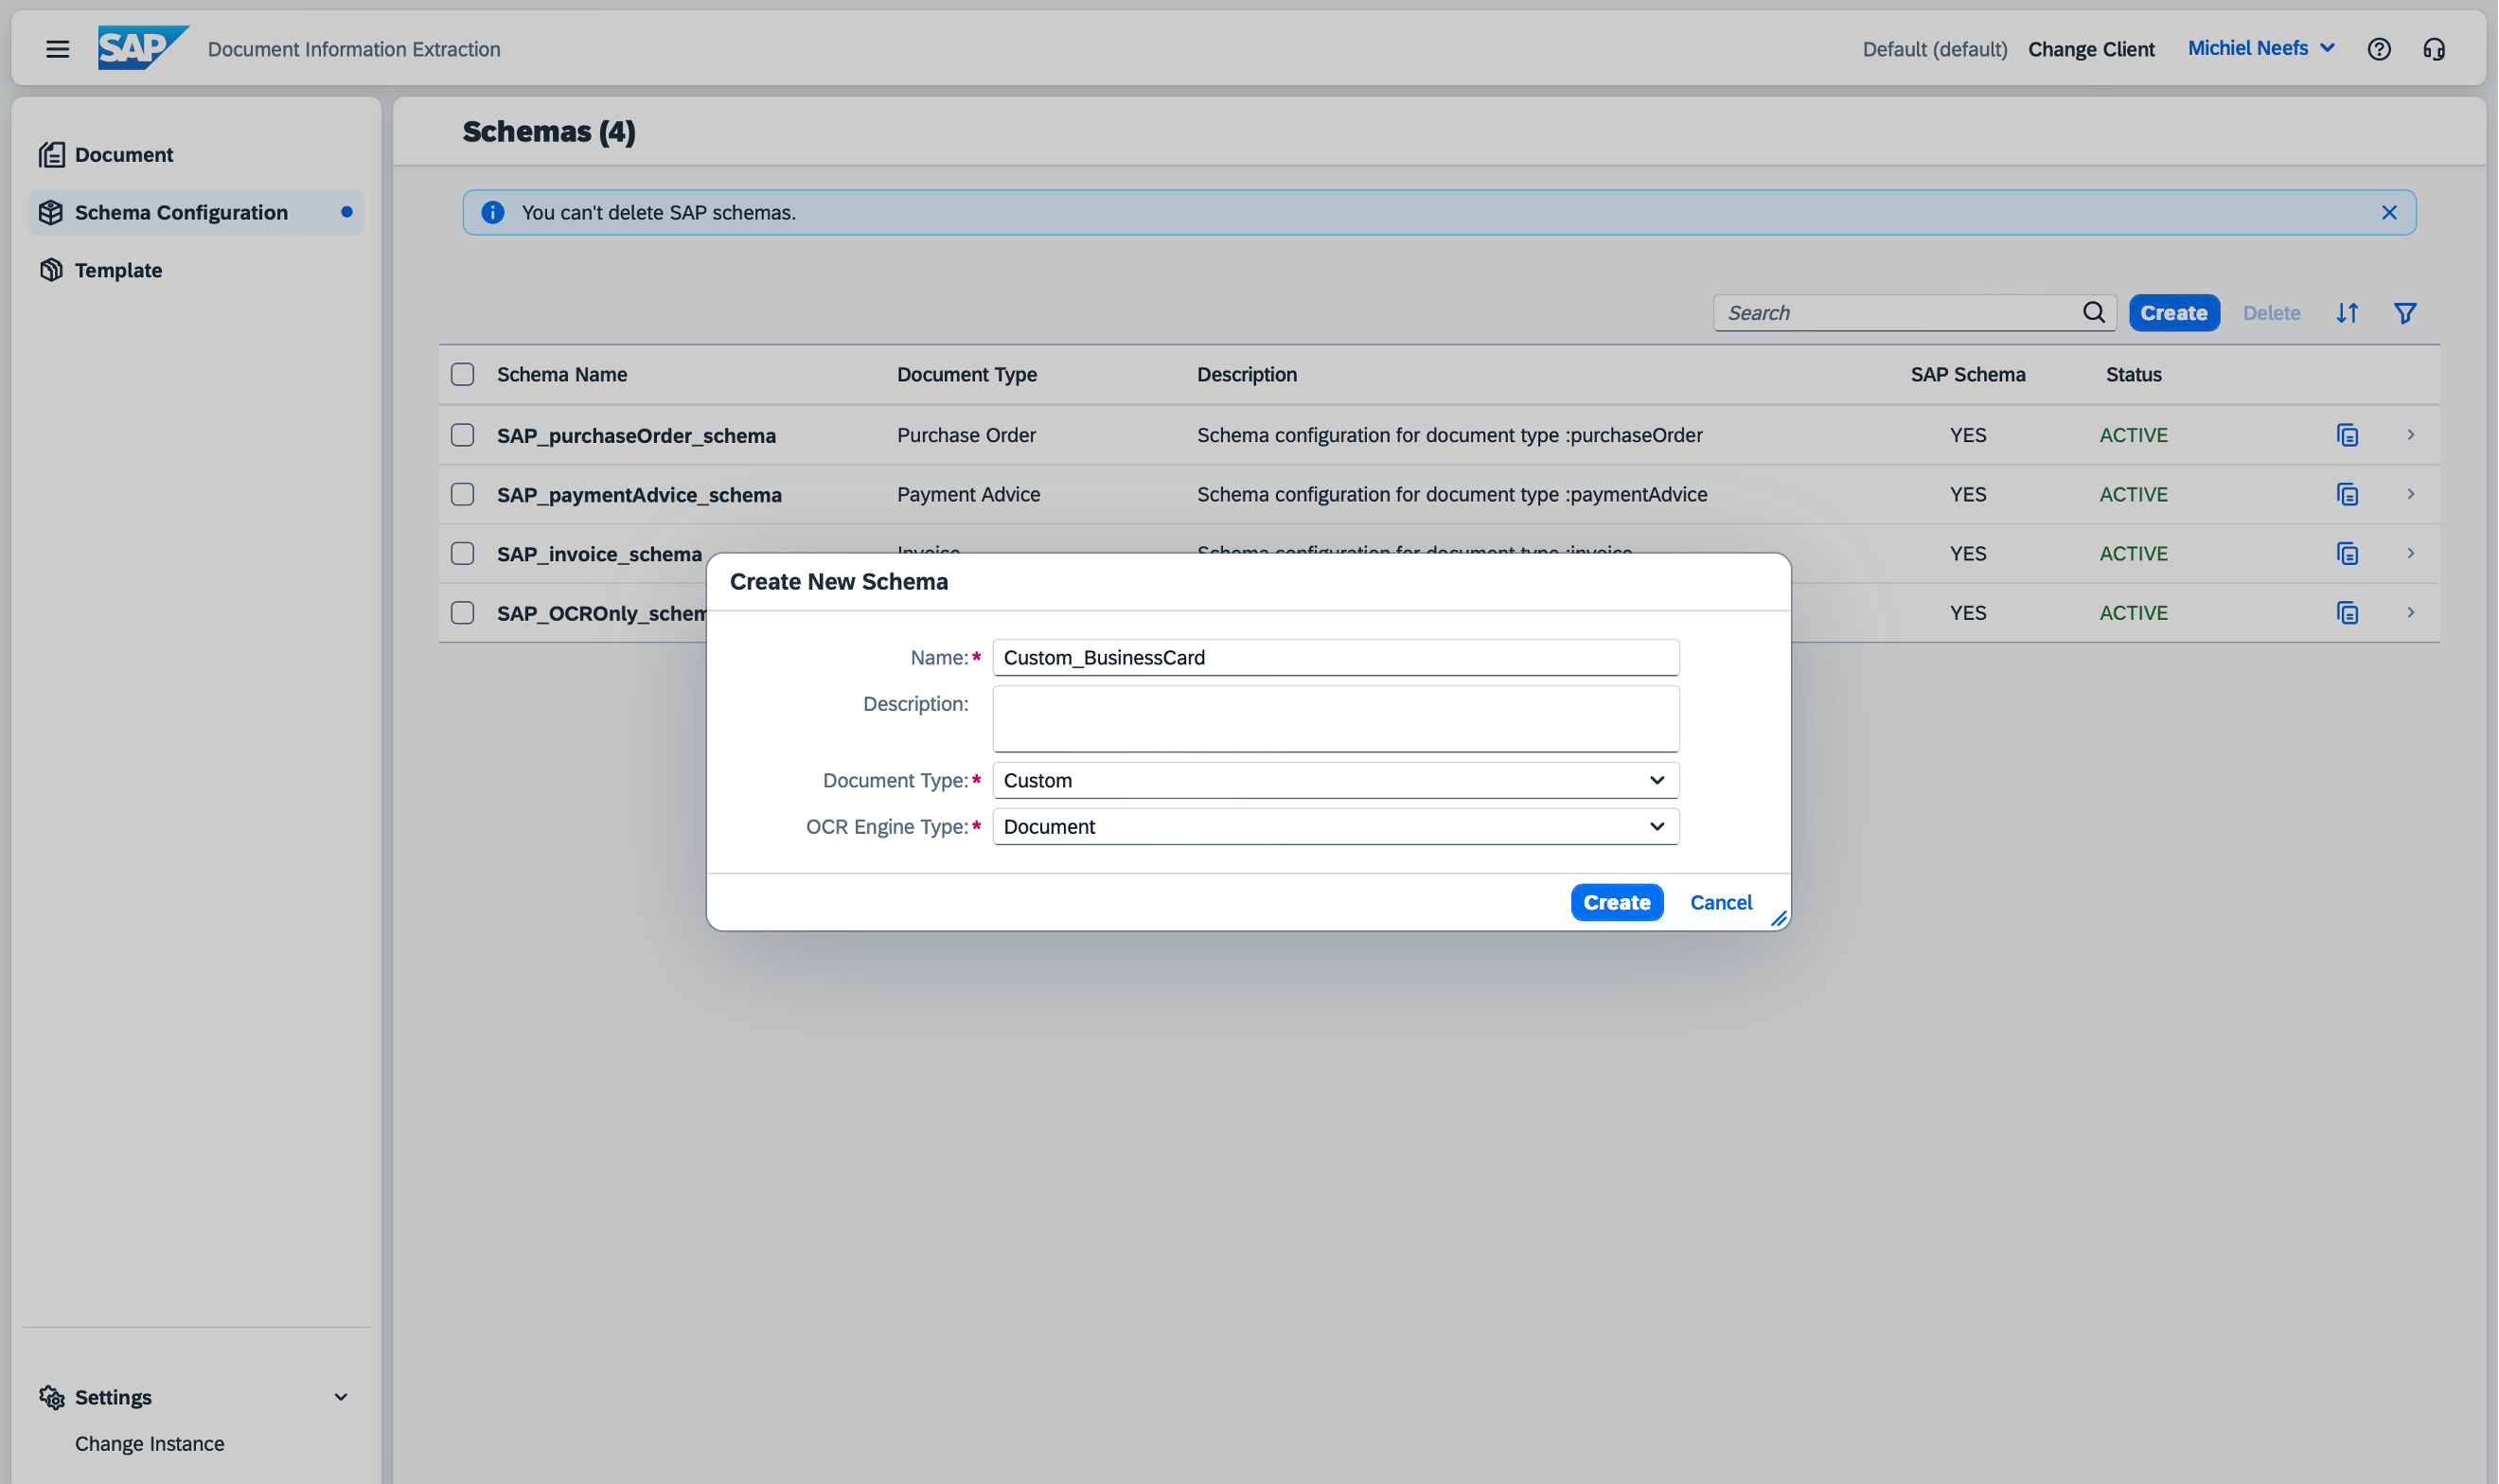
Choose a Schema Name, select Custom as Document Type and Document as OCR Engine Type. Click on Create.

Click on the newly created schema.
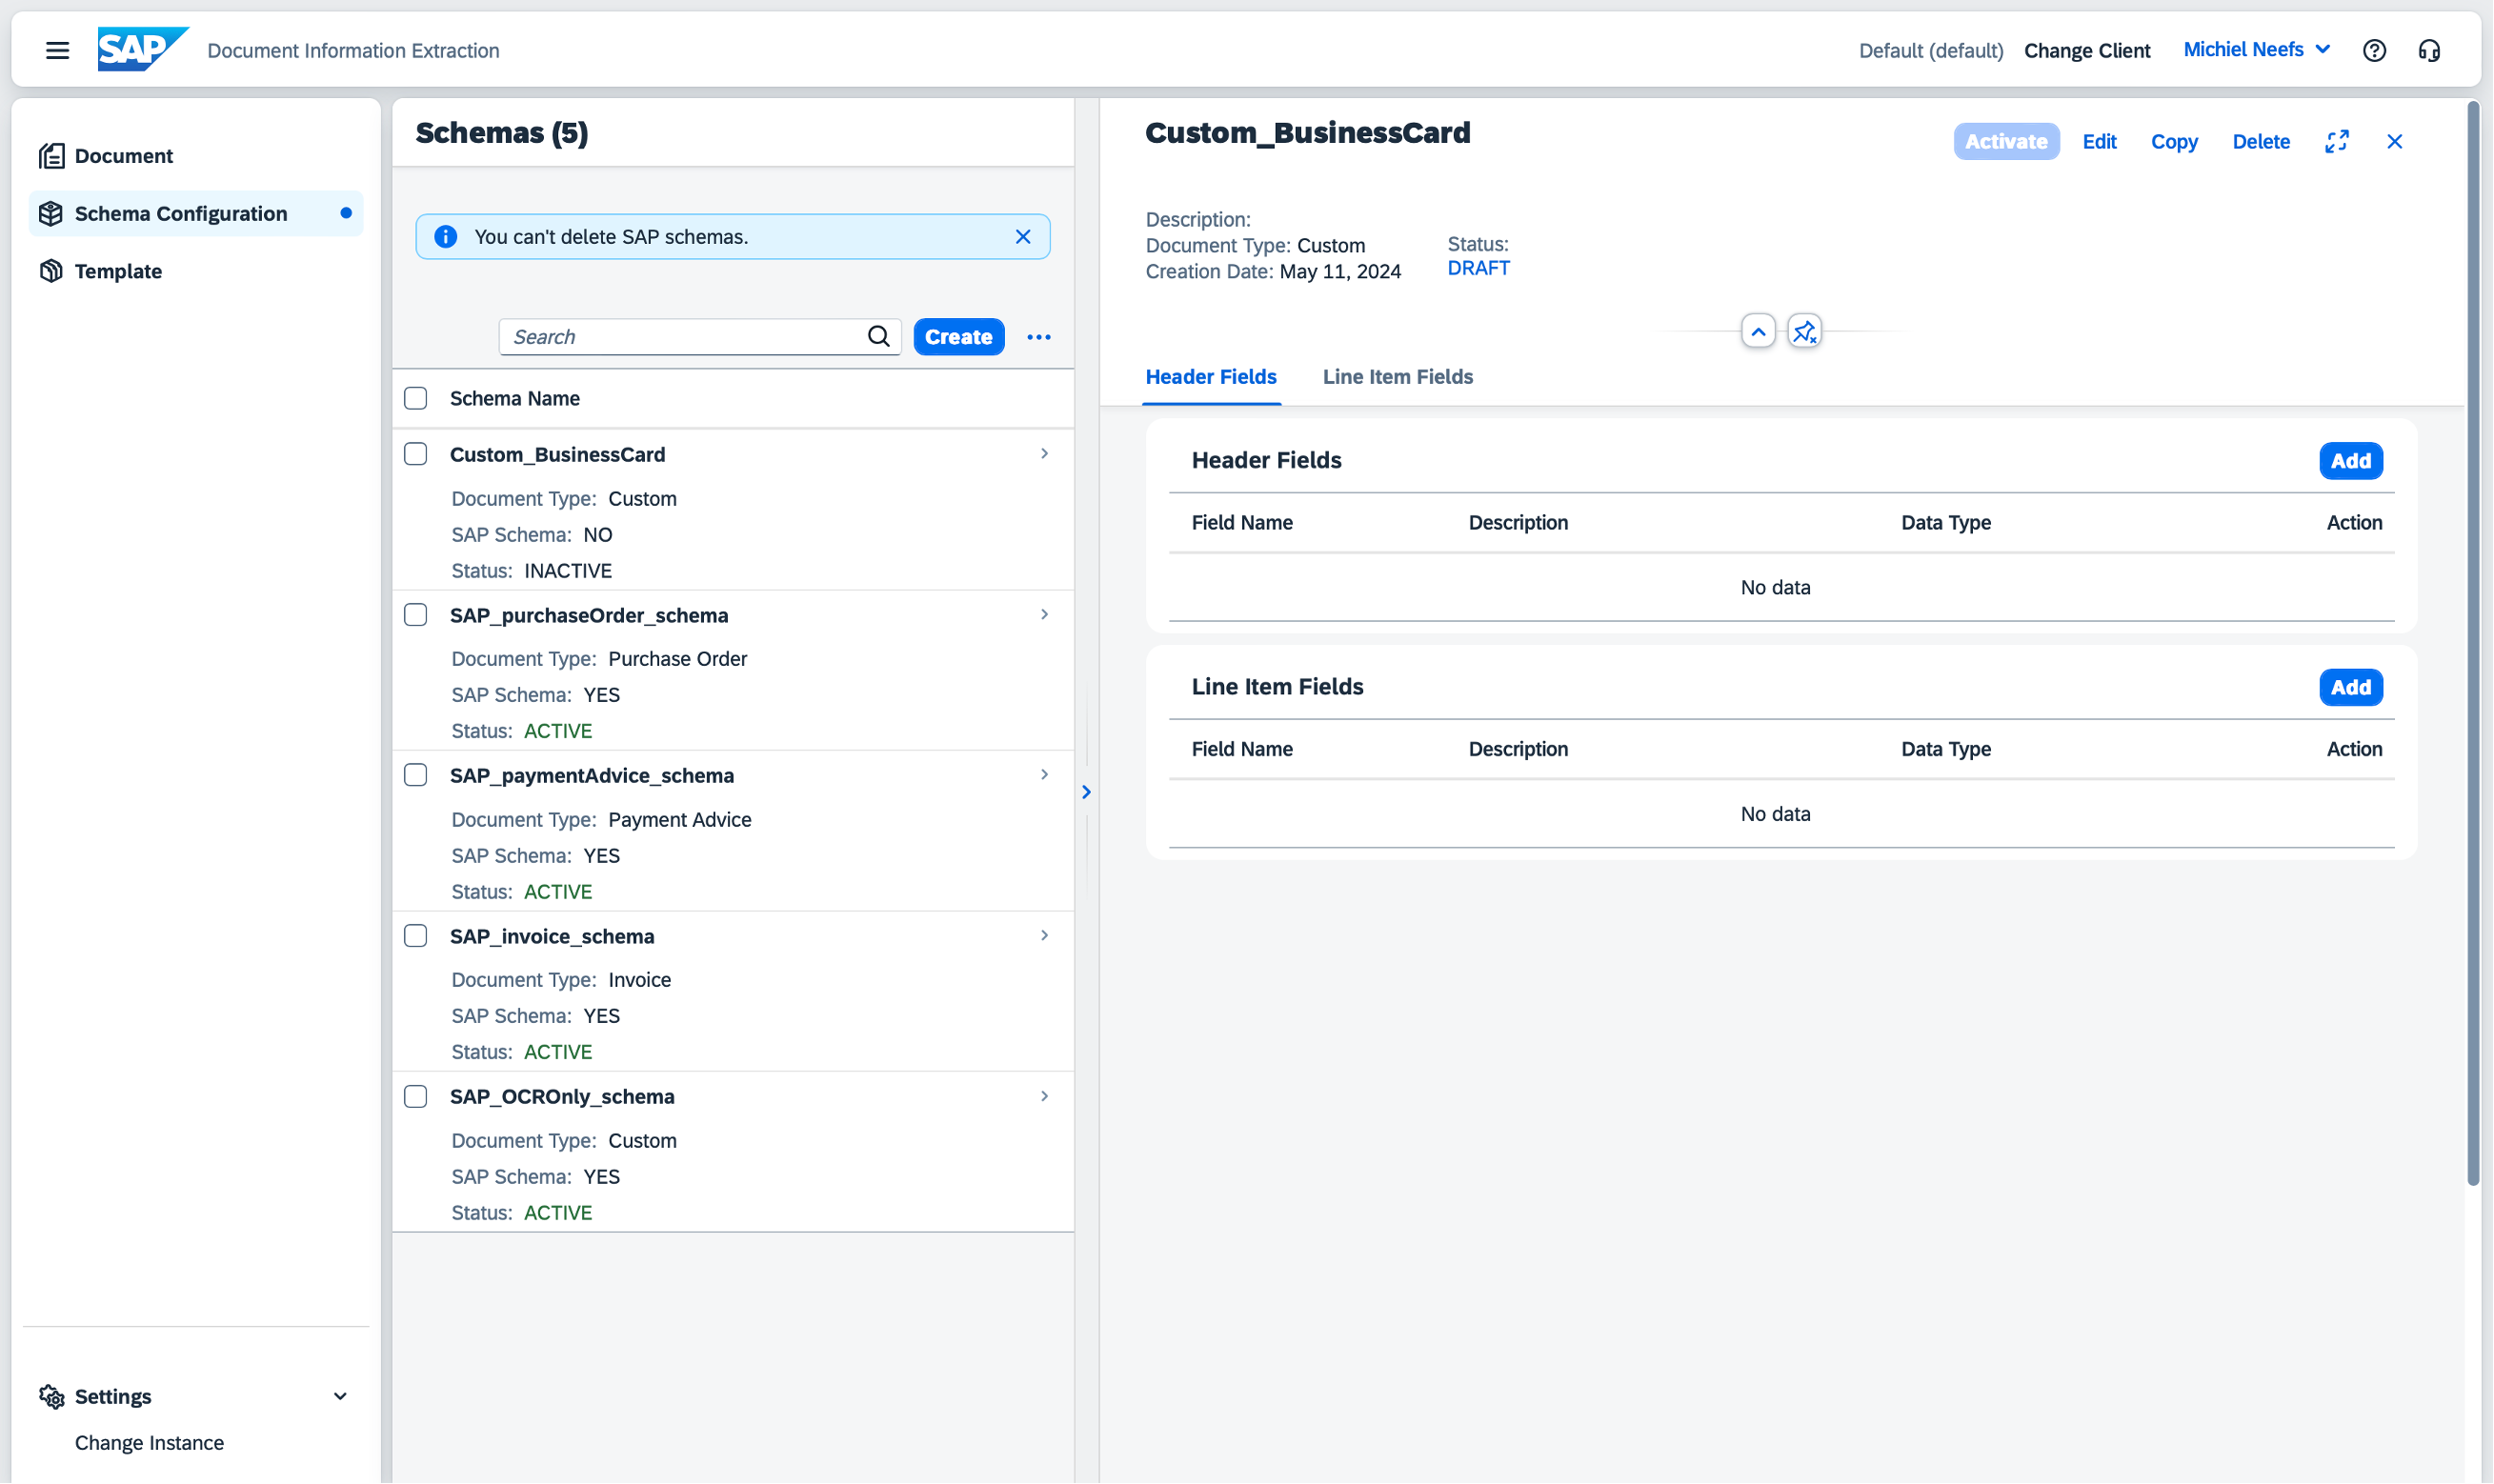
In the header fields section, click on Add.
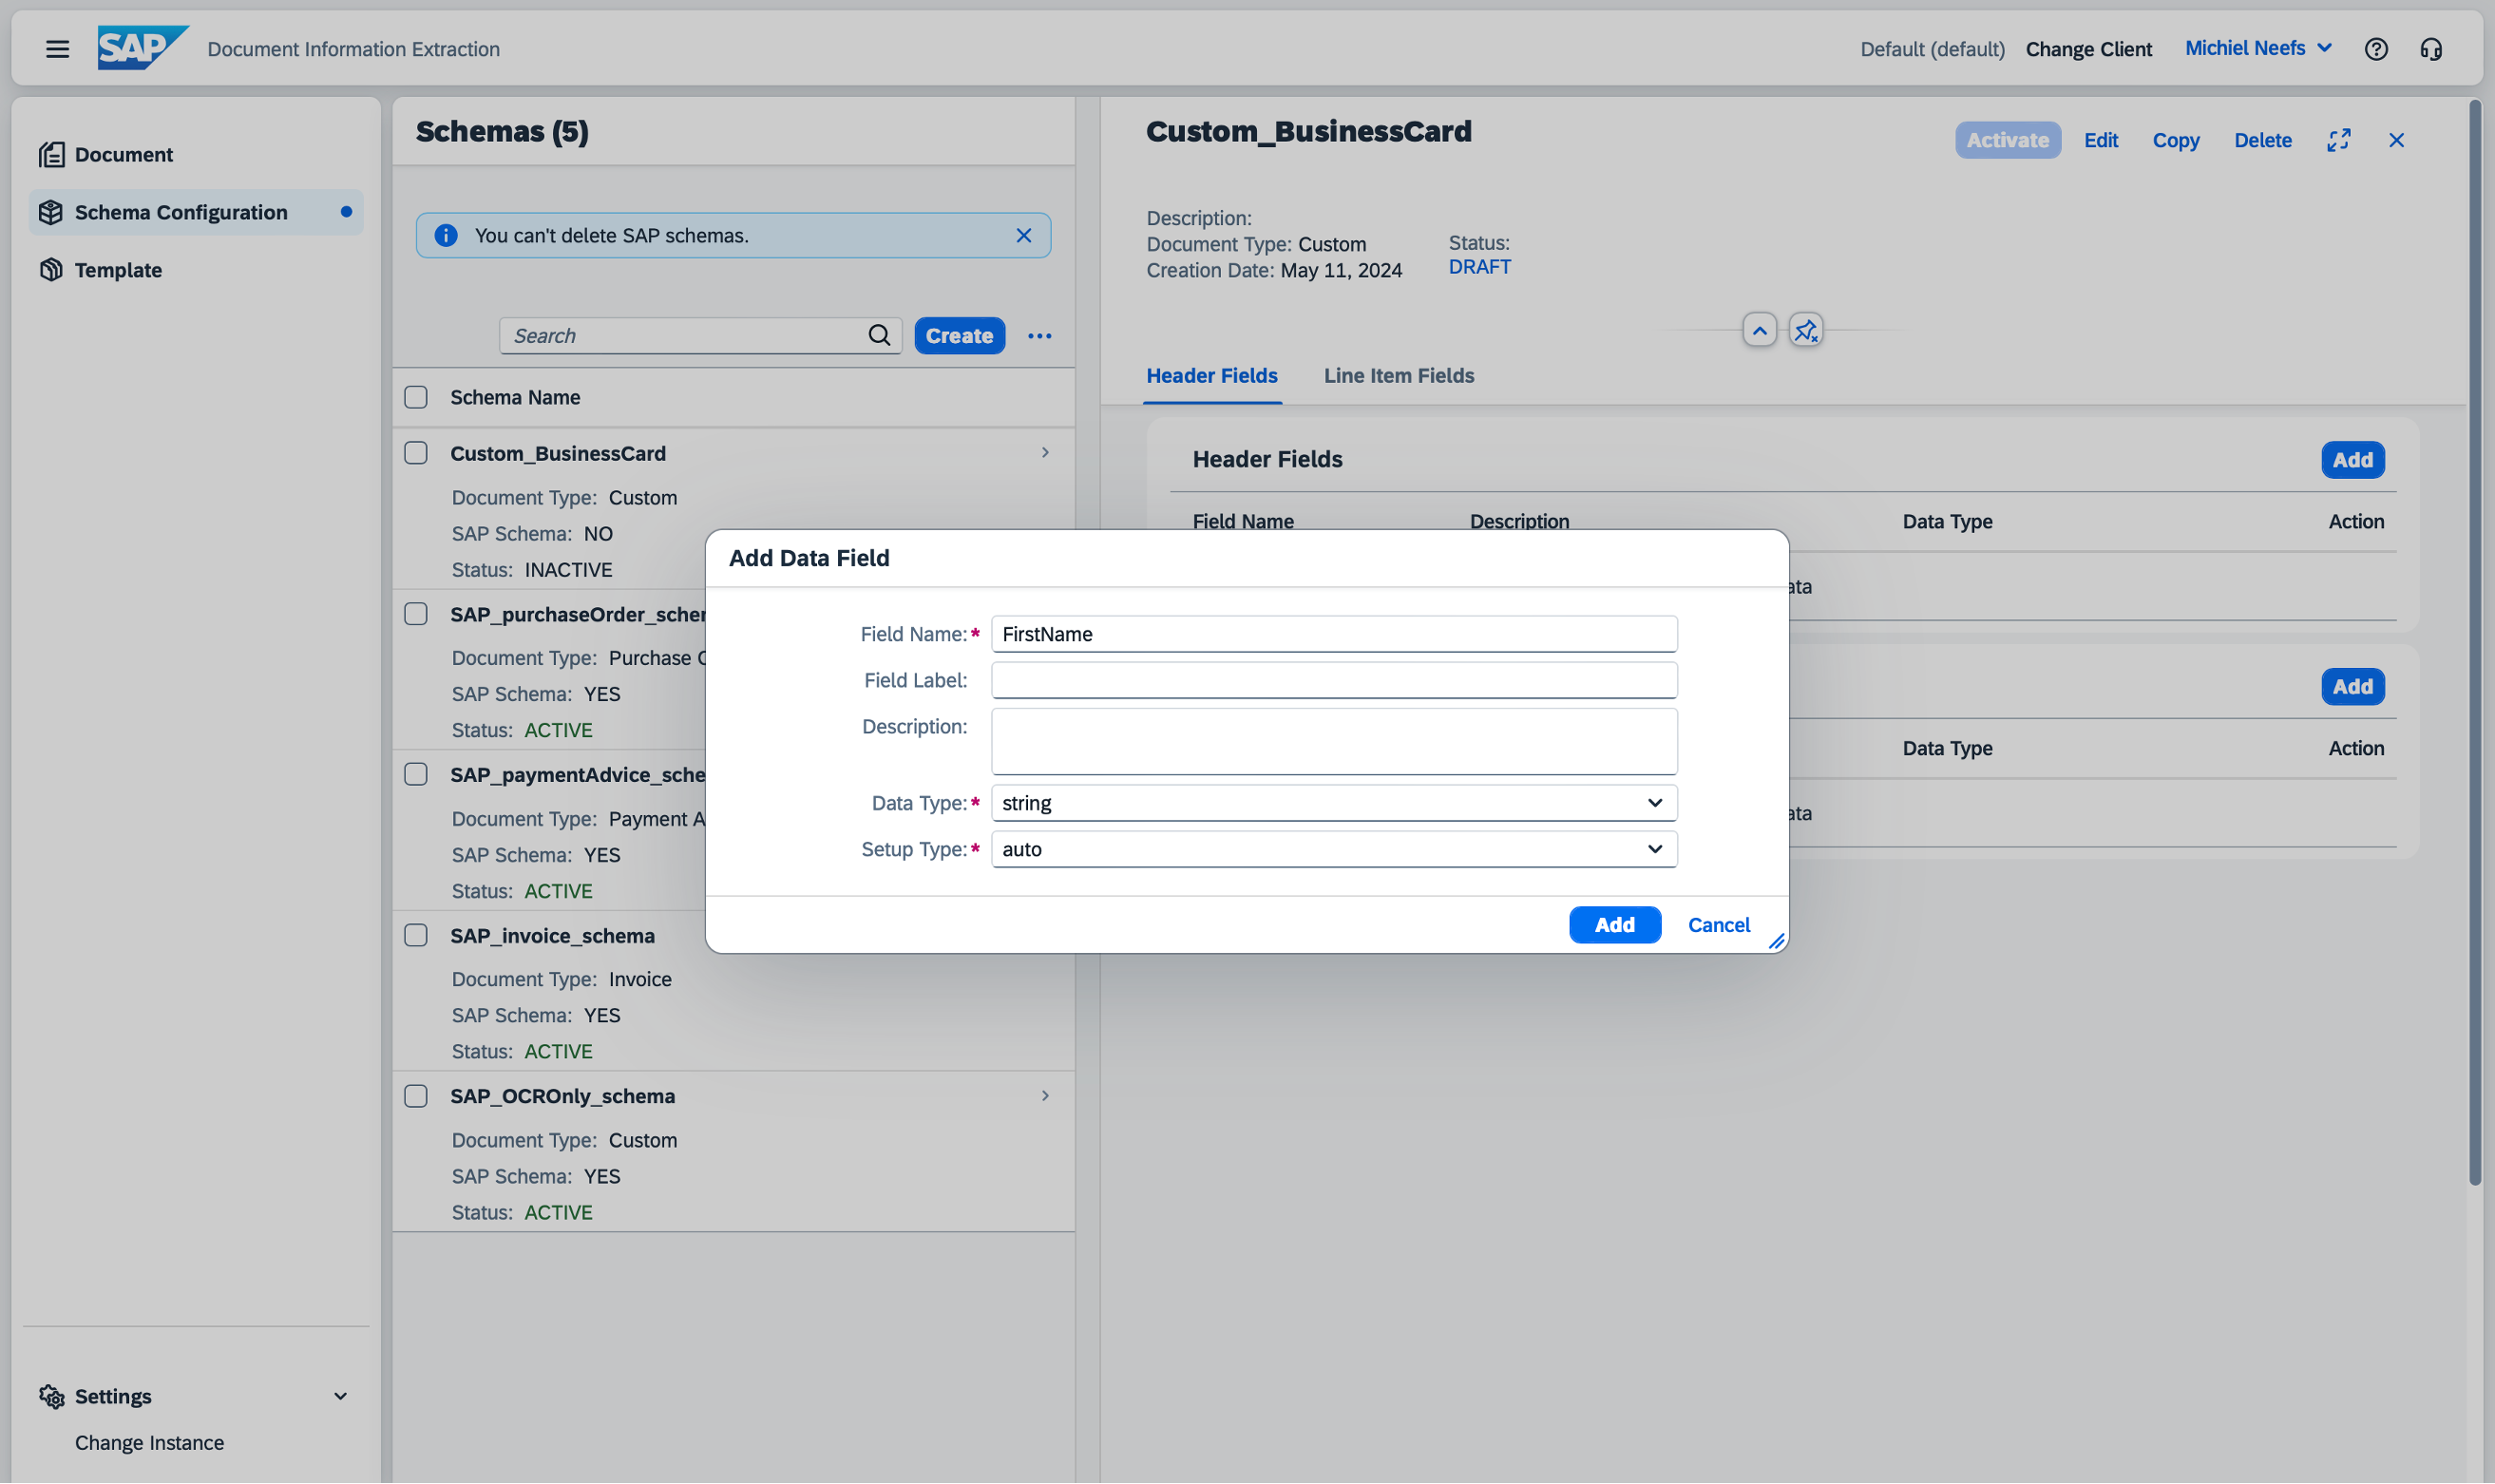
Set FirstName as field name, string as Data Type and auto as Setup Type. Click on Add.
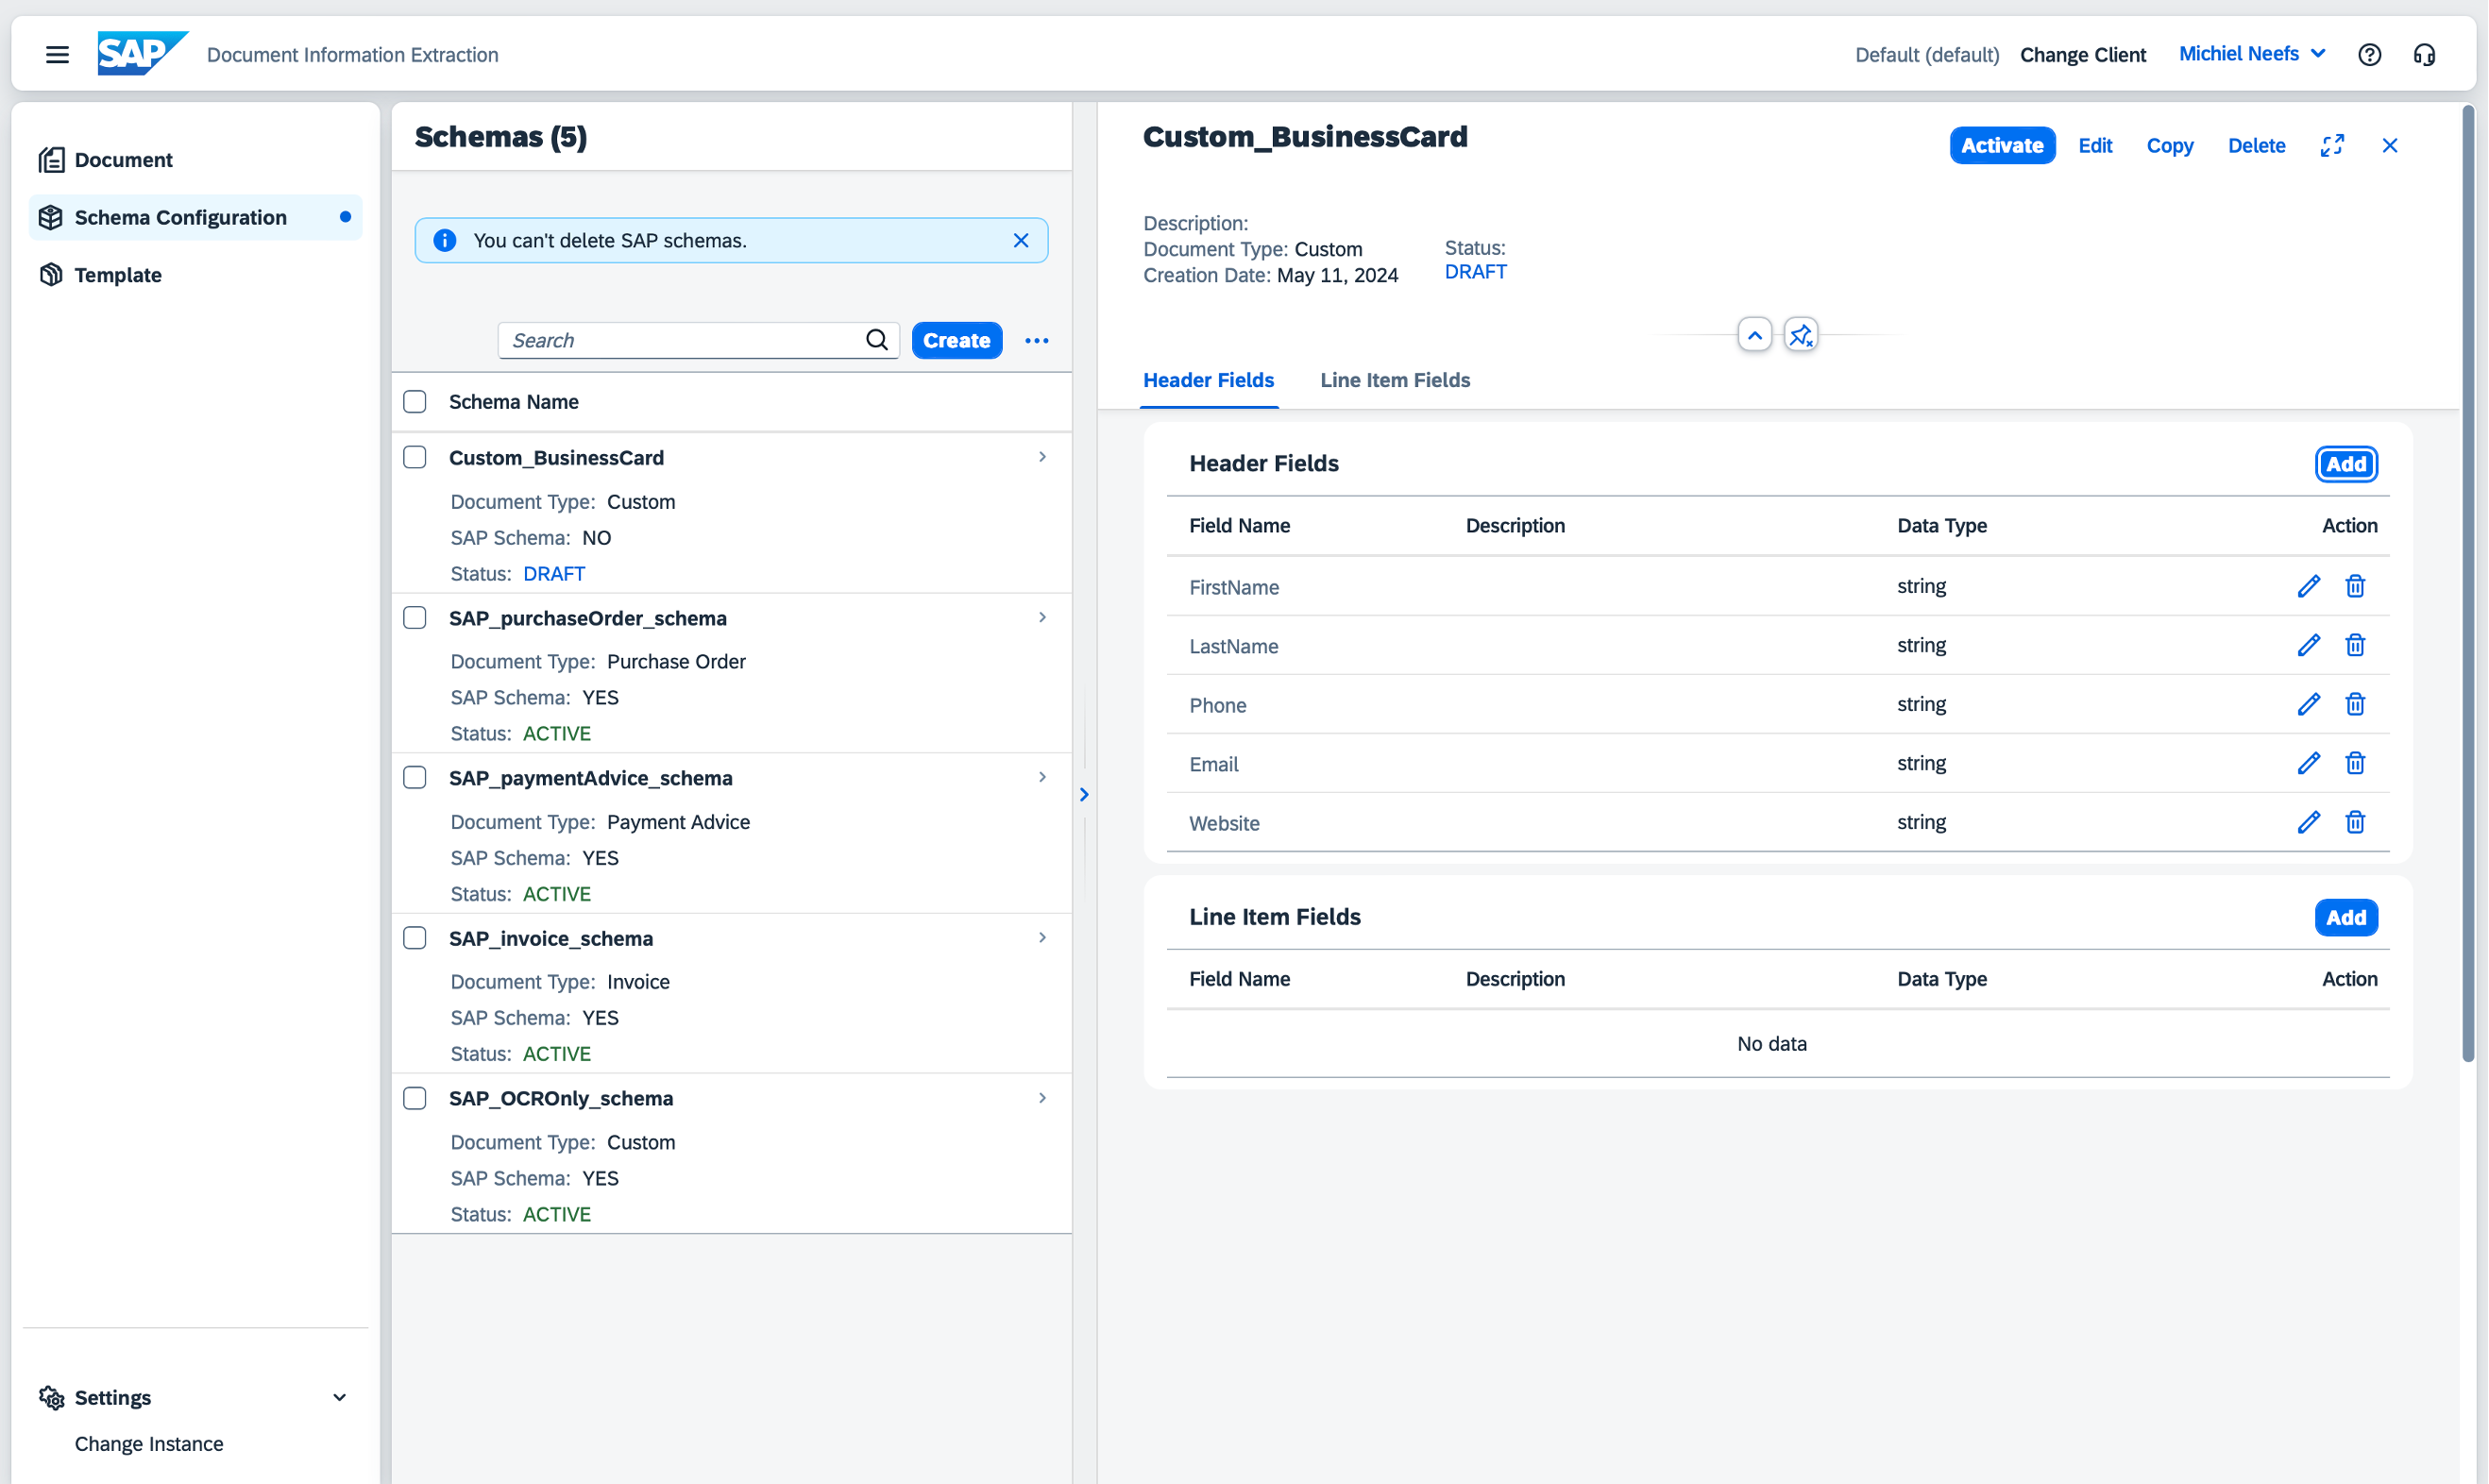
Repeat this step for LastName, Phone, Email and Website. Click on Activate when you have added all five header fields. On the left, click on Document.
Click on the plus icon to add a document.
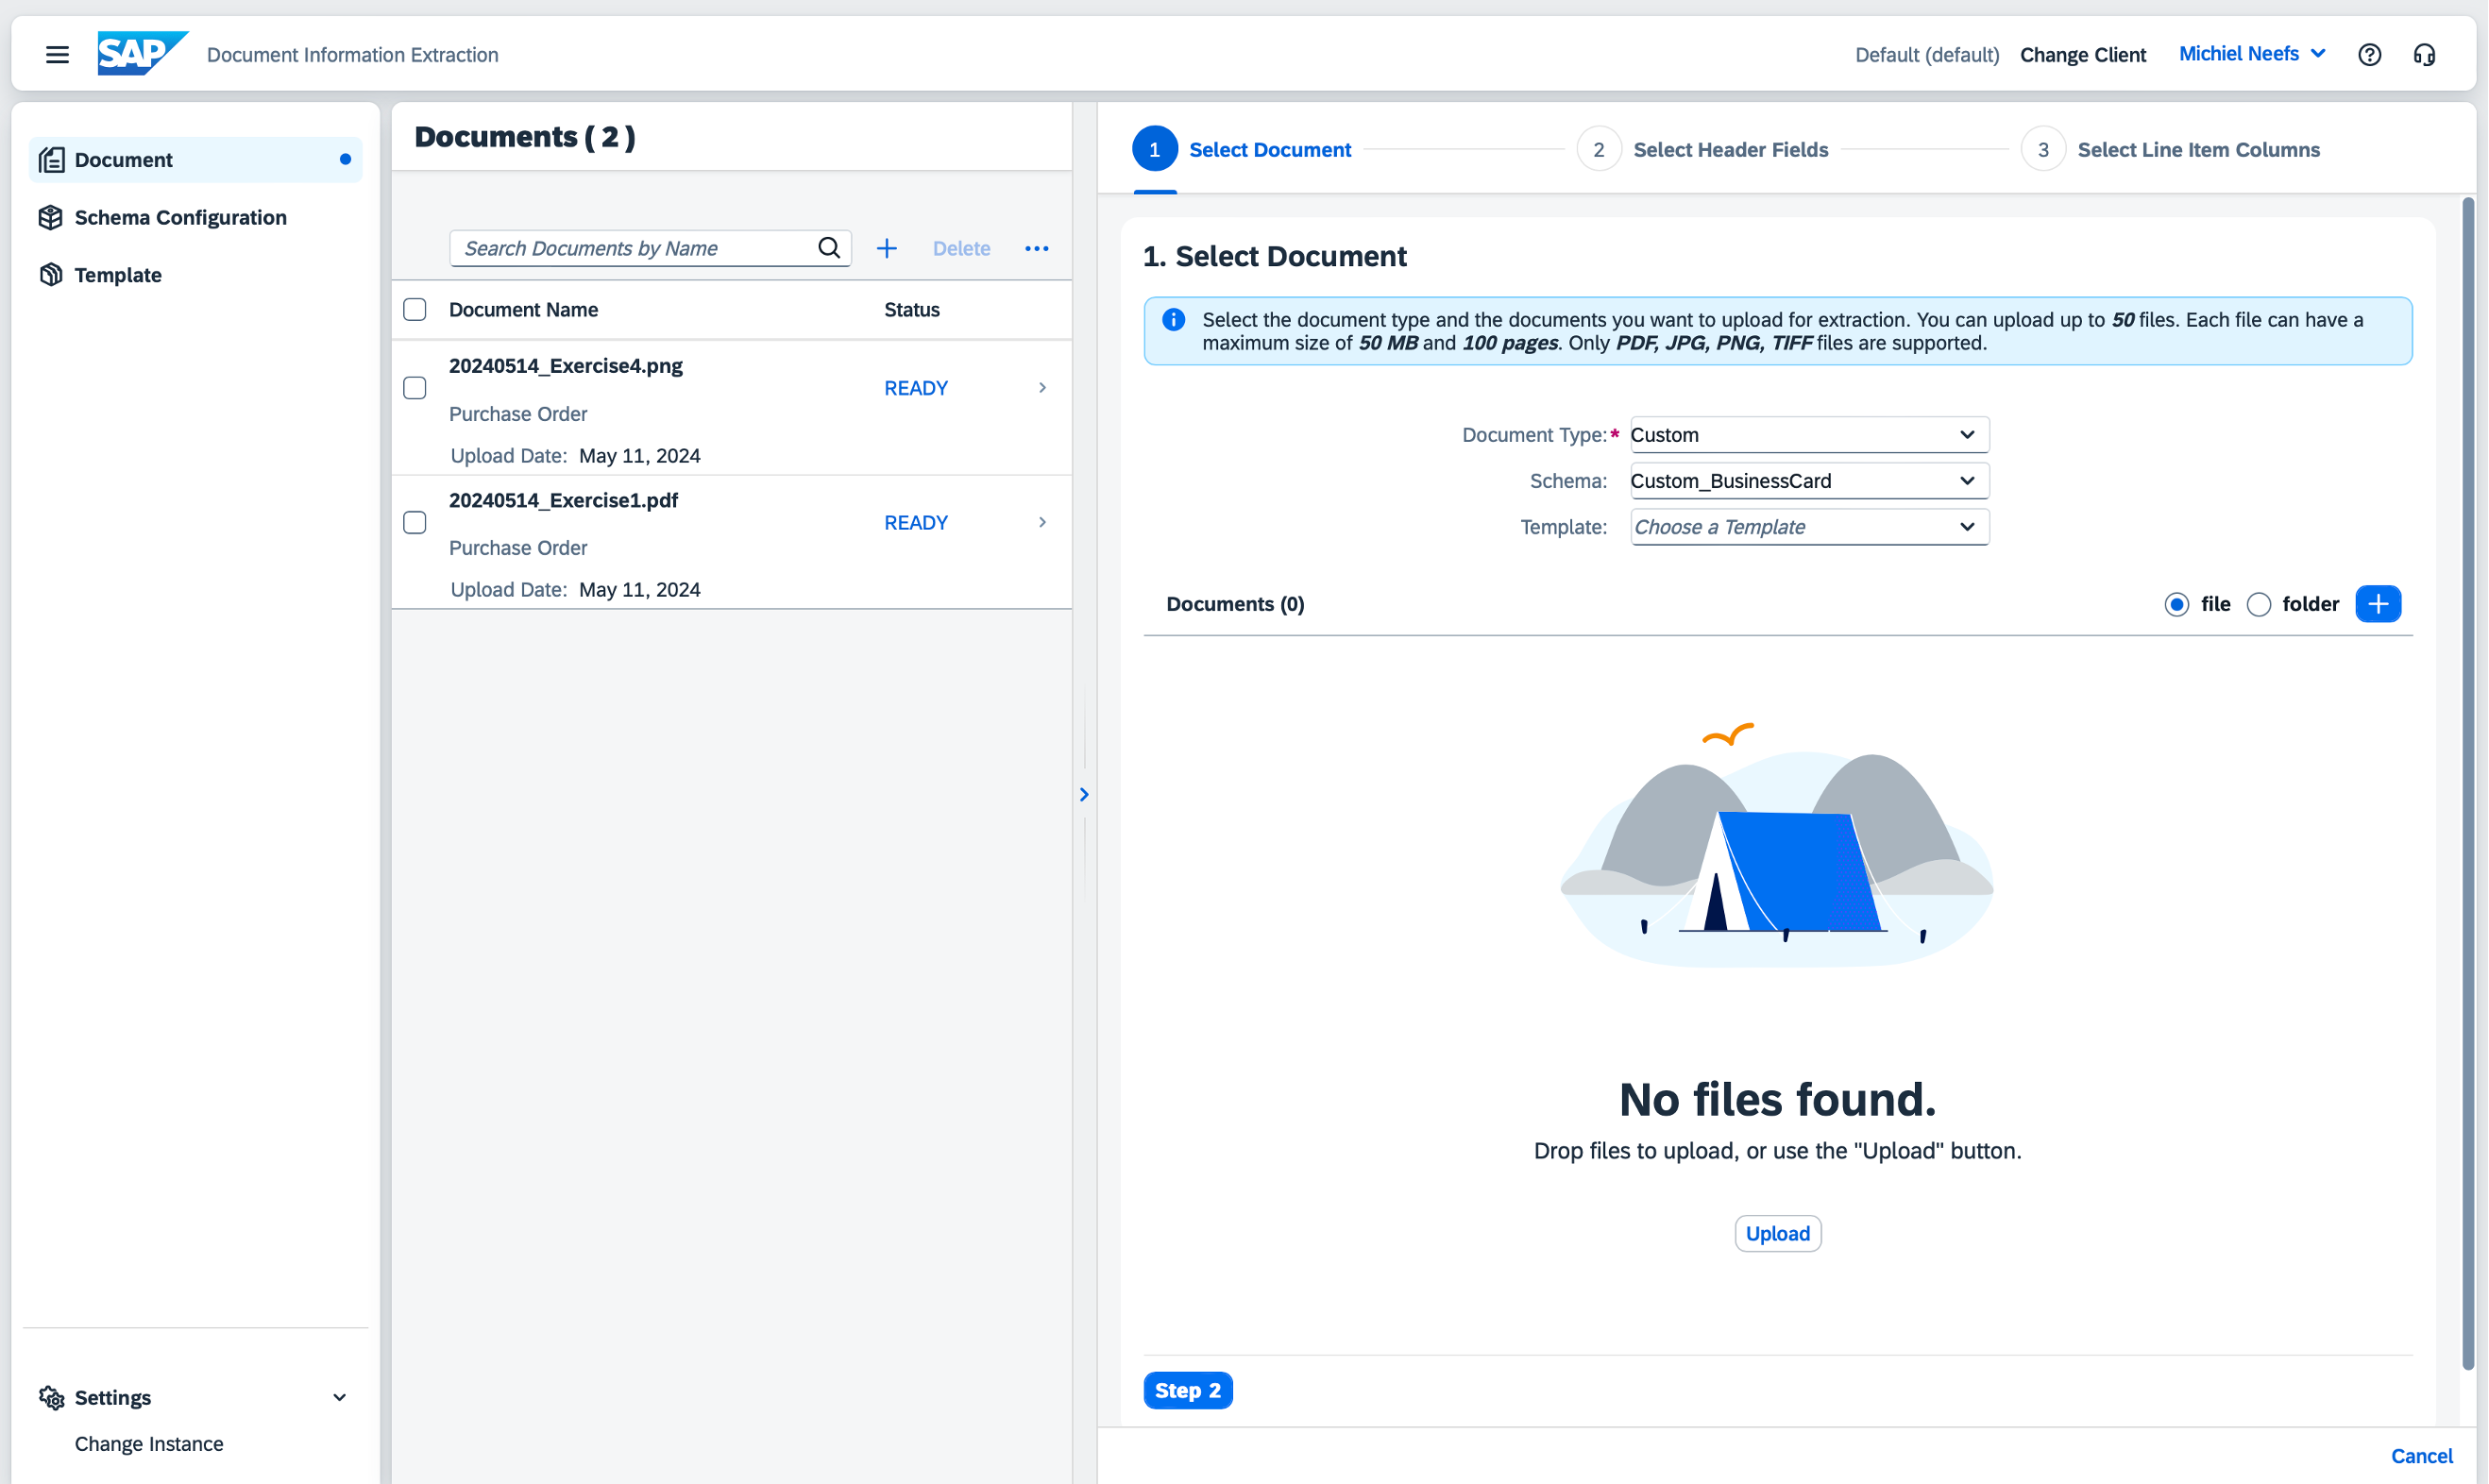
Select Custom as Document Type, your newly created schema as Schema and leave the Template field empty. Click on Upload and select 20240514_Exercise5.png.
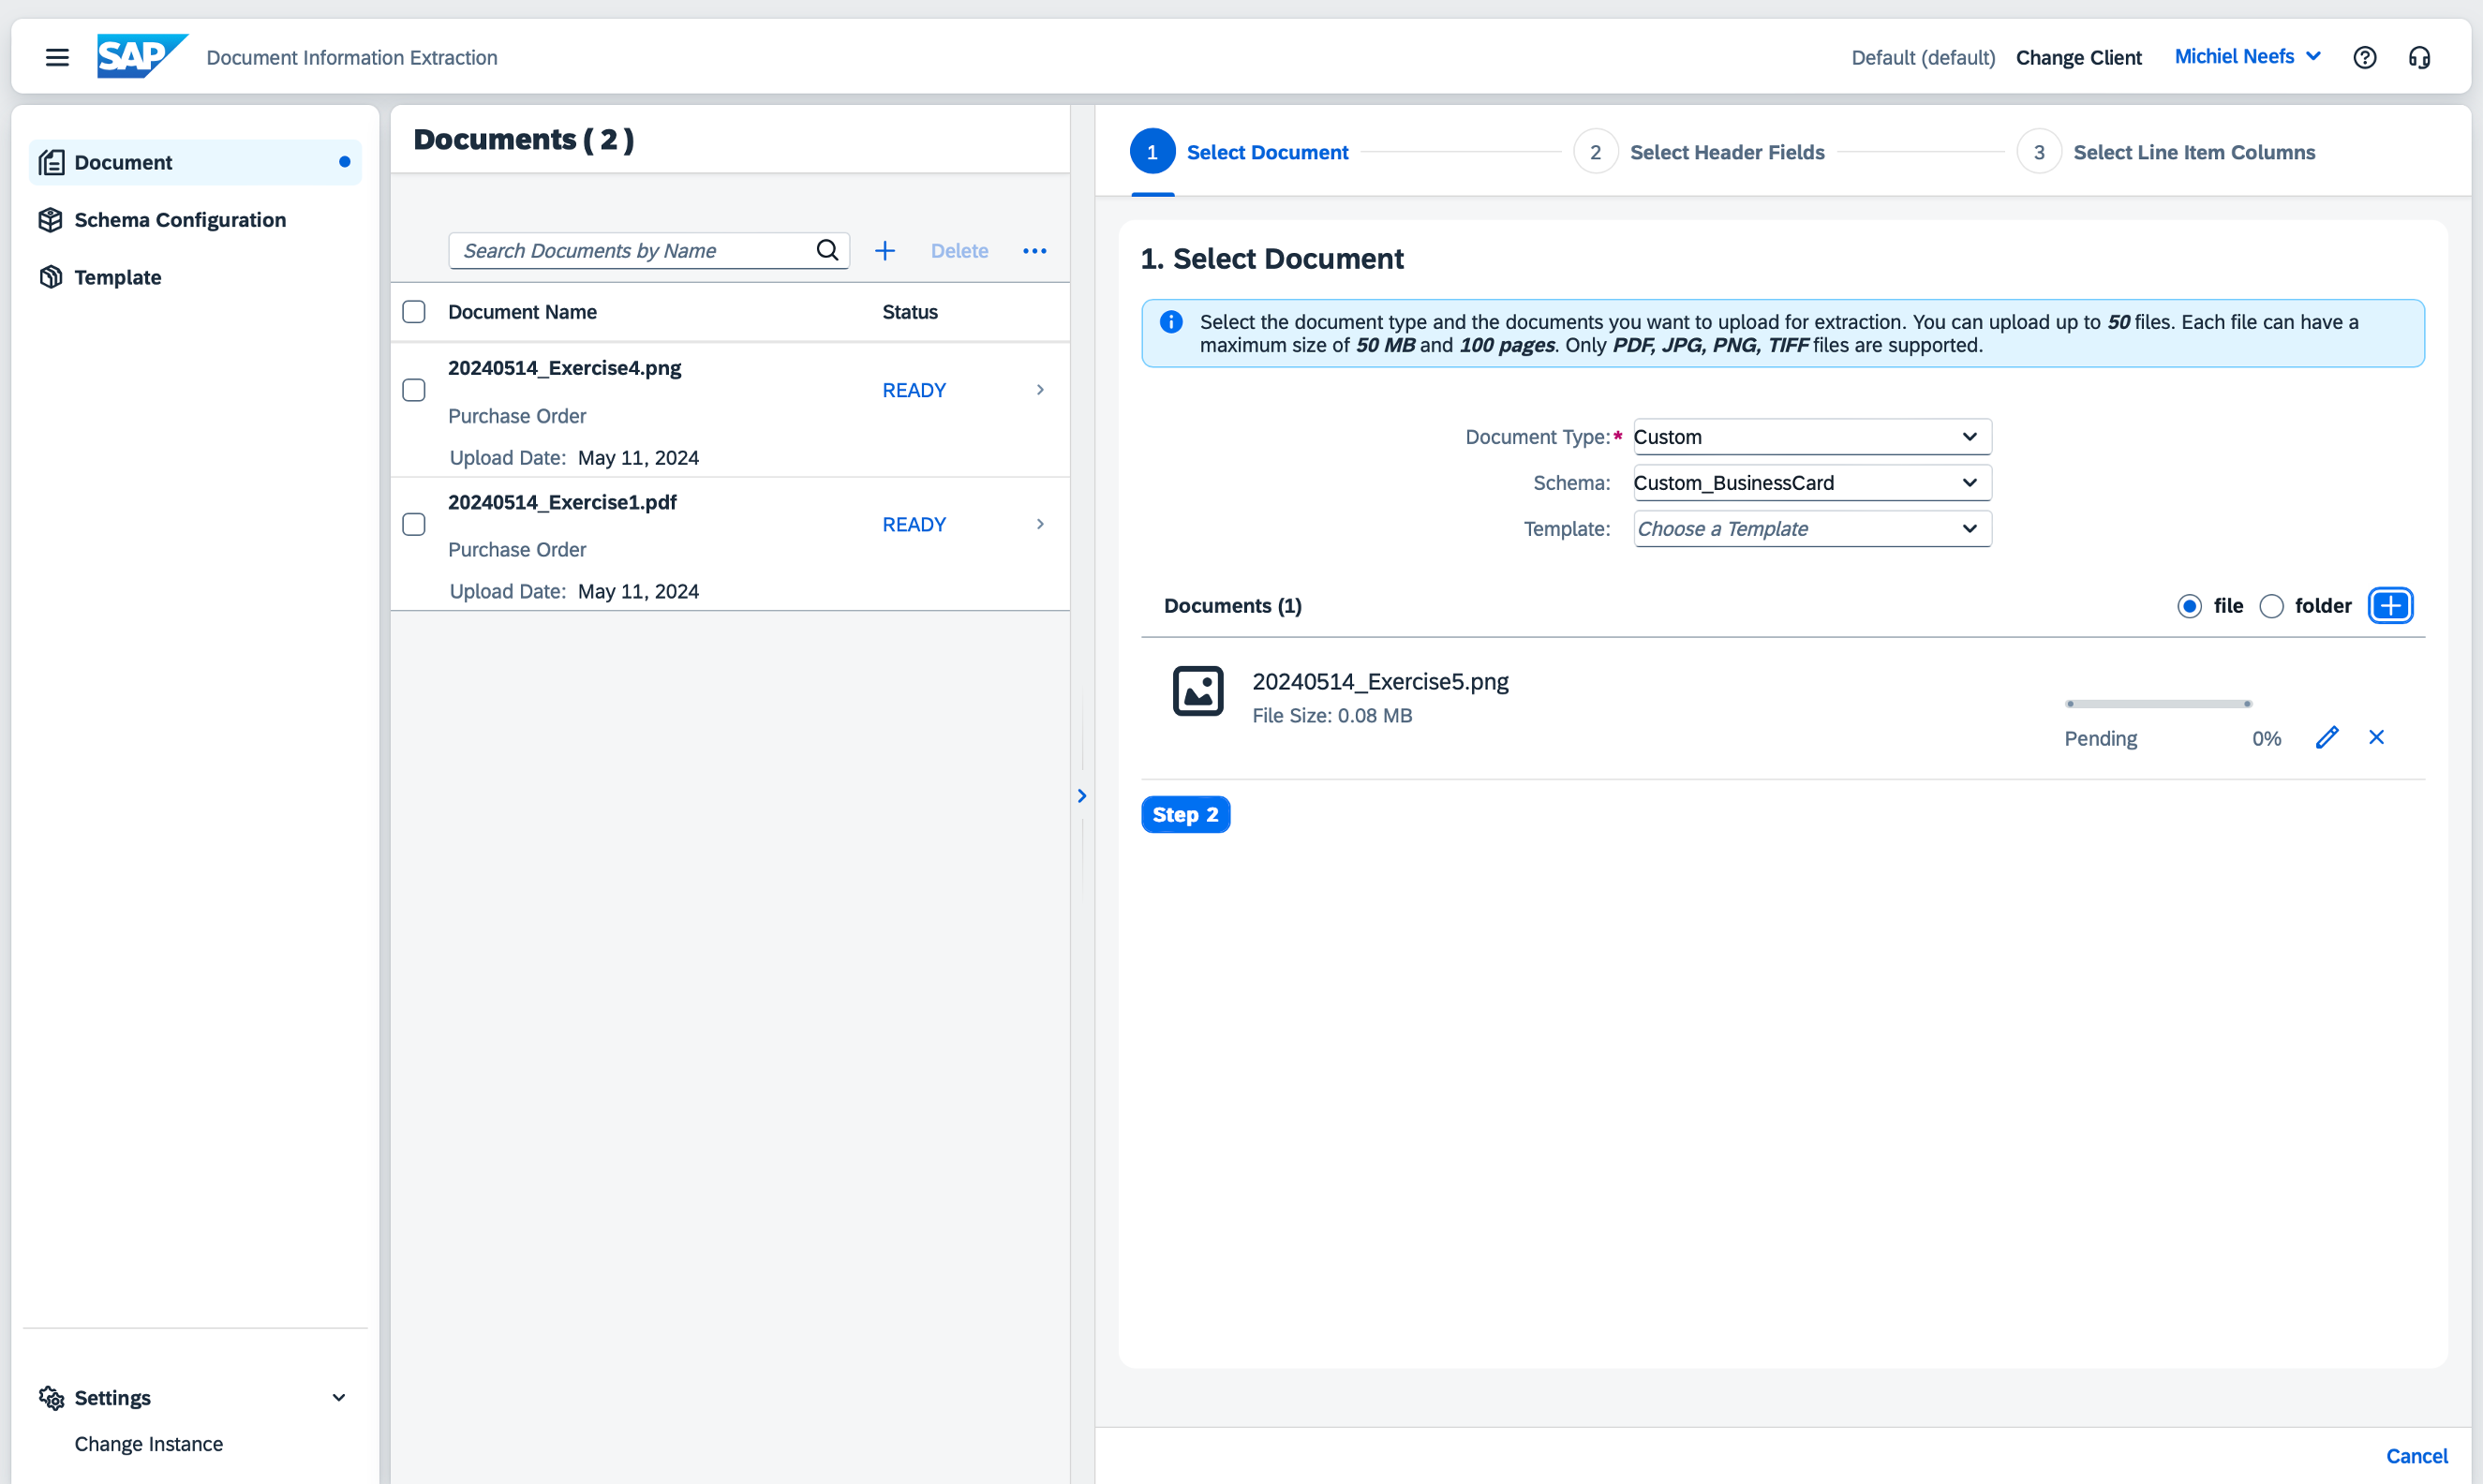
Click on Step 2.
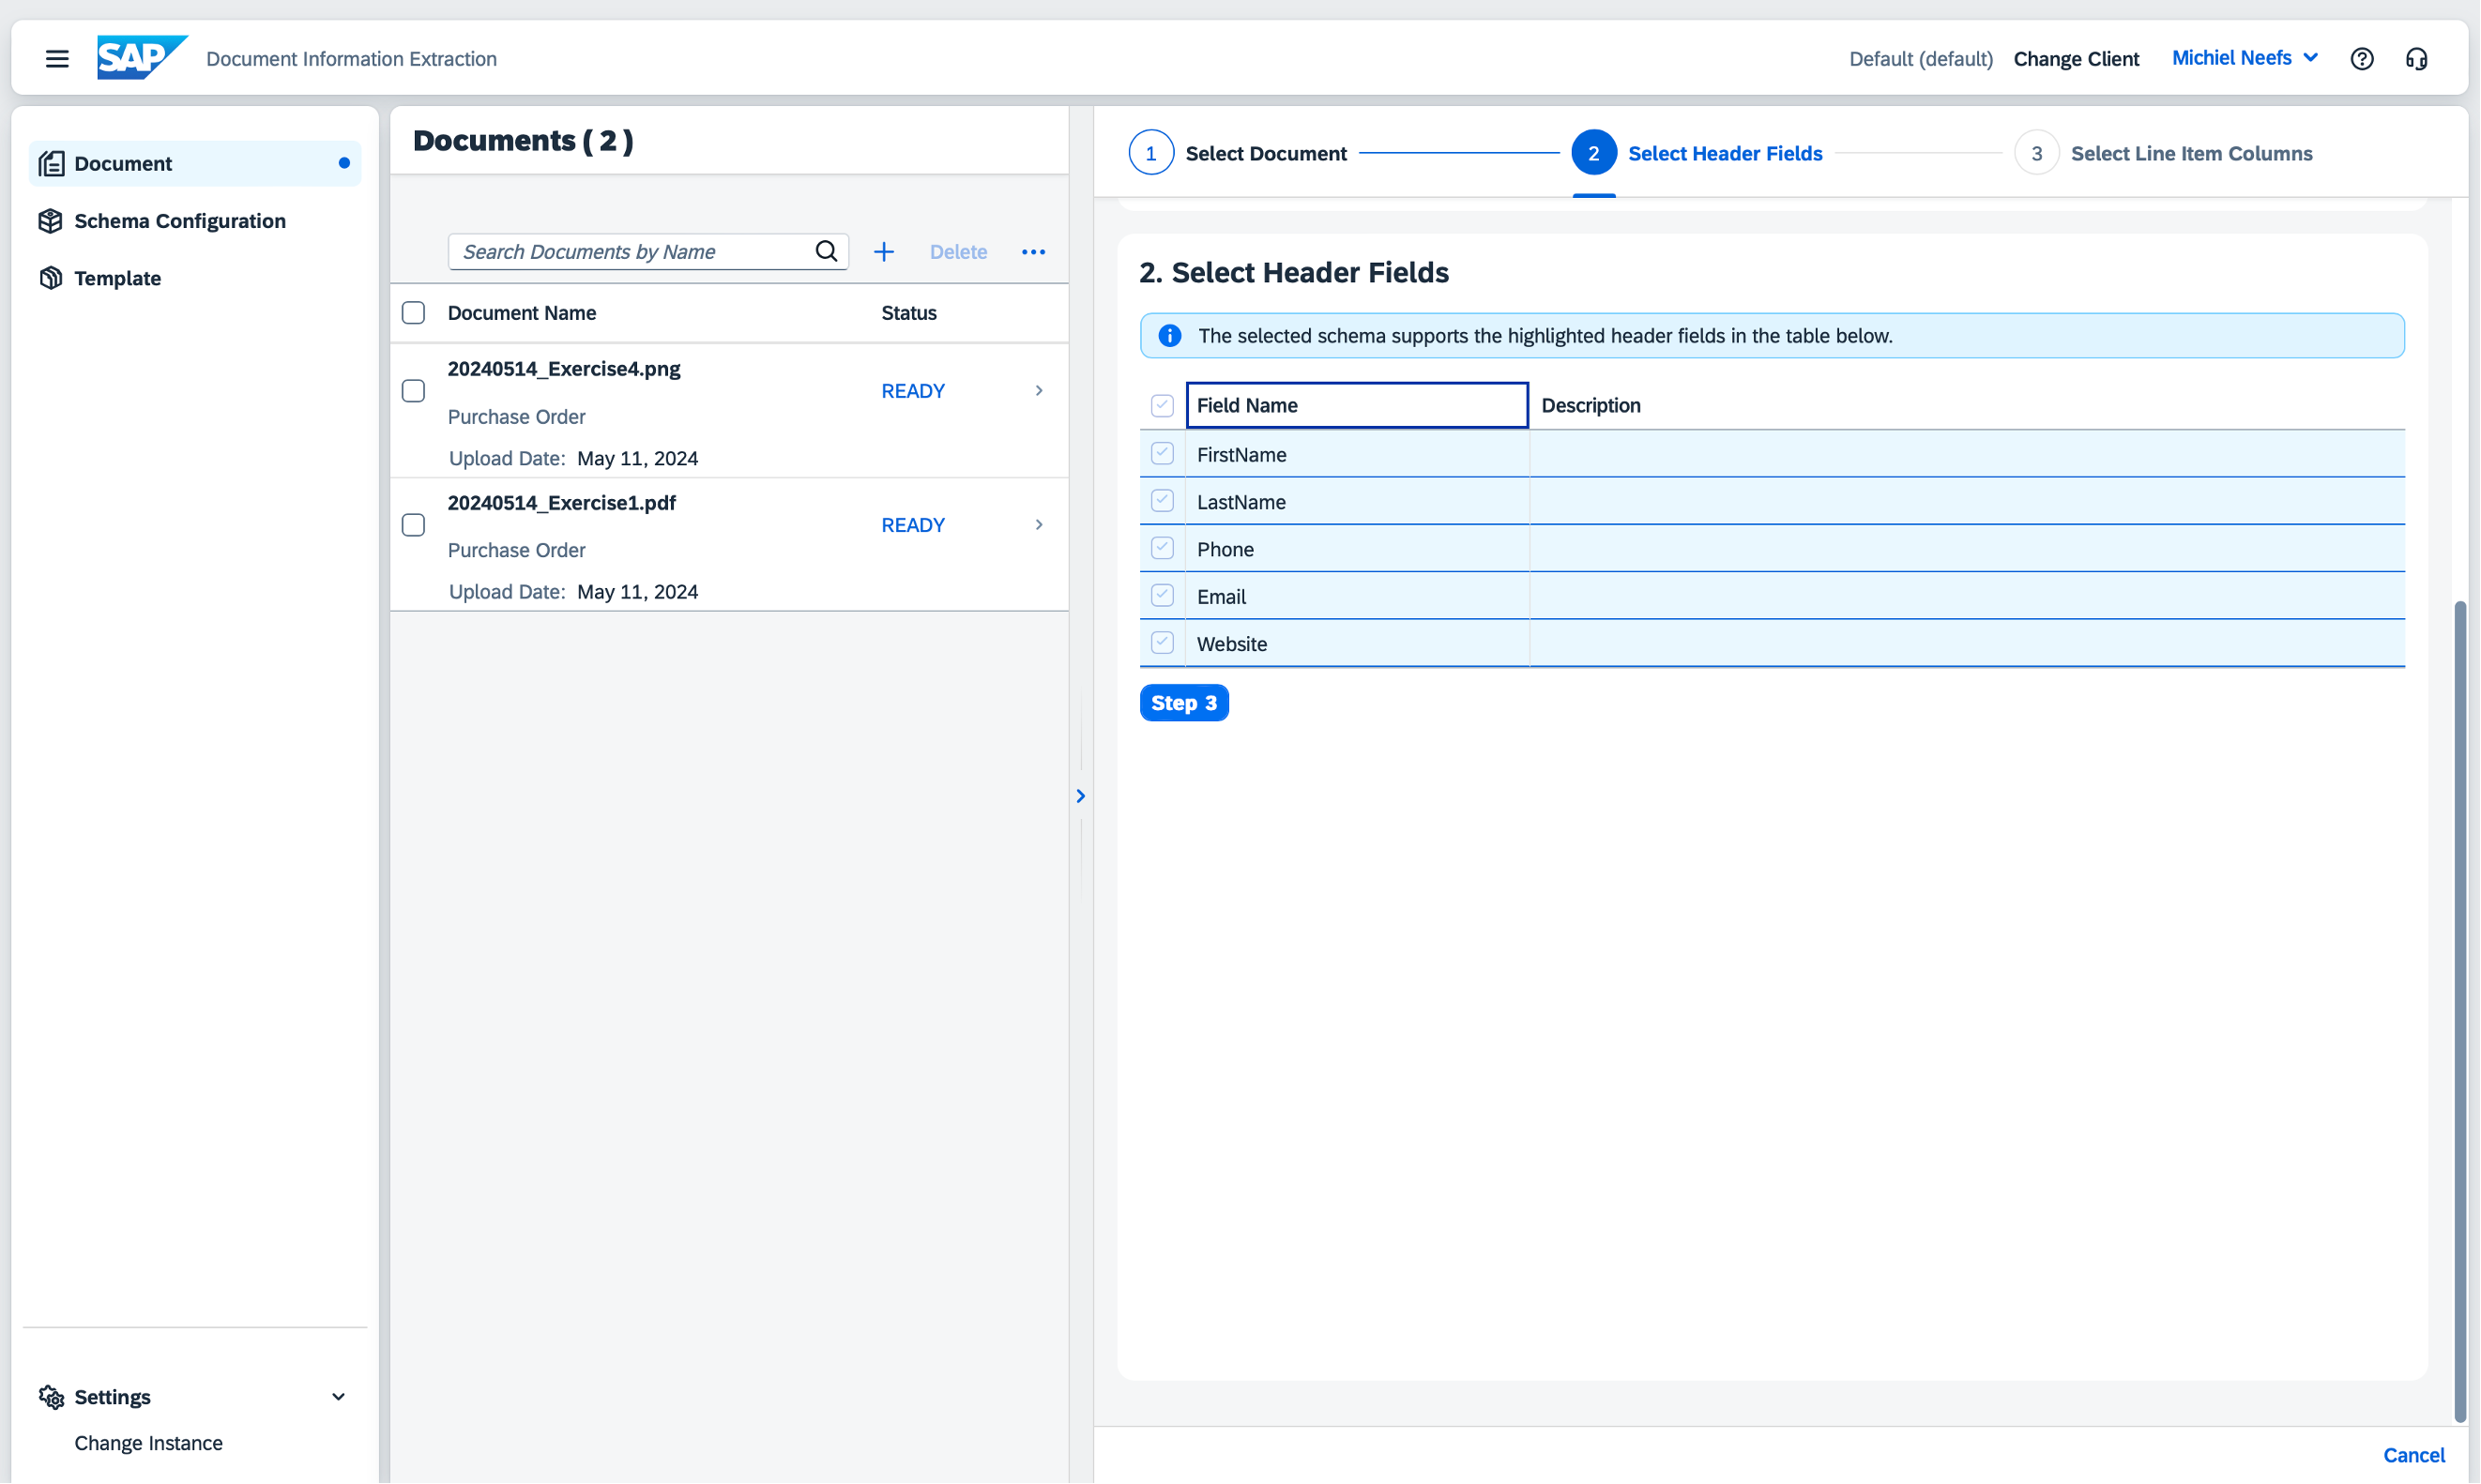
Click on Step 3.
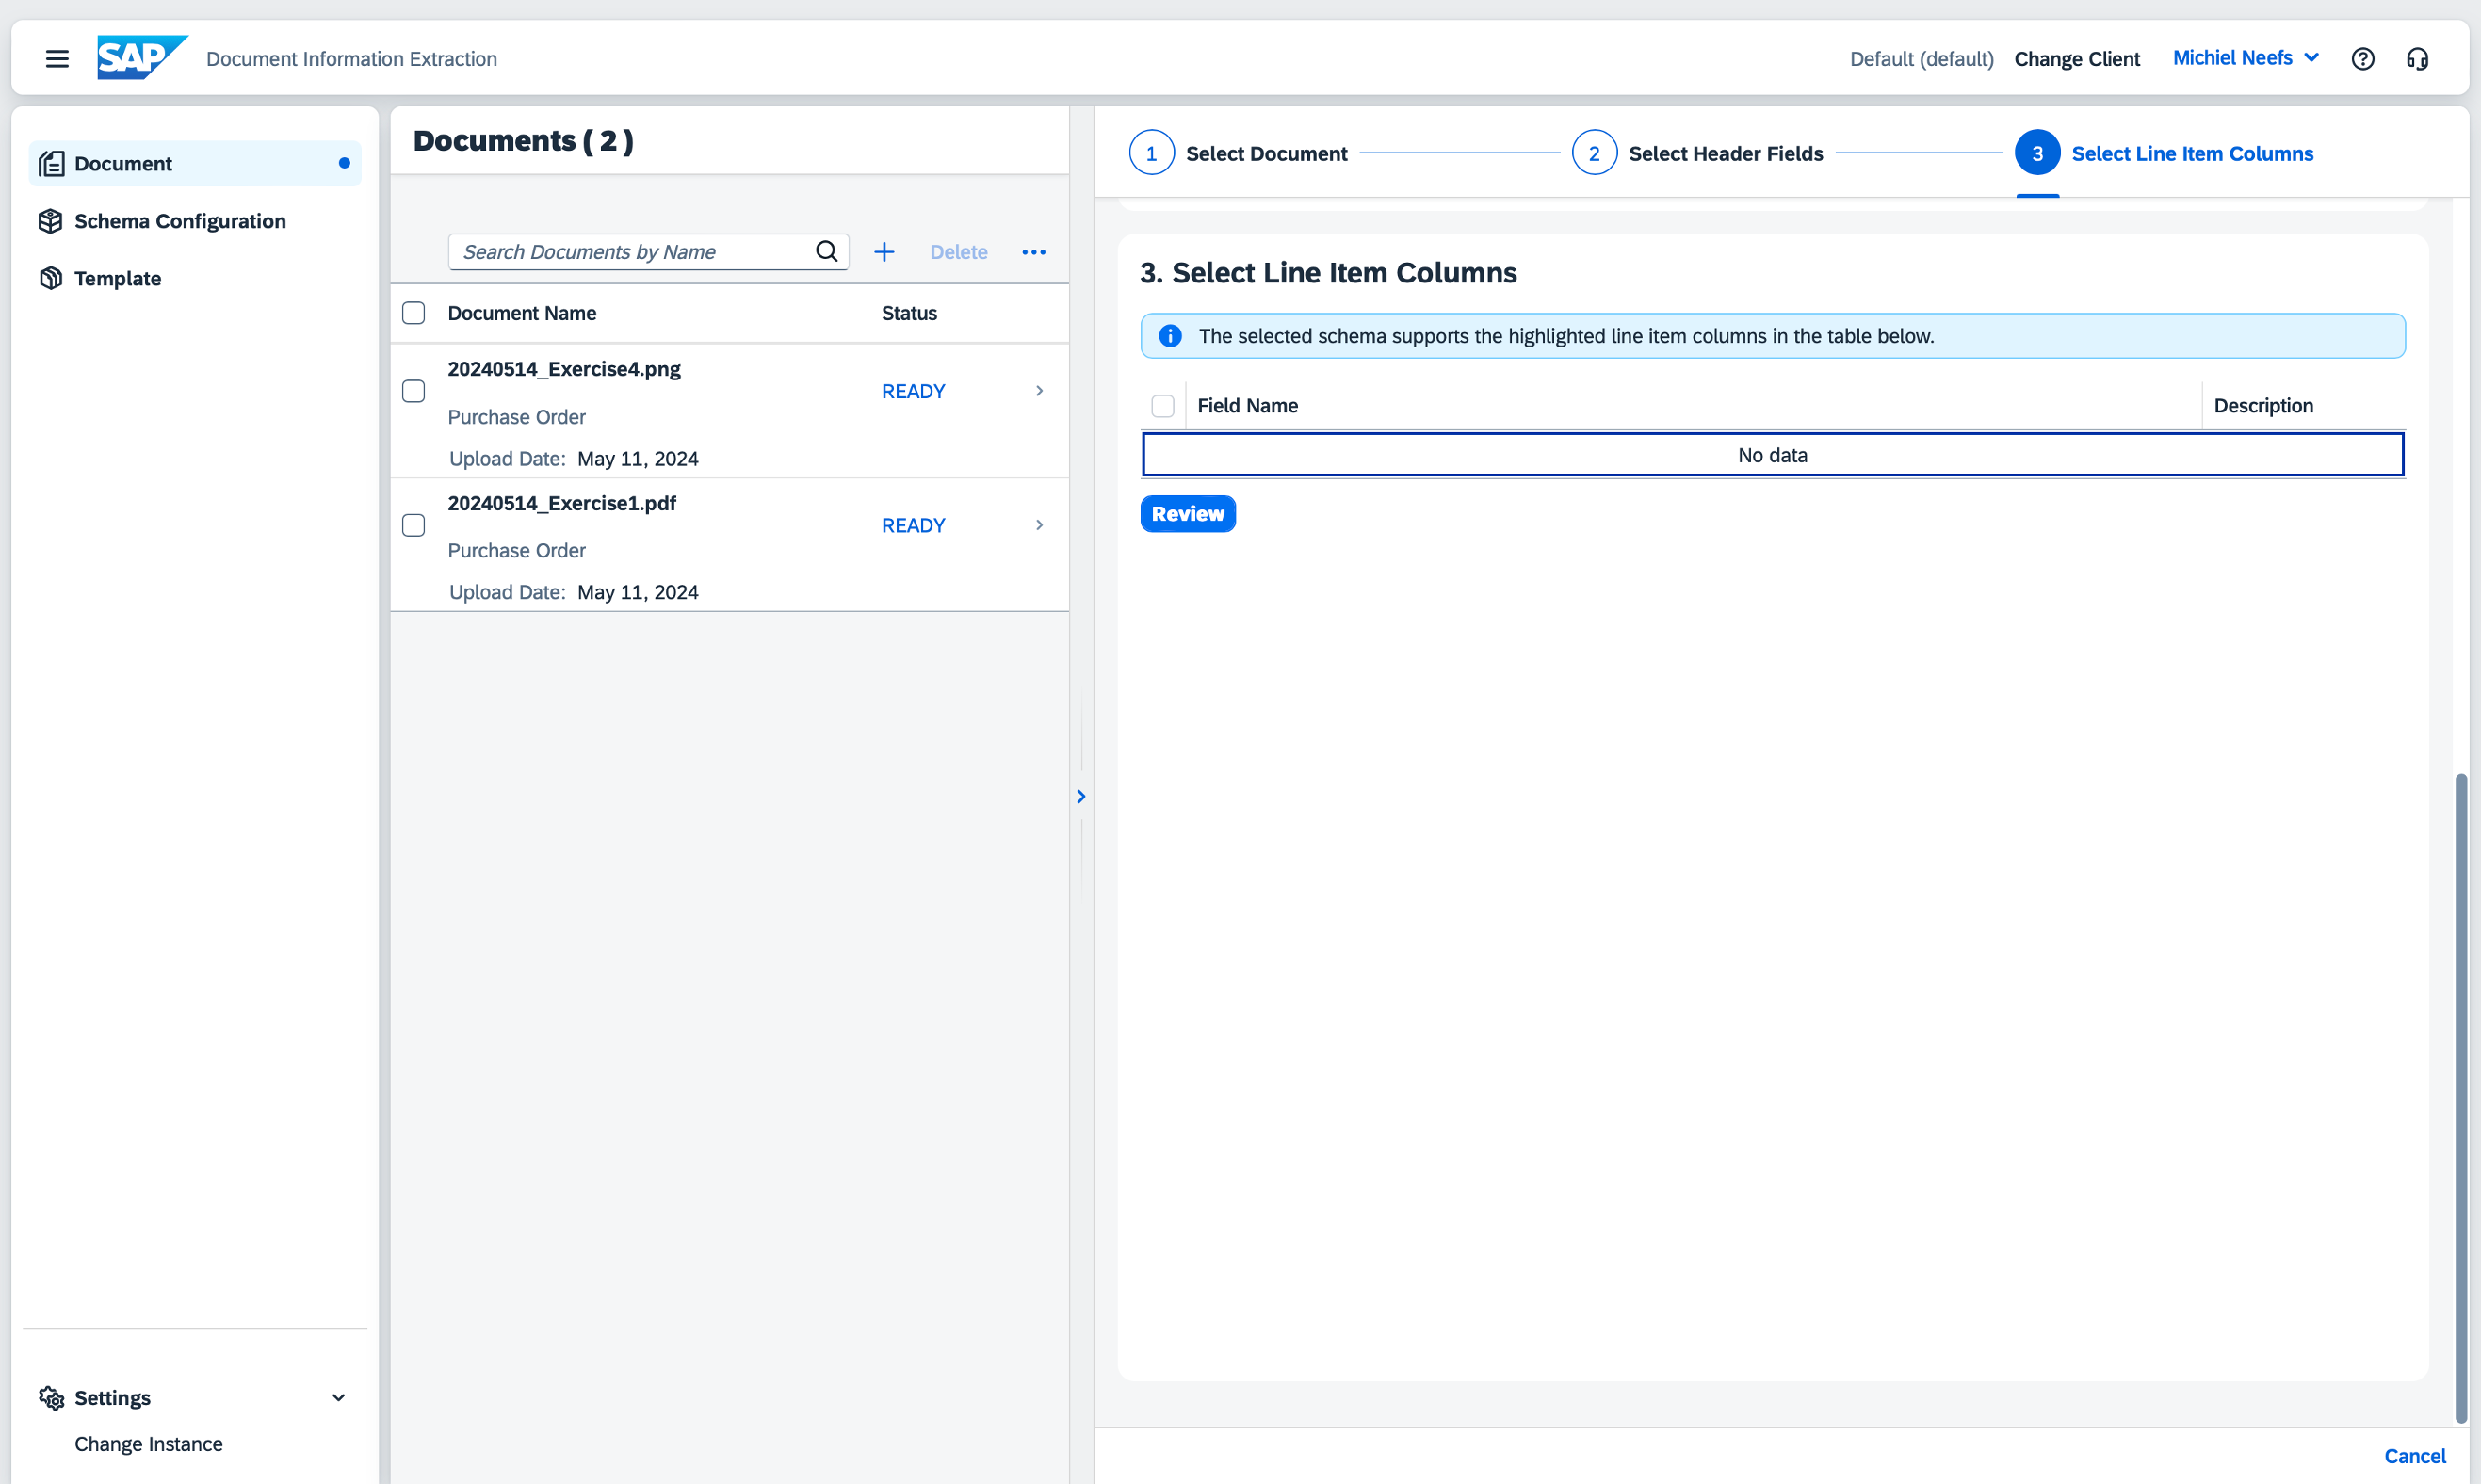
Click on Review.
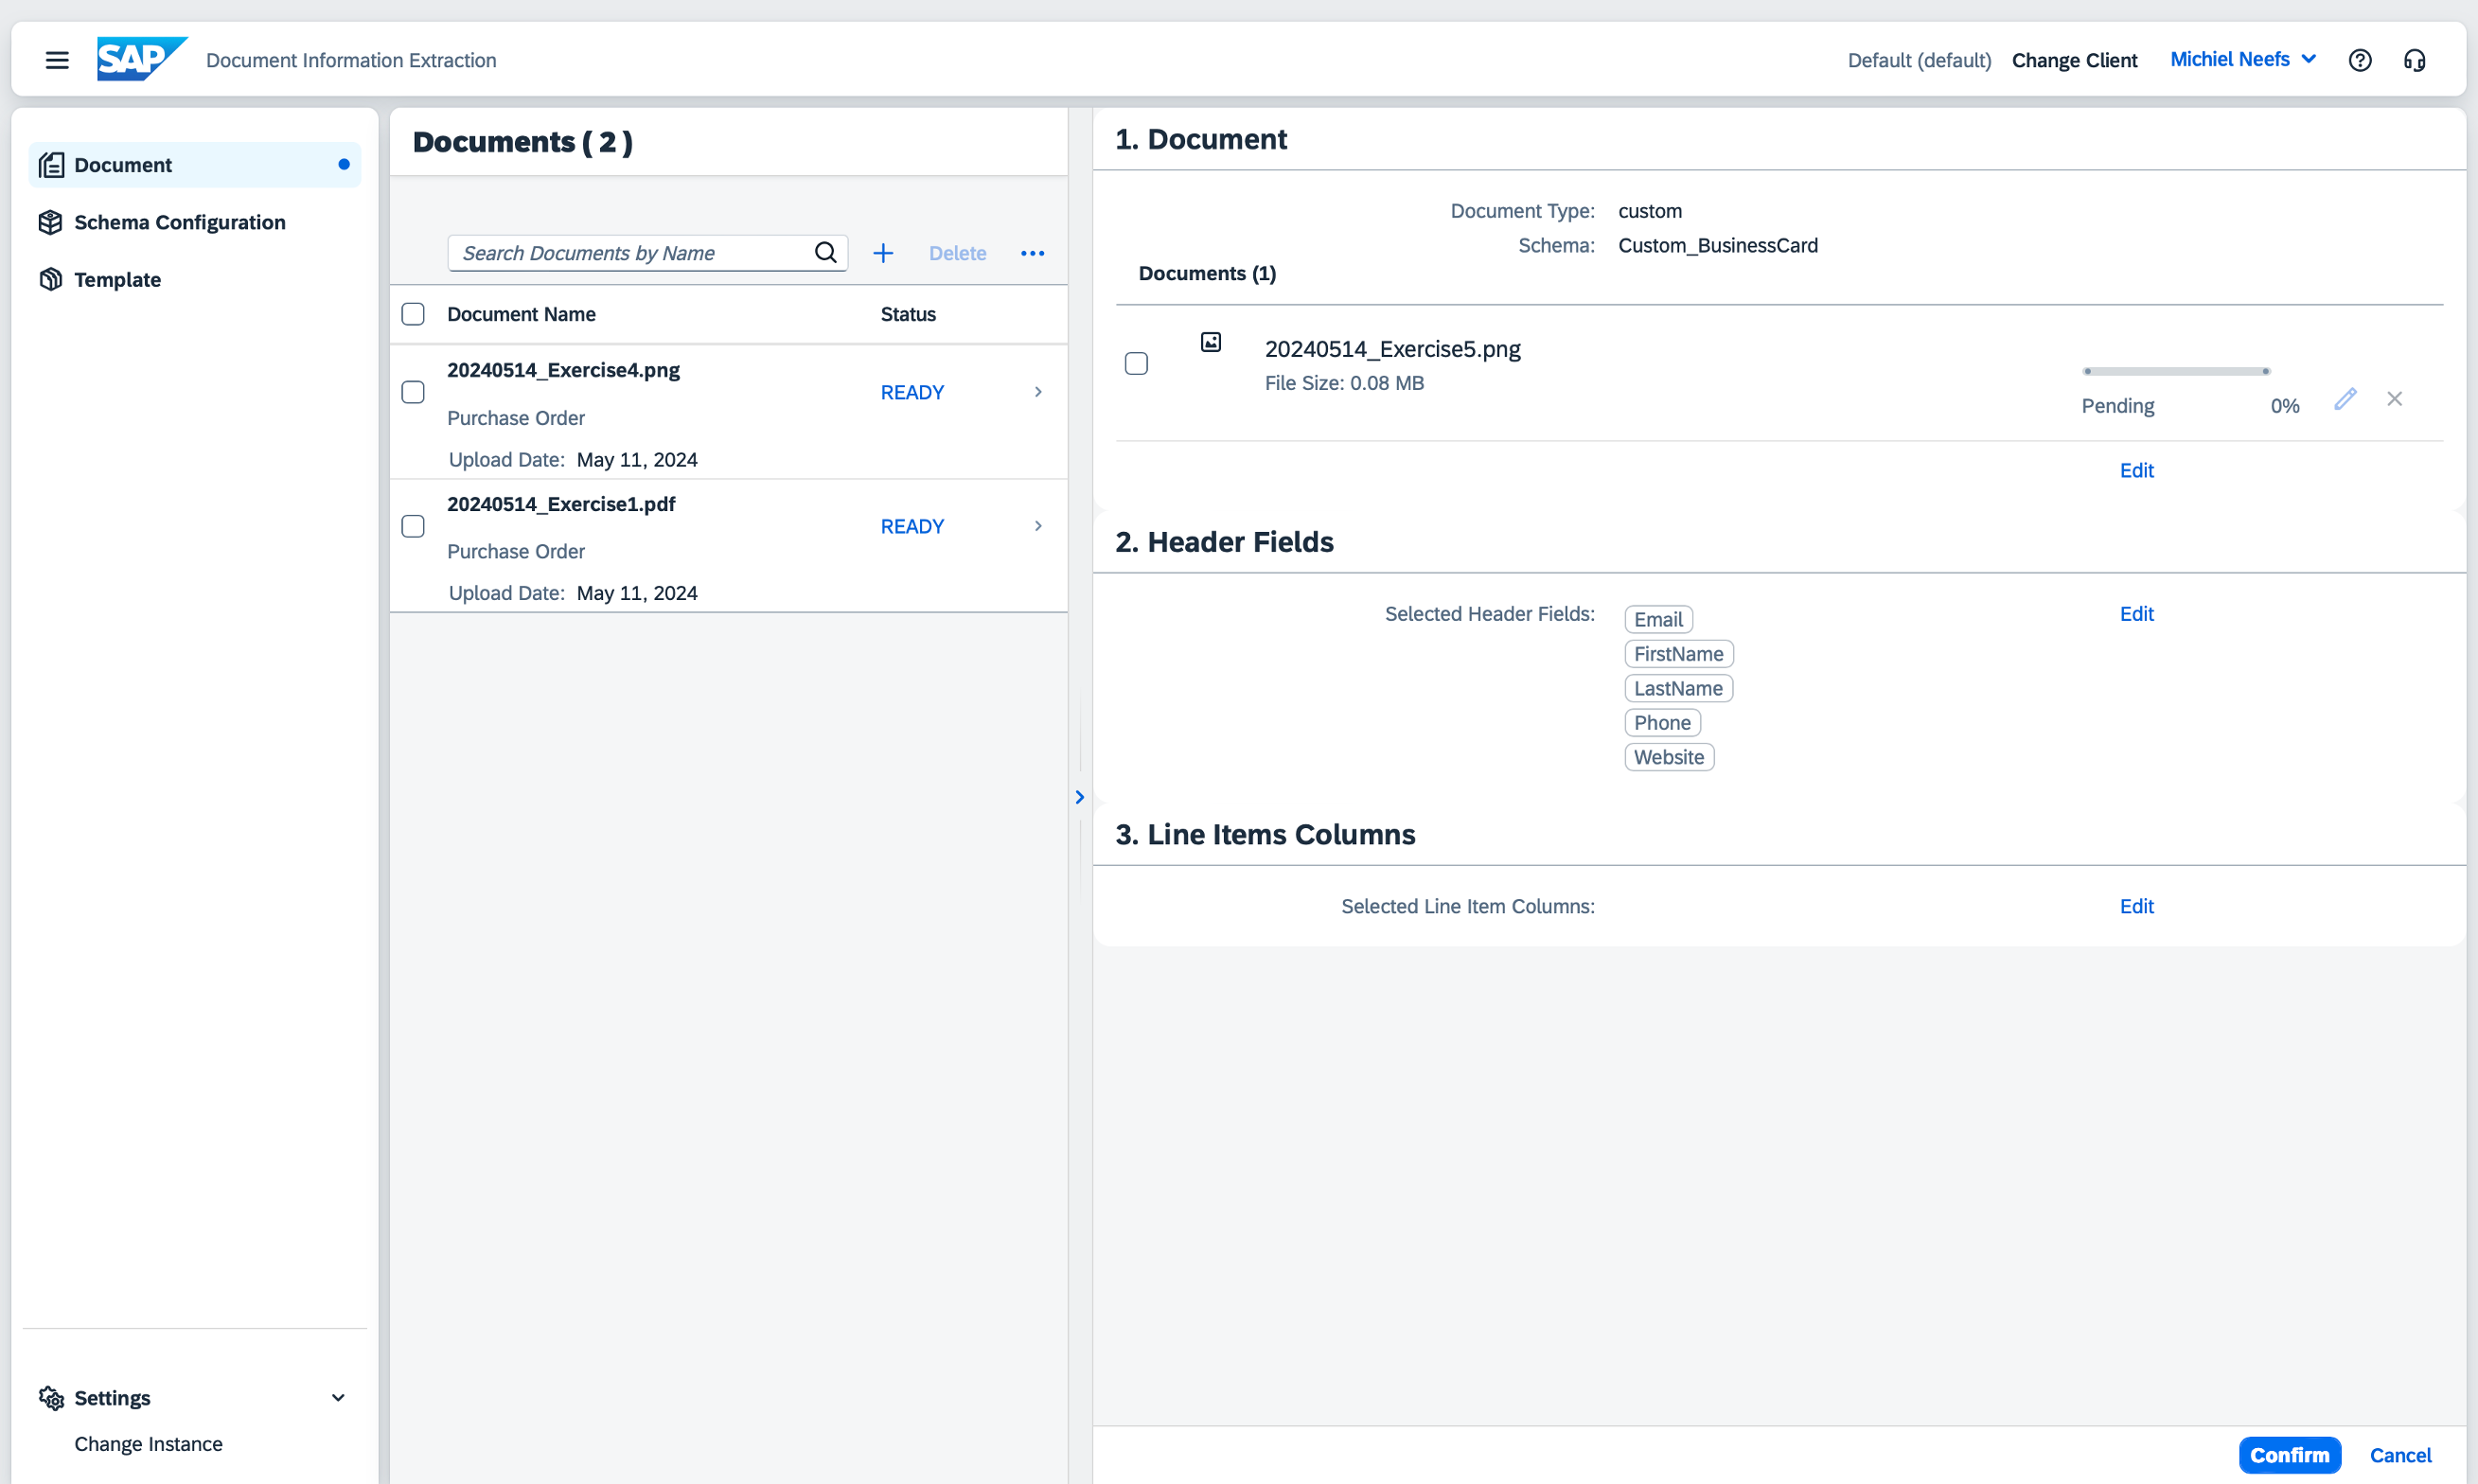
Click on Confirm to start processing the business card image.

Click on 20240514_Exercise5.png when the status is READY.
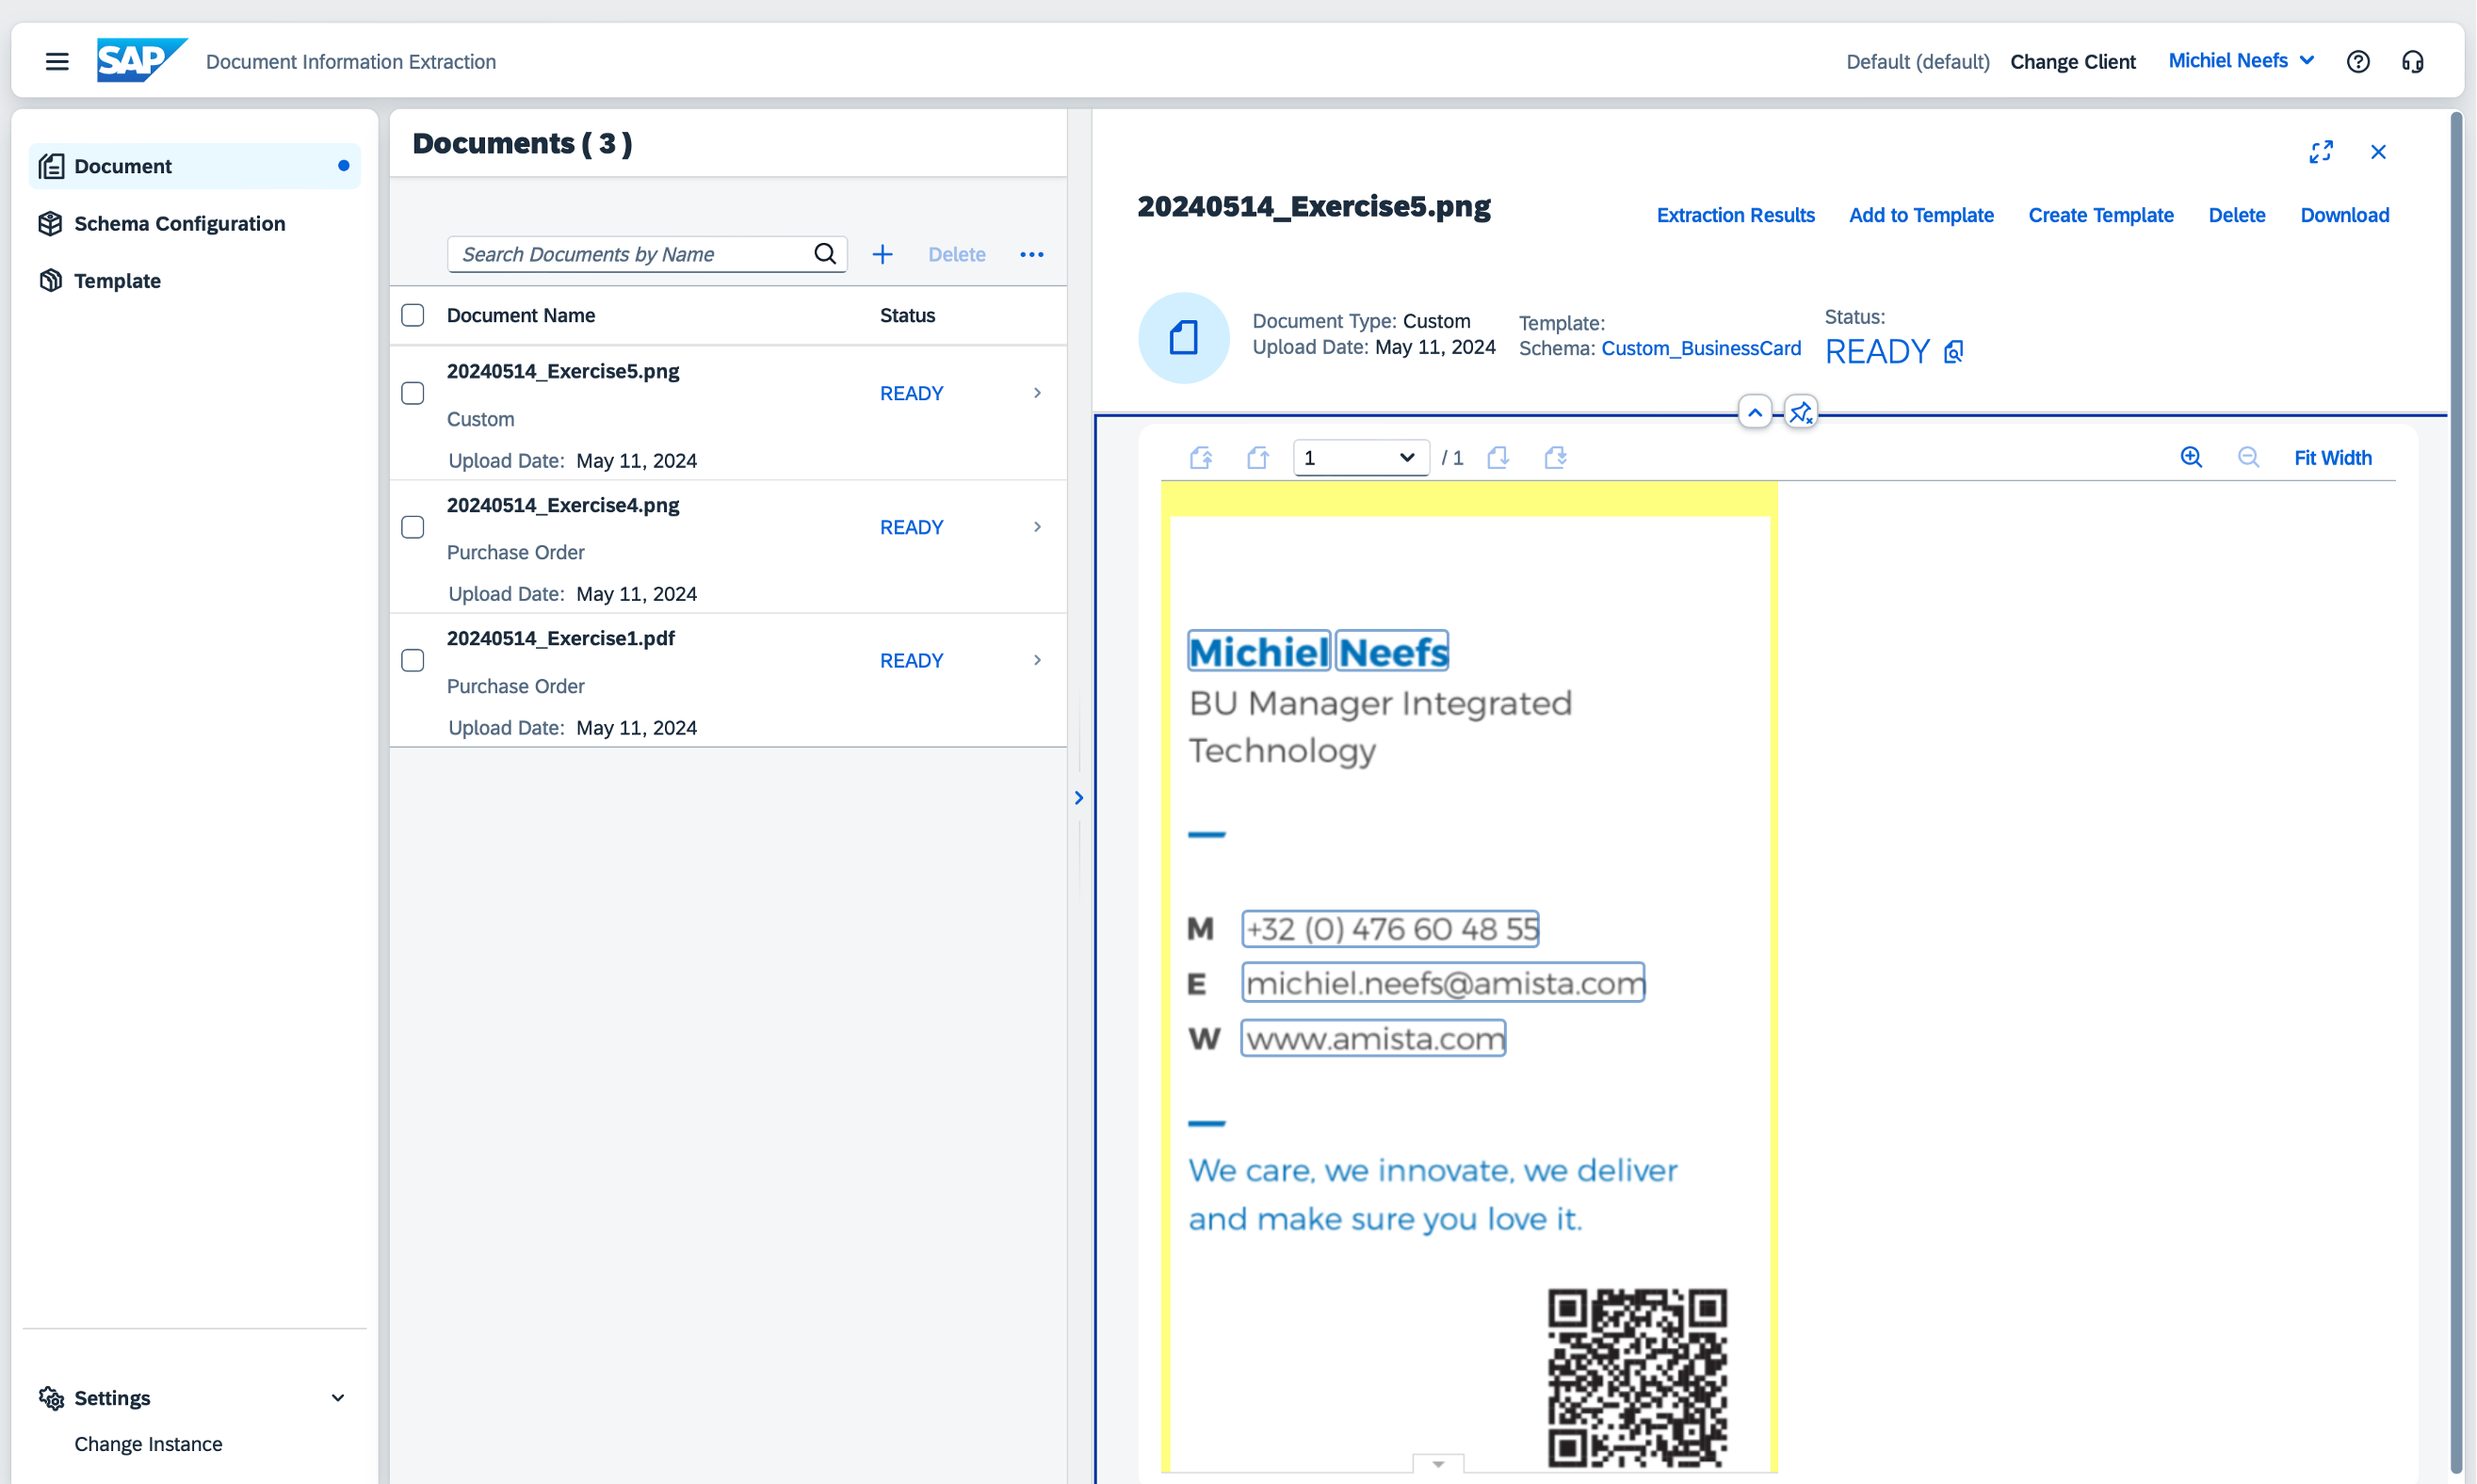
On the top, click on Extraction Results.
